Ribbed Winter Mittens
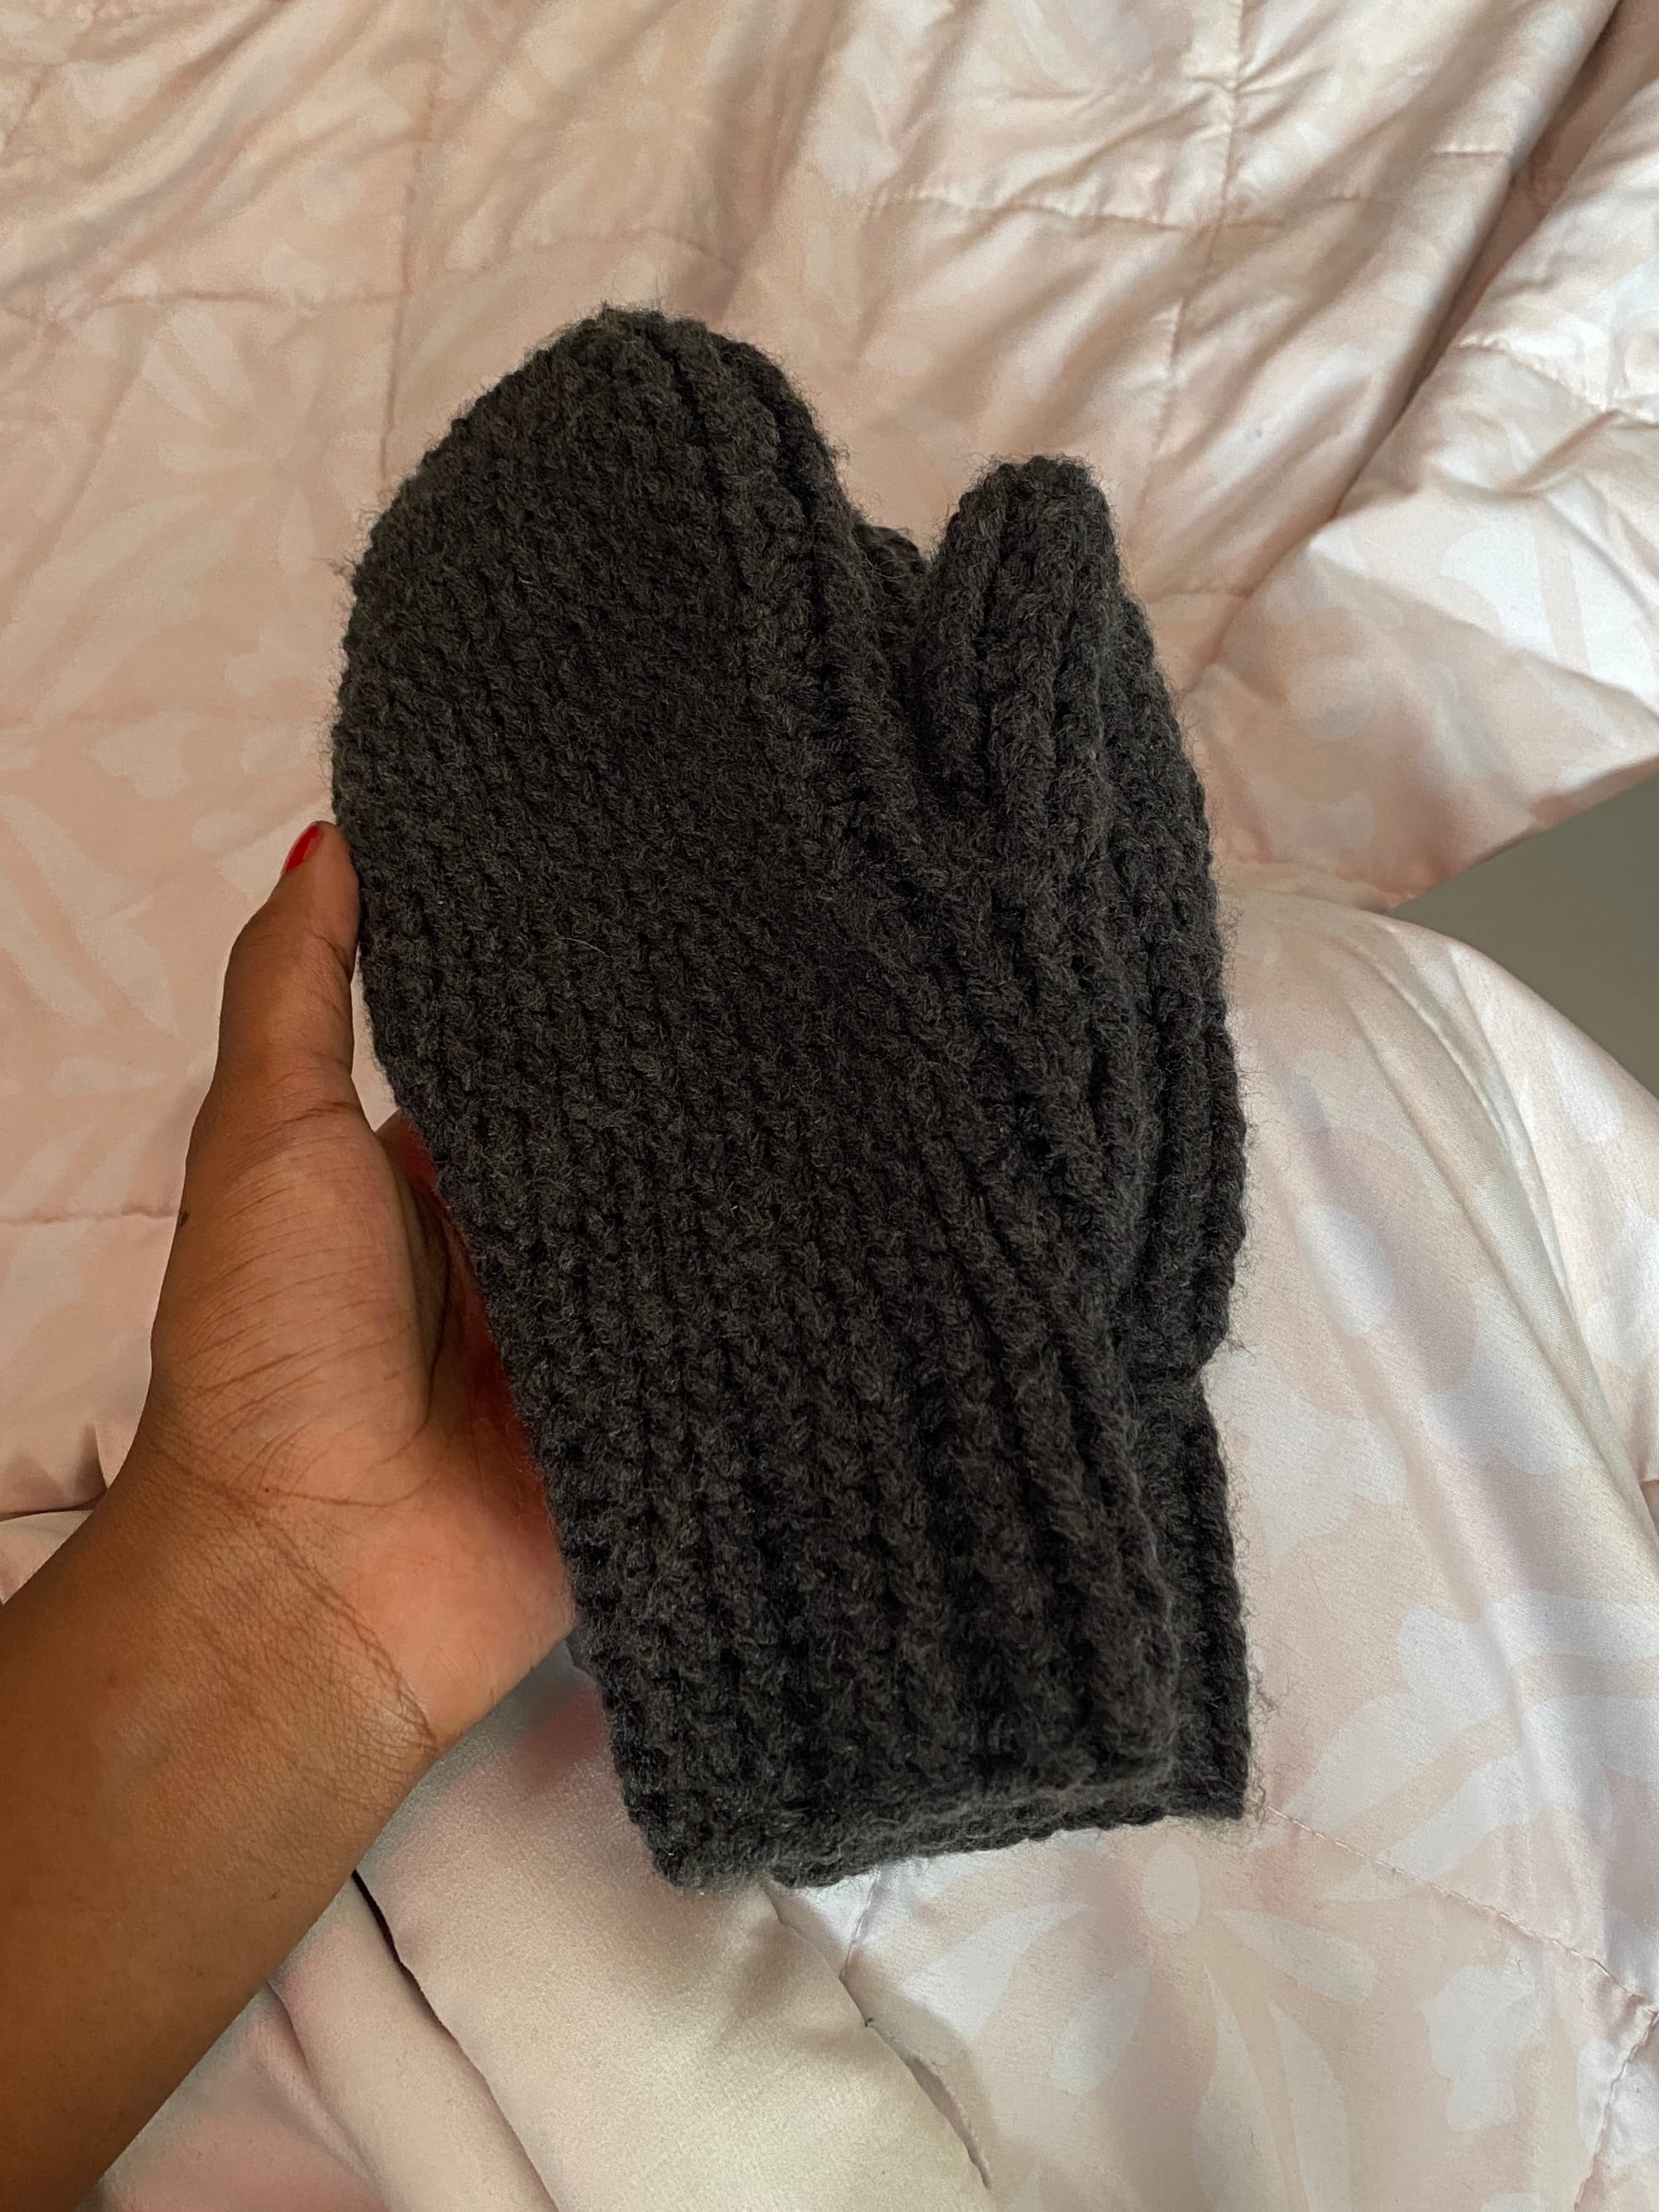
This post is a public note — it's not a proper instructional or pattern, simply my own notes so I can replicate these in the future, but I've made them public in case there's anything to be learned from my process.
So far, I've started with a row of 7 single crochets for the tip and then formed an oval around it of 20 double crochets by making double crochets along the top and bottom edge and 3 additional double crochets on each of the short sides.
For the next 3 rounds, I worked front post double crochets, placing increases at 4 corners: 2 on the palm side and 2 on the backside.
For the following 2 rounds, I only worked 2 increases: one at the outer corner of the palm-side and one at the outer corner of the backside. I then worked 4 rounds without no increases and am still in the middle of a 5th round working my way down to the thumb.
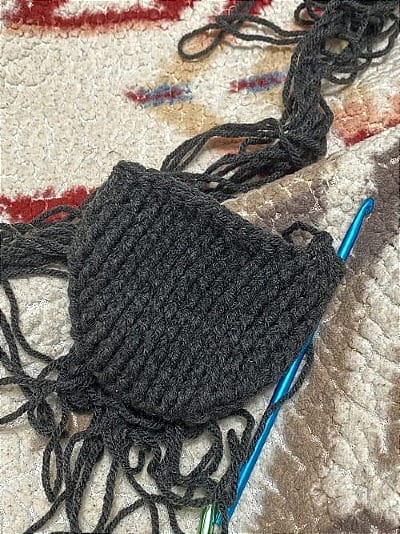
I ended up working 8 total rounds with no increases and then 2 rounds with 2 decreases at the outer palm-side and outer backside. I'm now ready to work a round with a thumbhole.
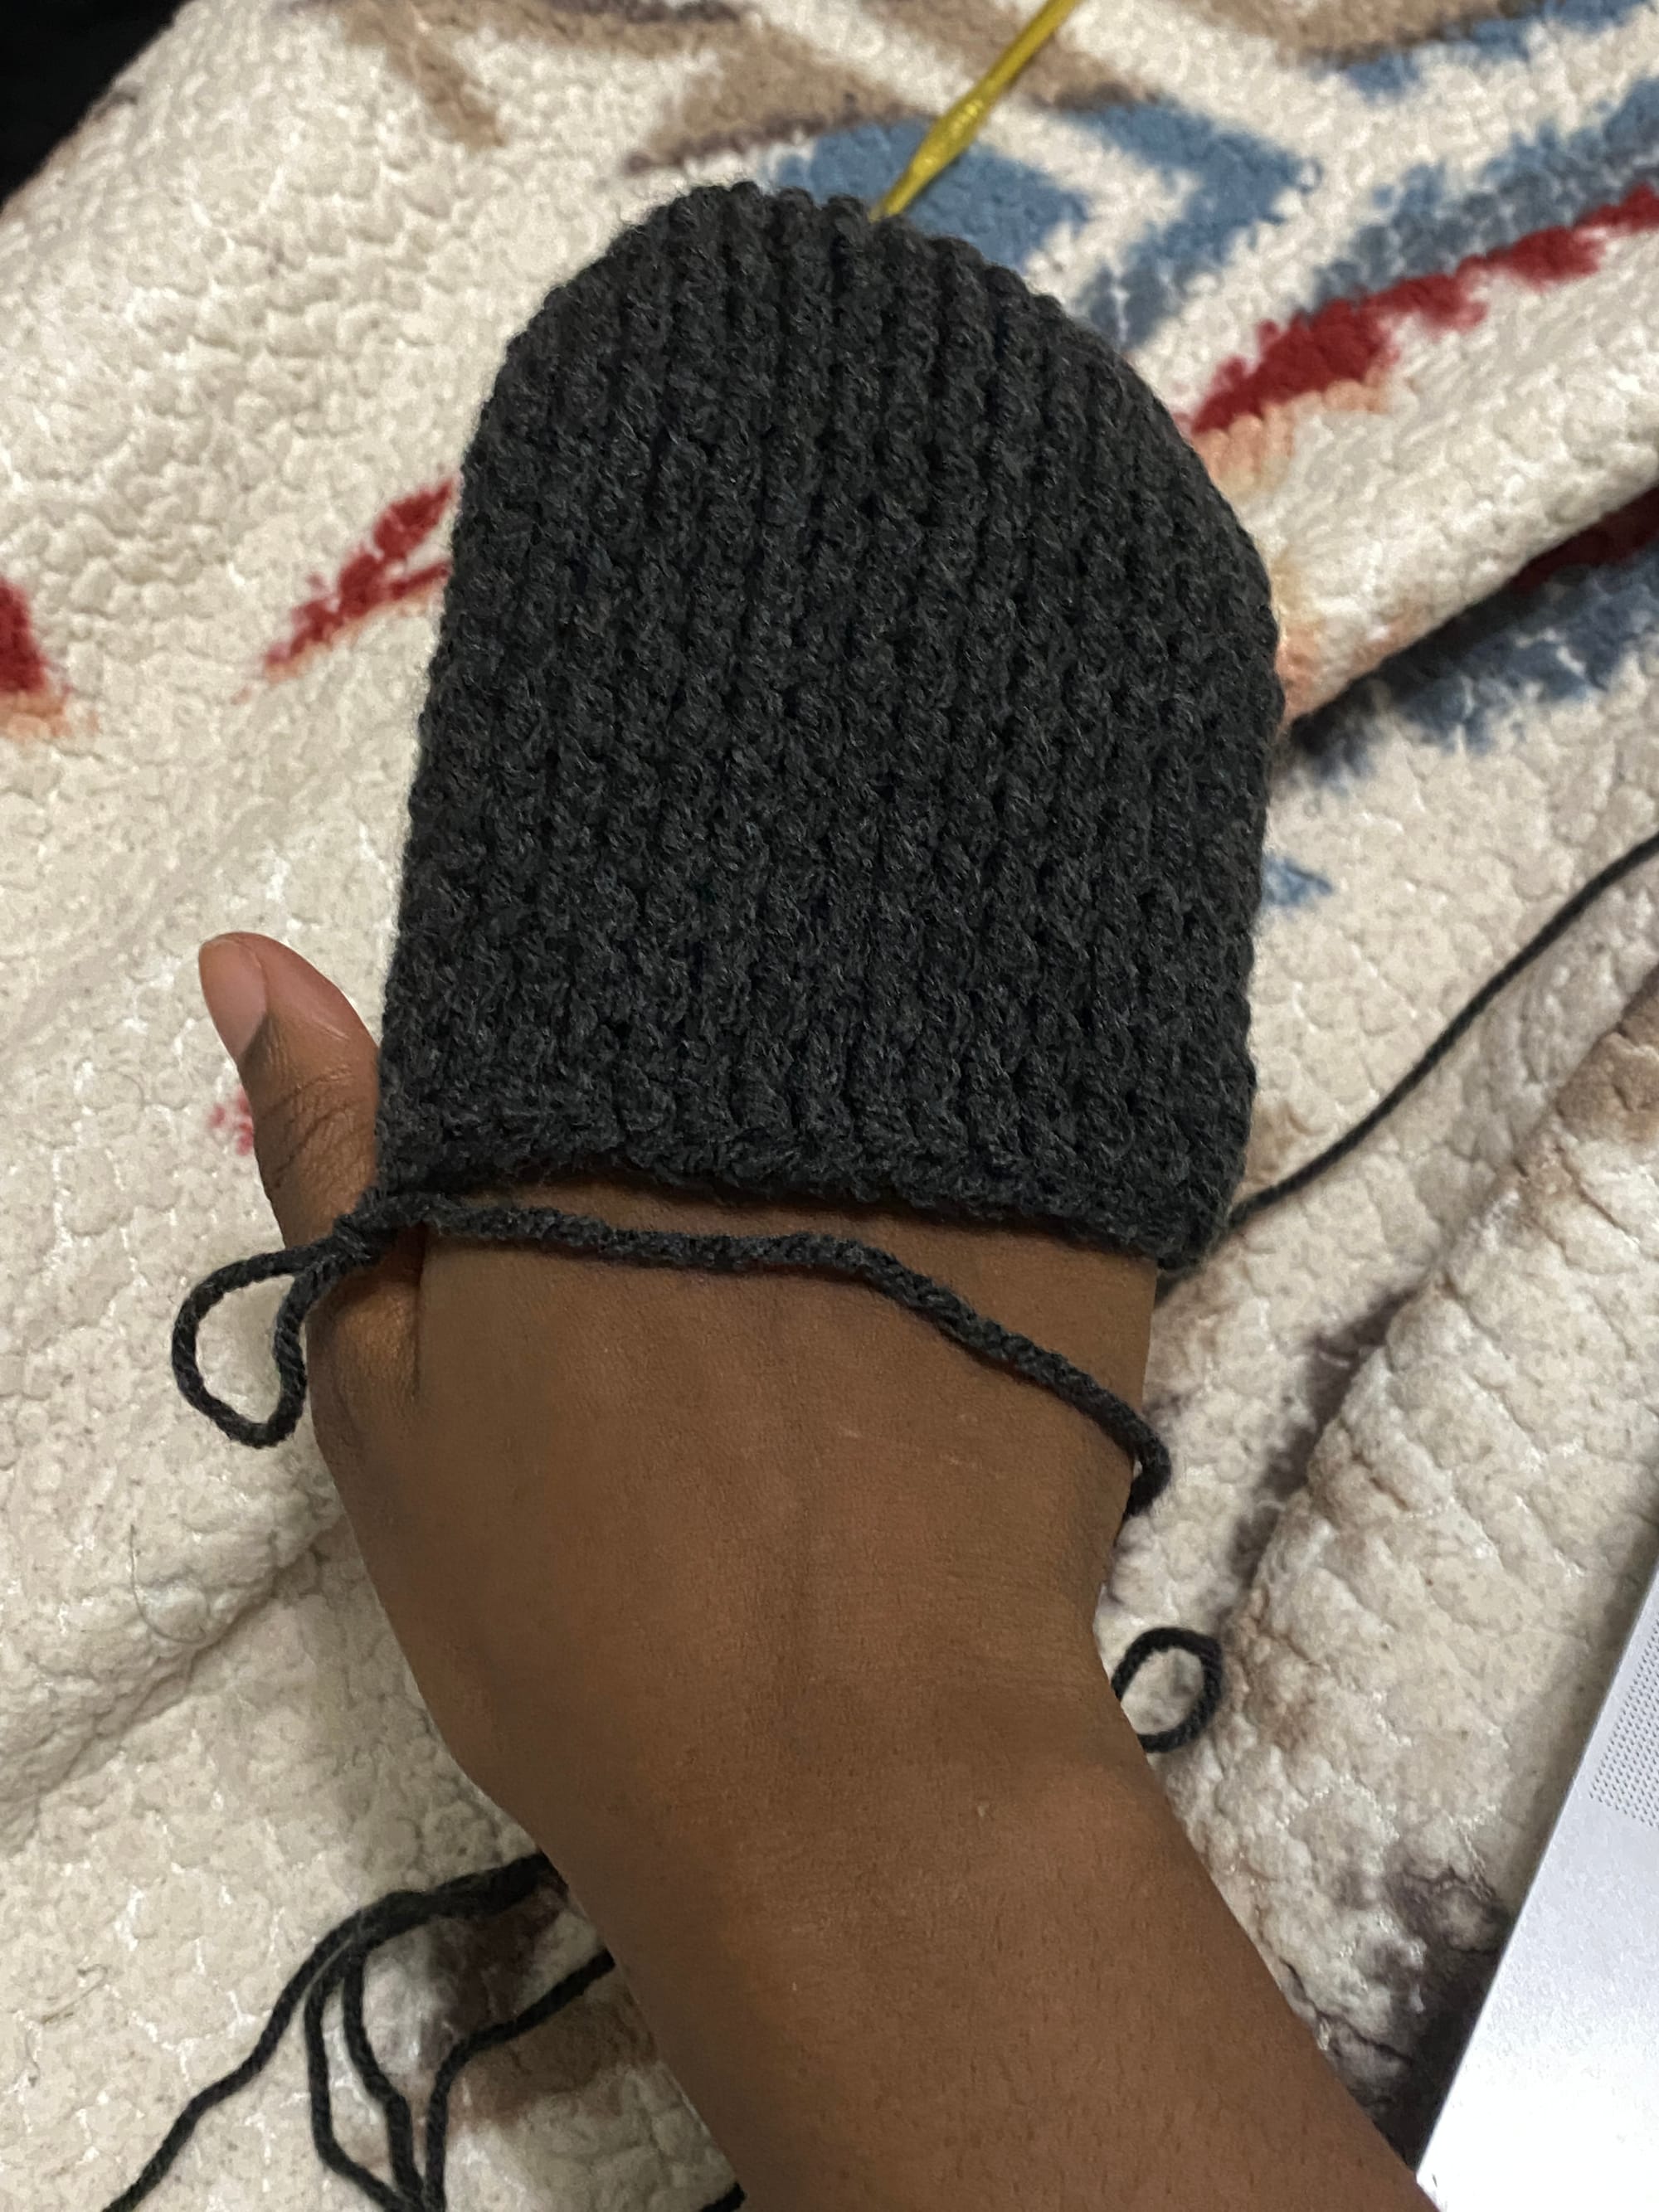
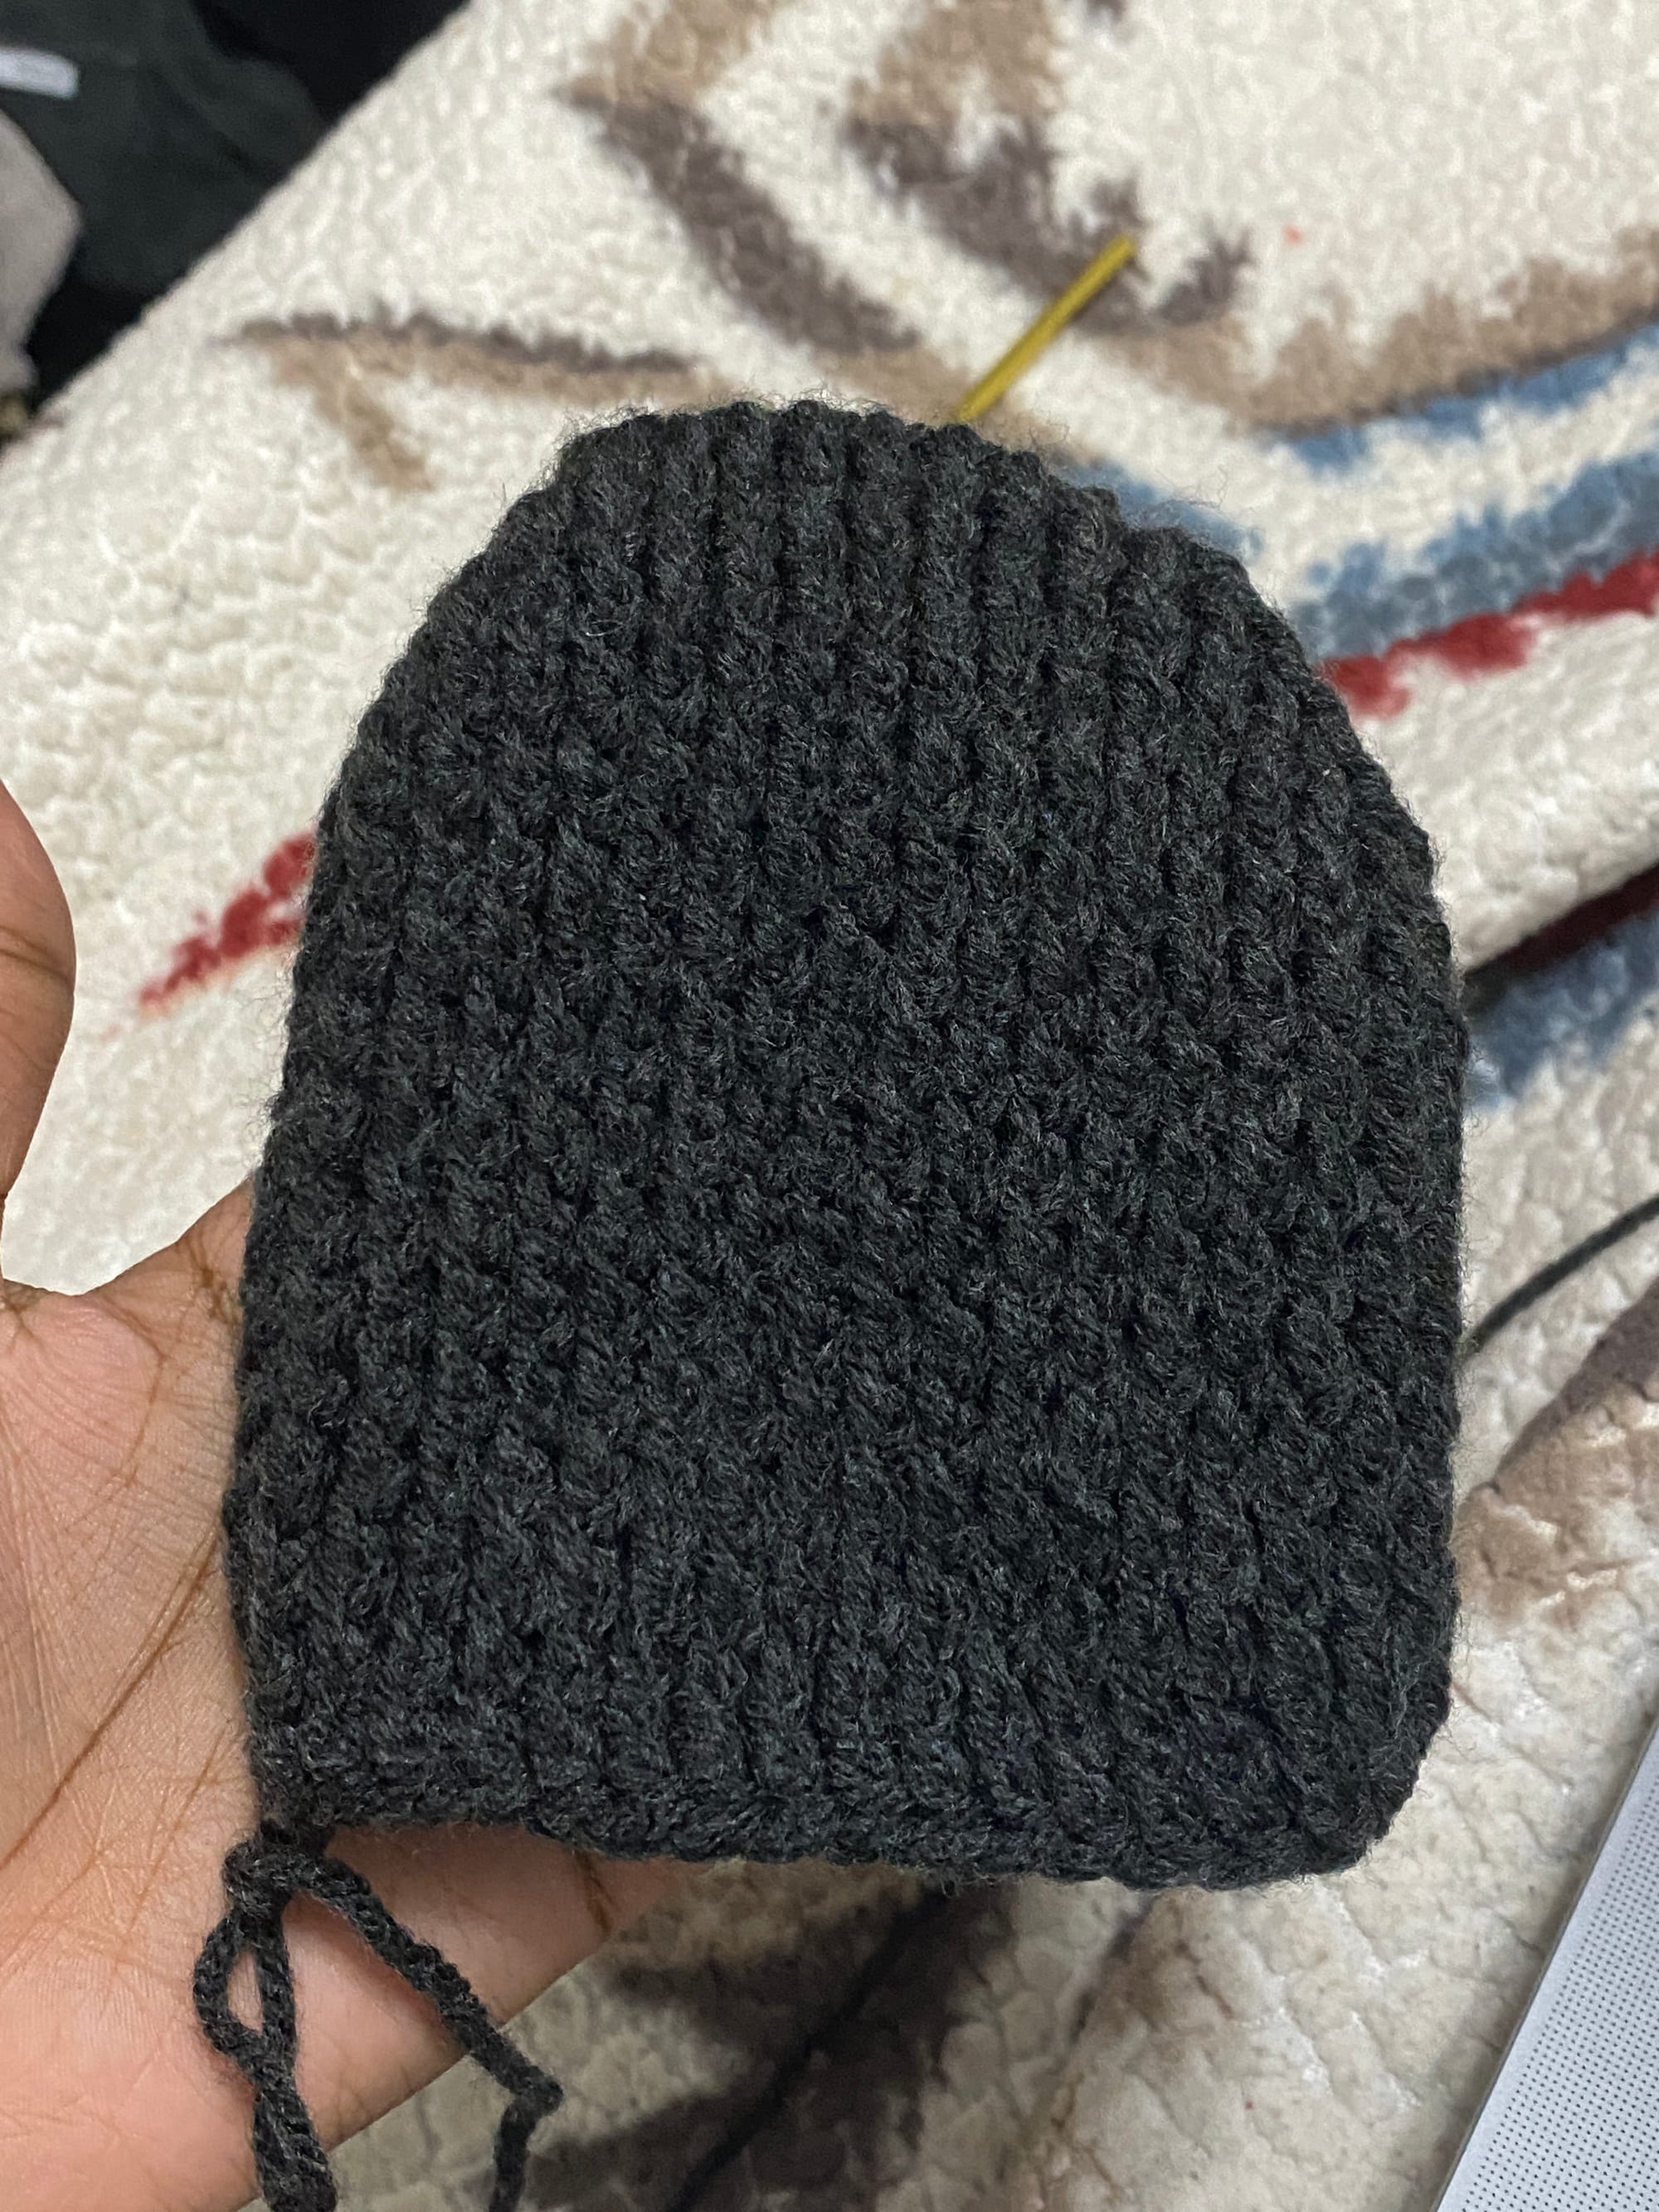
Now for the thumbhole, I worked around leaving the last 4 stitches undone, made 4 foundation half double crochets, and then work front post double crochet over the last two stitches. For the following round, I worked around making two increases at the outer corners of the thumb.
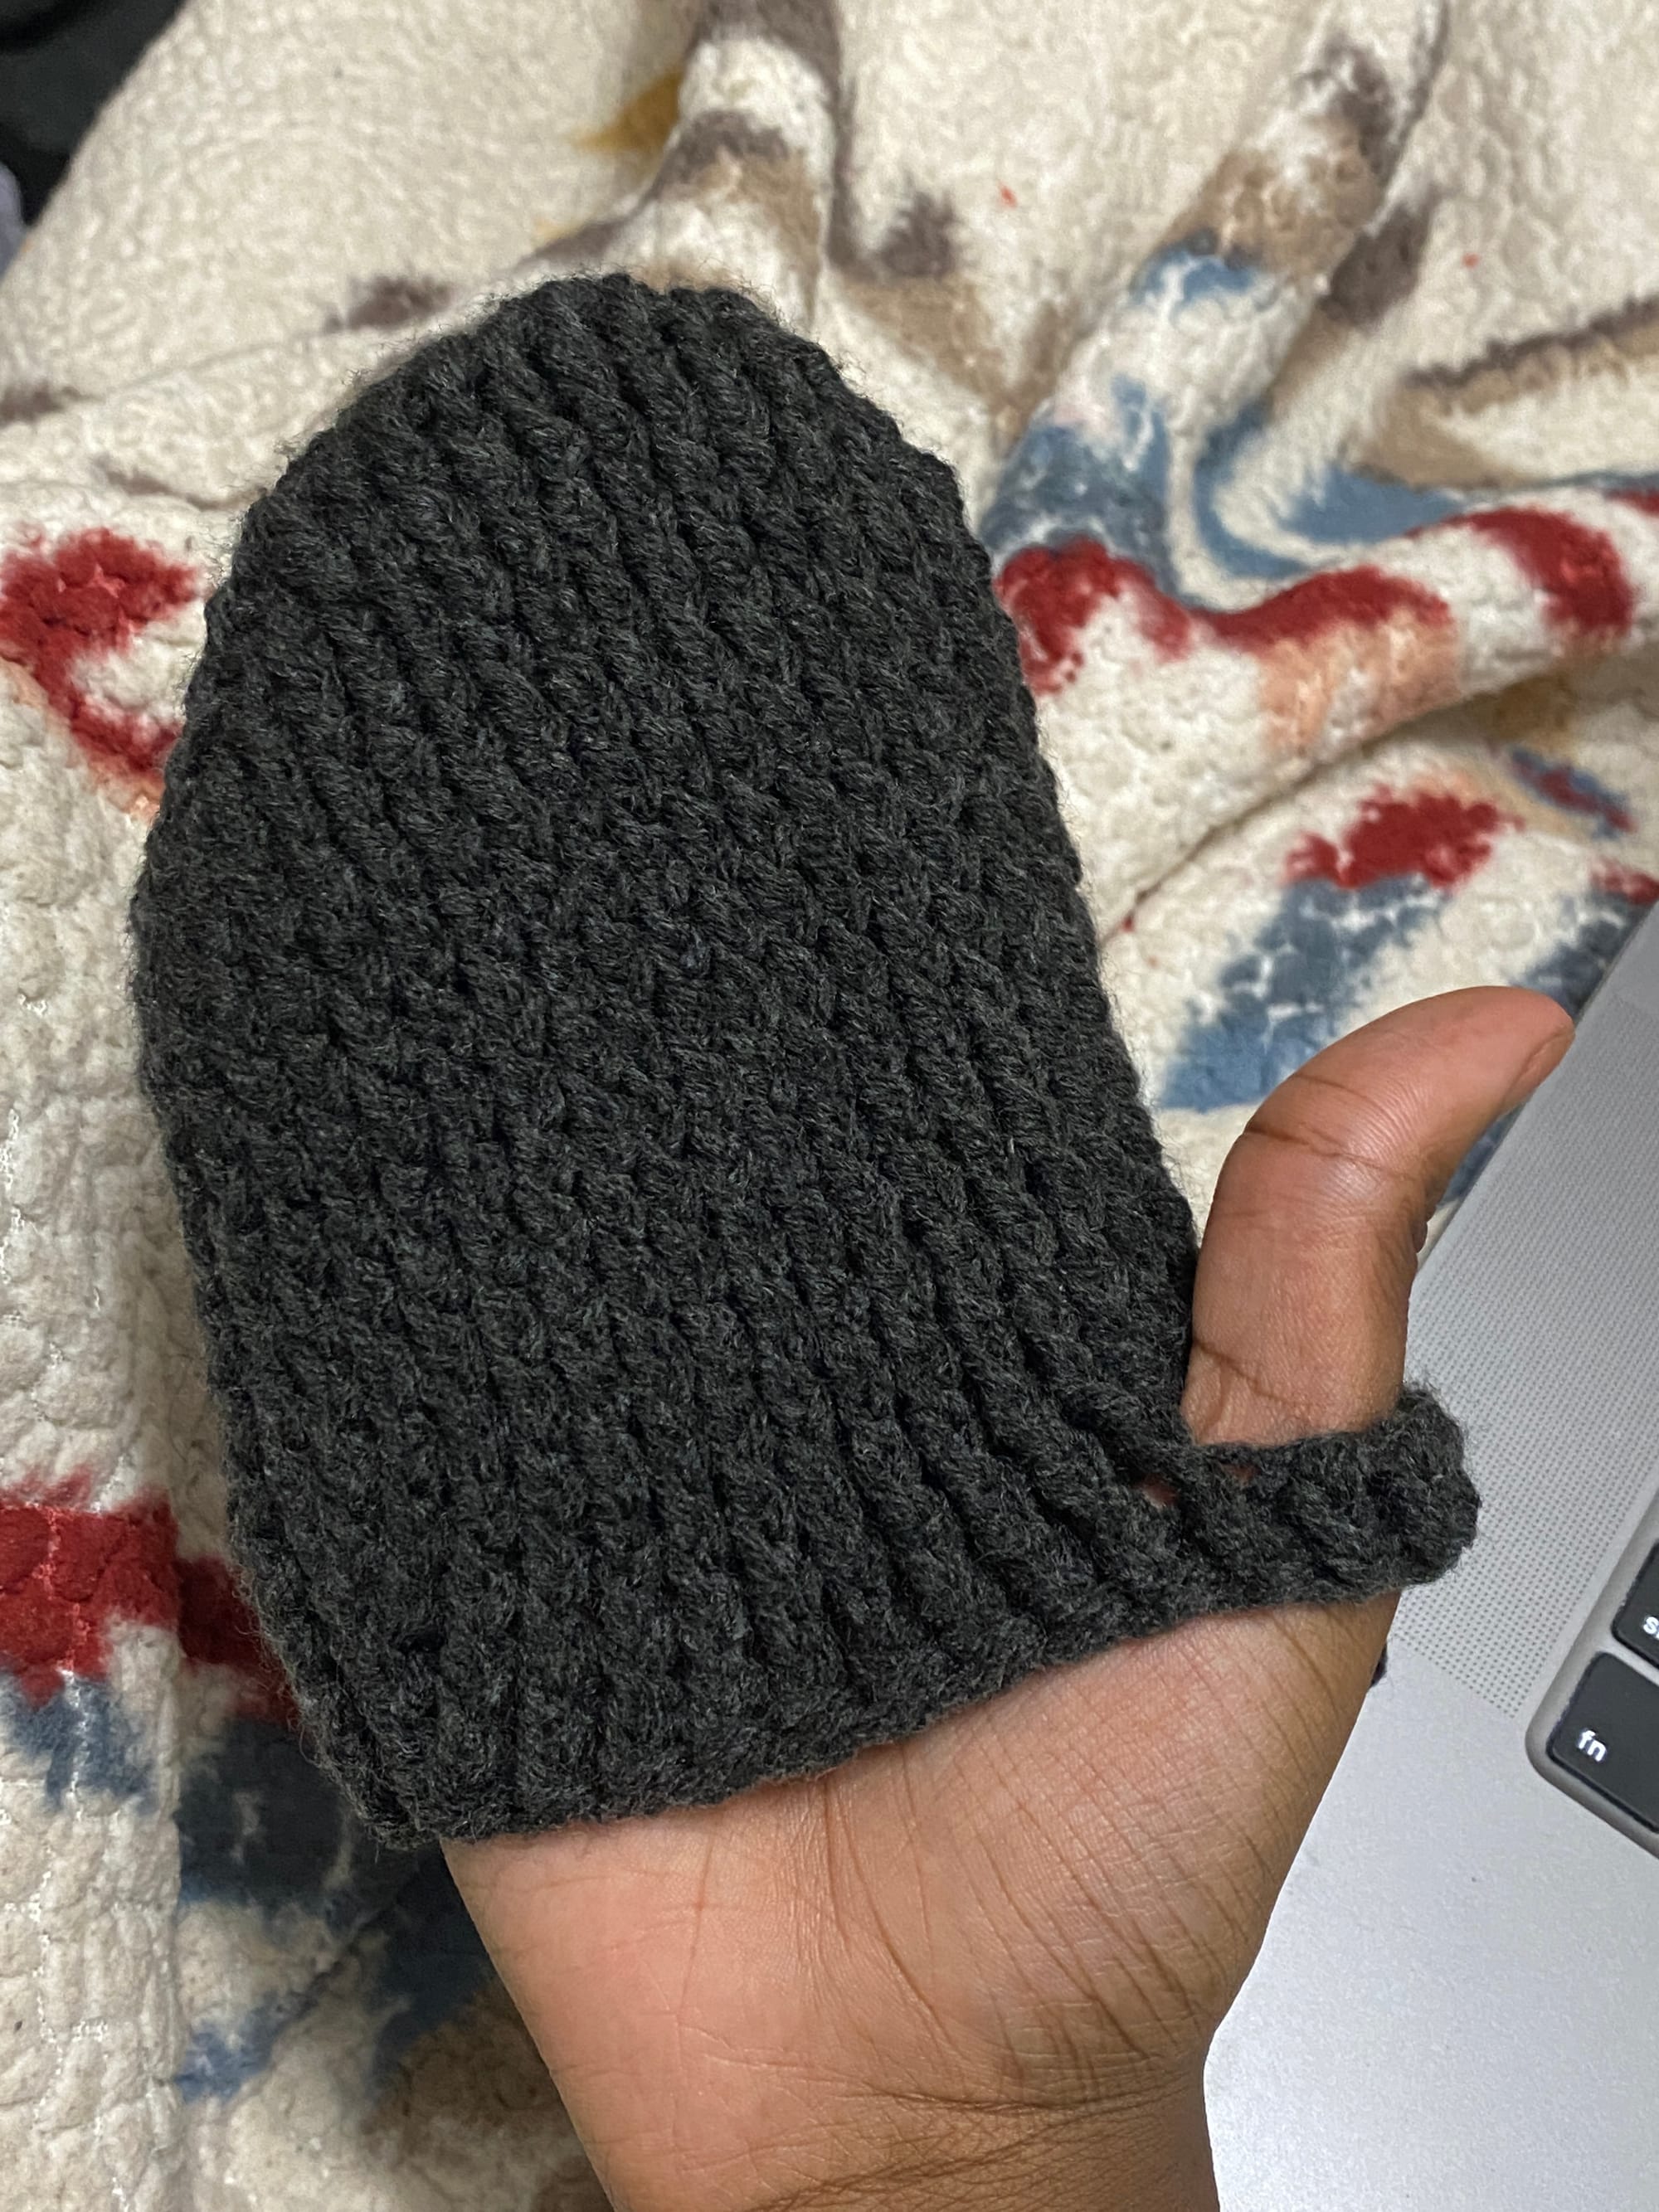
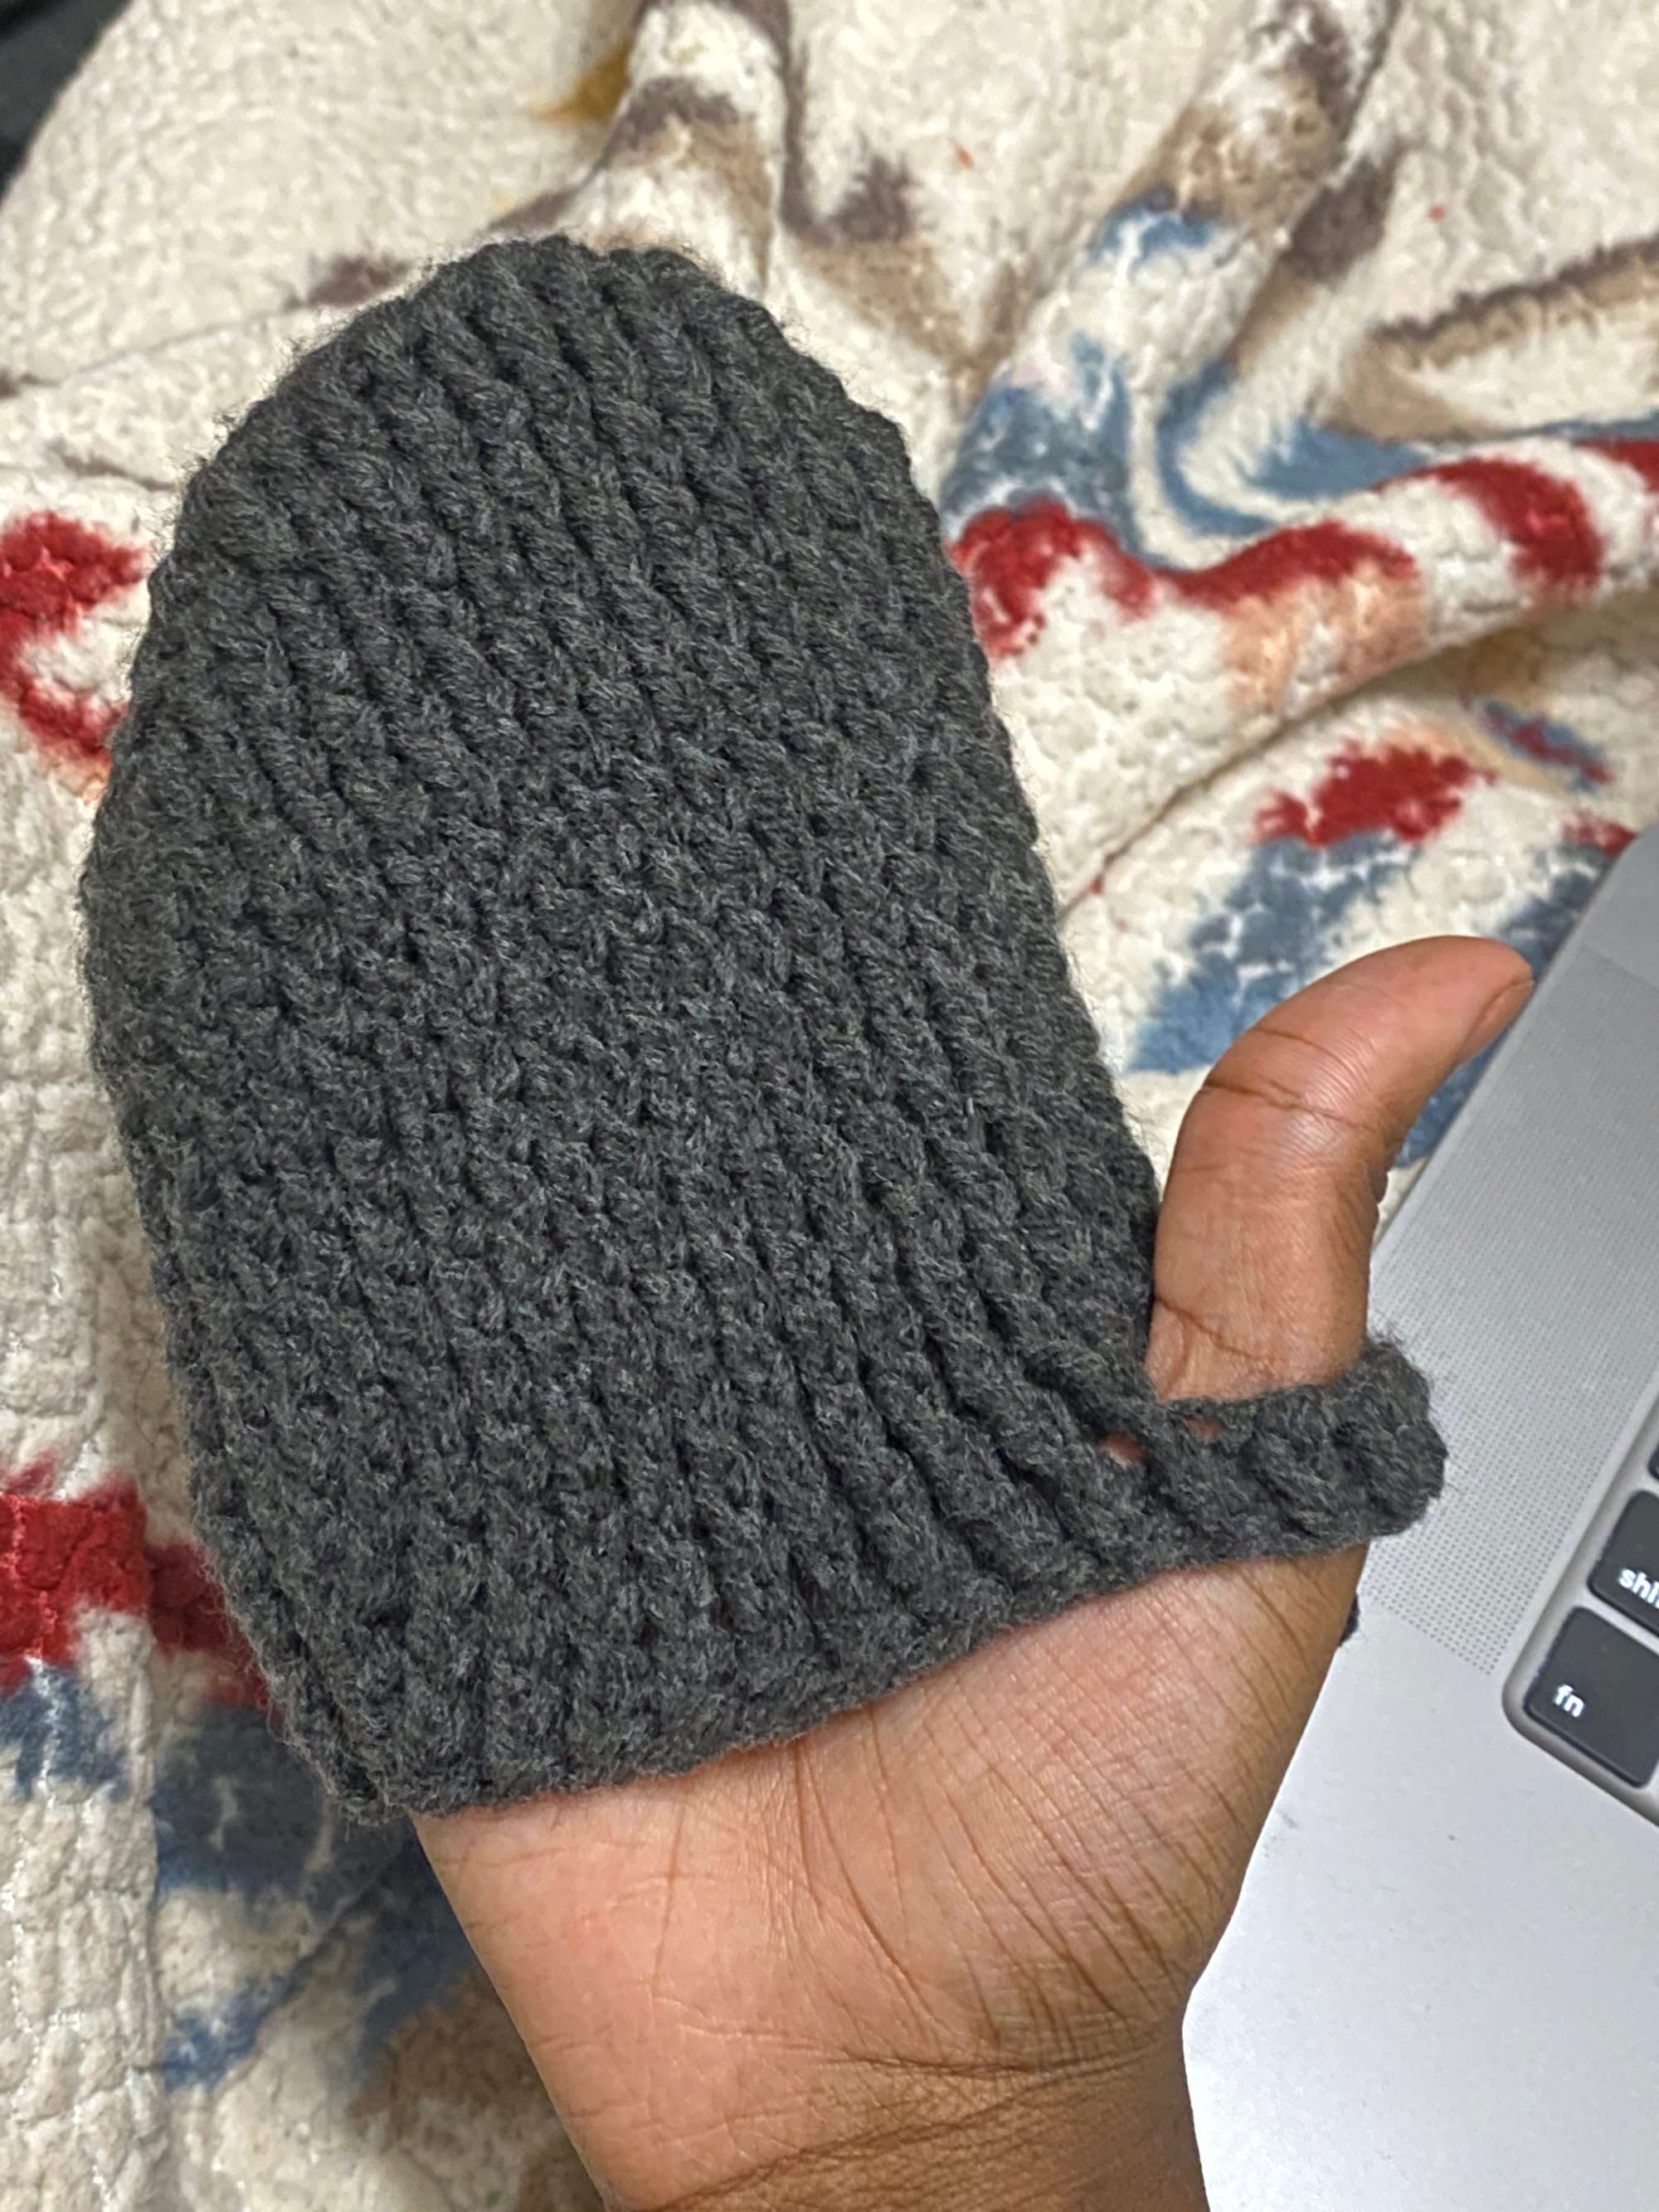
Next, I'm working around with 2 decreases at the outer corners, then a following round with no decreases. After that, 2 decreases at the thumbhole, no decreases the following round, then 2 decreases at the thumbhole for the last two rounds.
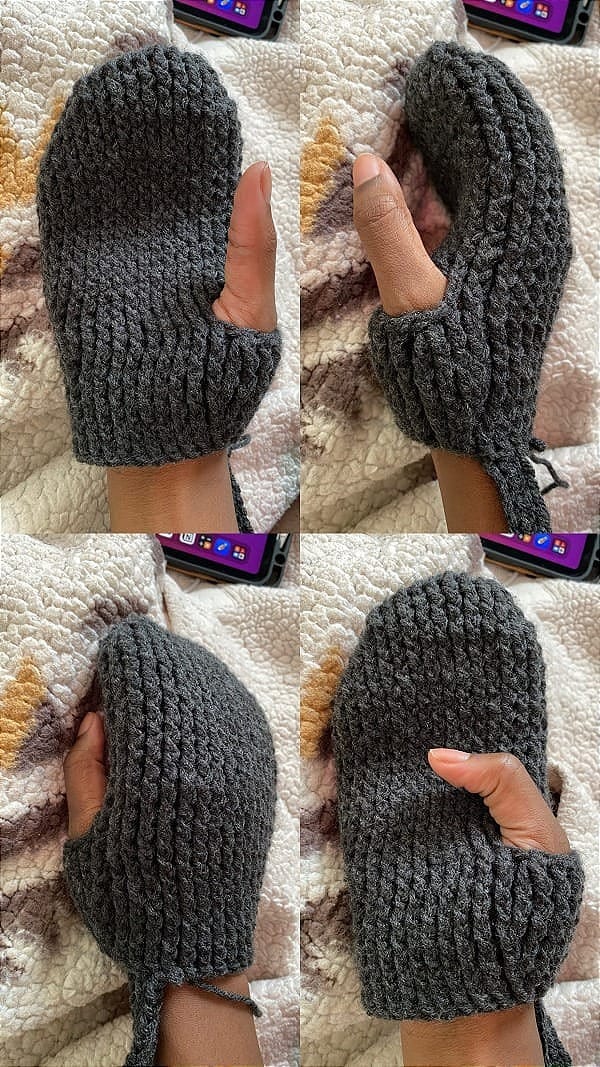
For the cuffs, I worked a pattern of *3 fpdc, 1 bpdc* around also making a decrease at the palmside outer and inner corners. I worked 7 more rounds of *3 fpdc, 1 fpdc* before fastening off.
For the thumb, I reattached the yarn and crocheted 12 hdc around the opening, being sure to make front post stitches where possible. I then worked 7 rounds of fpdc. To close up, I then made 6 fphdc decreases using fphdc2tog, followed by a sc6tog, sealing the final opening.
After fastening off and weaving in my ends, my mitten was complete.
Left Hand
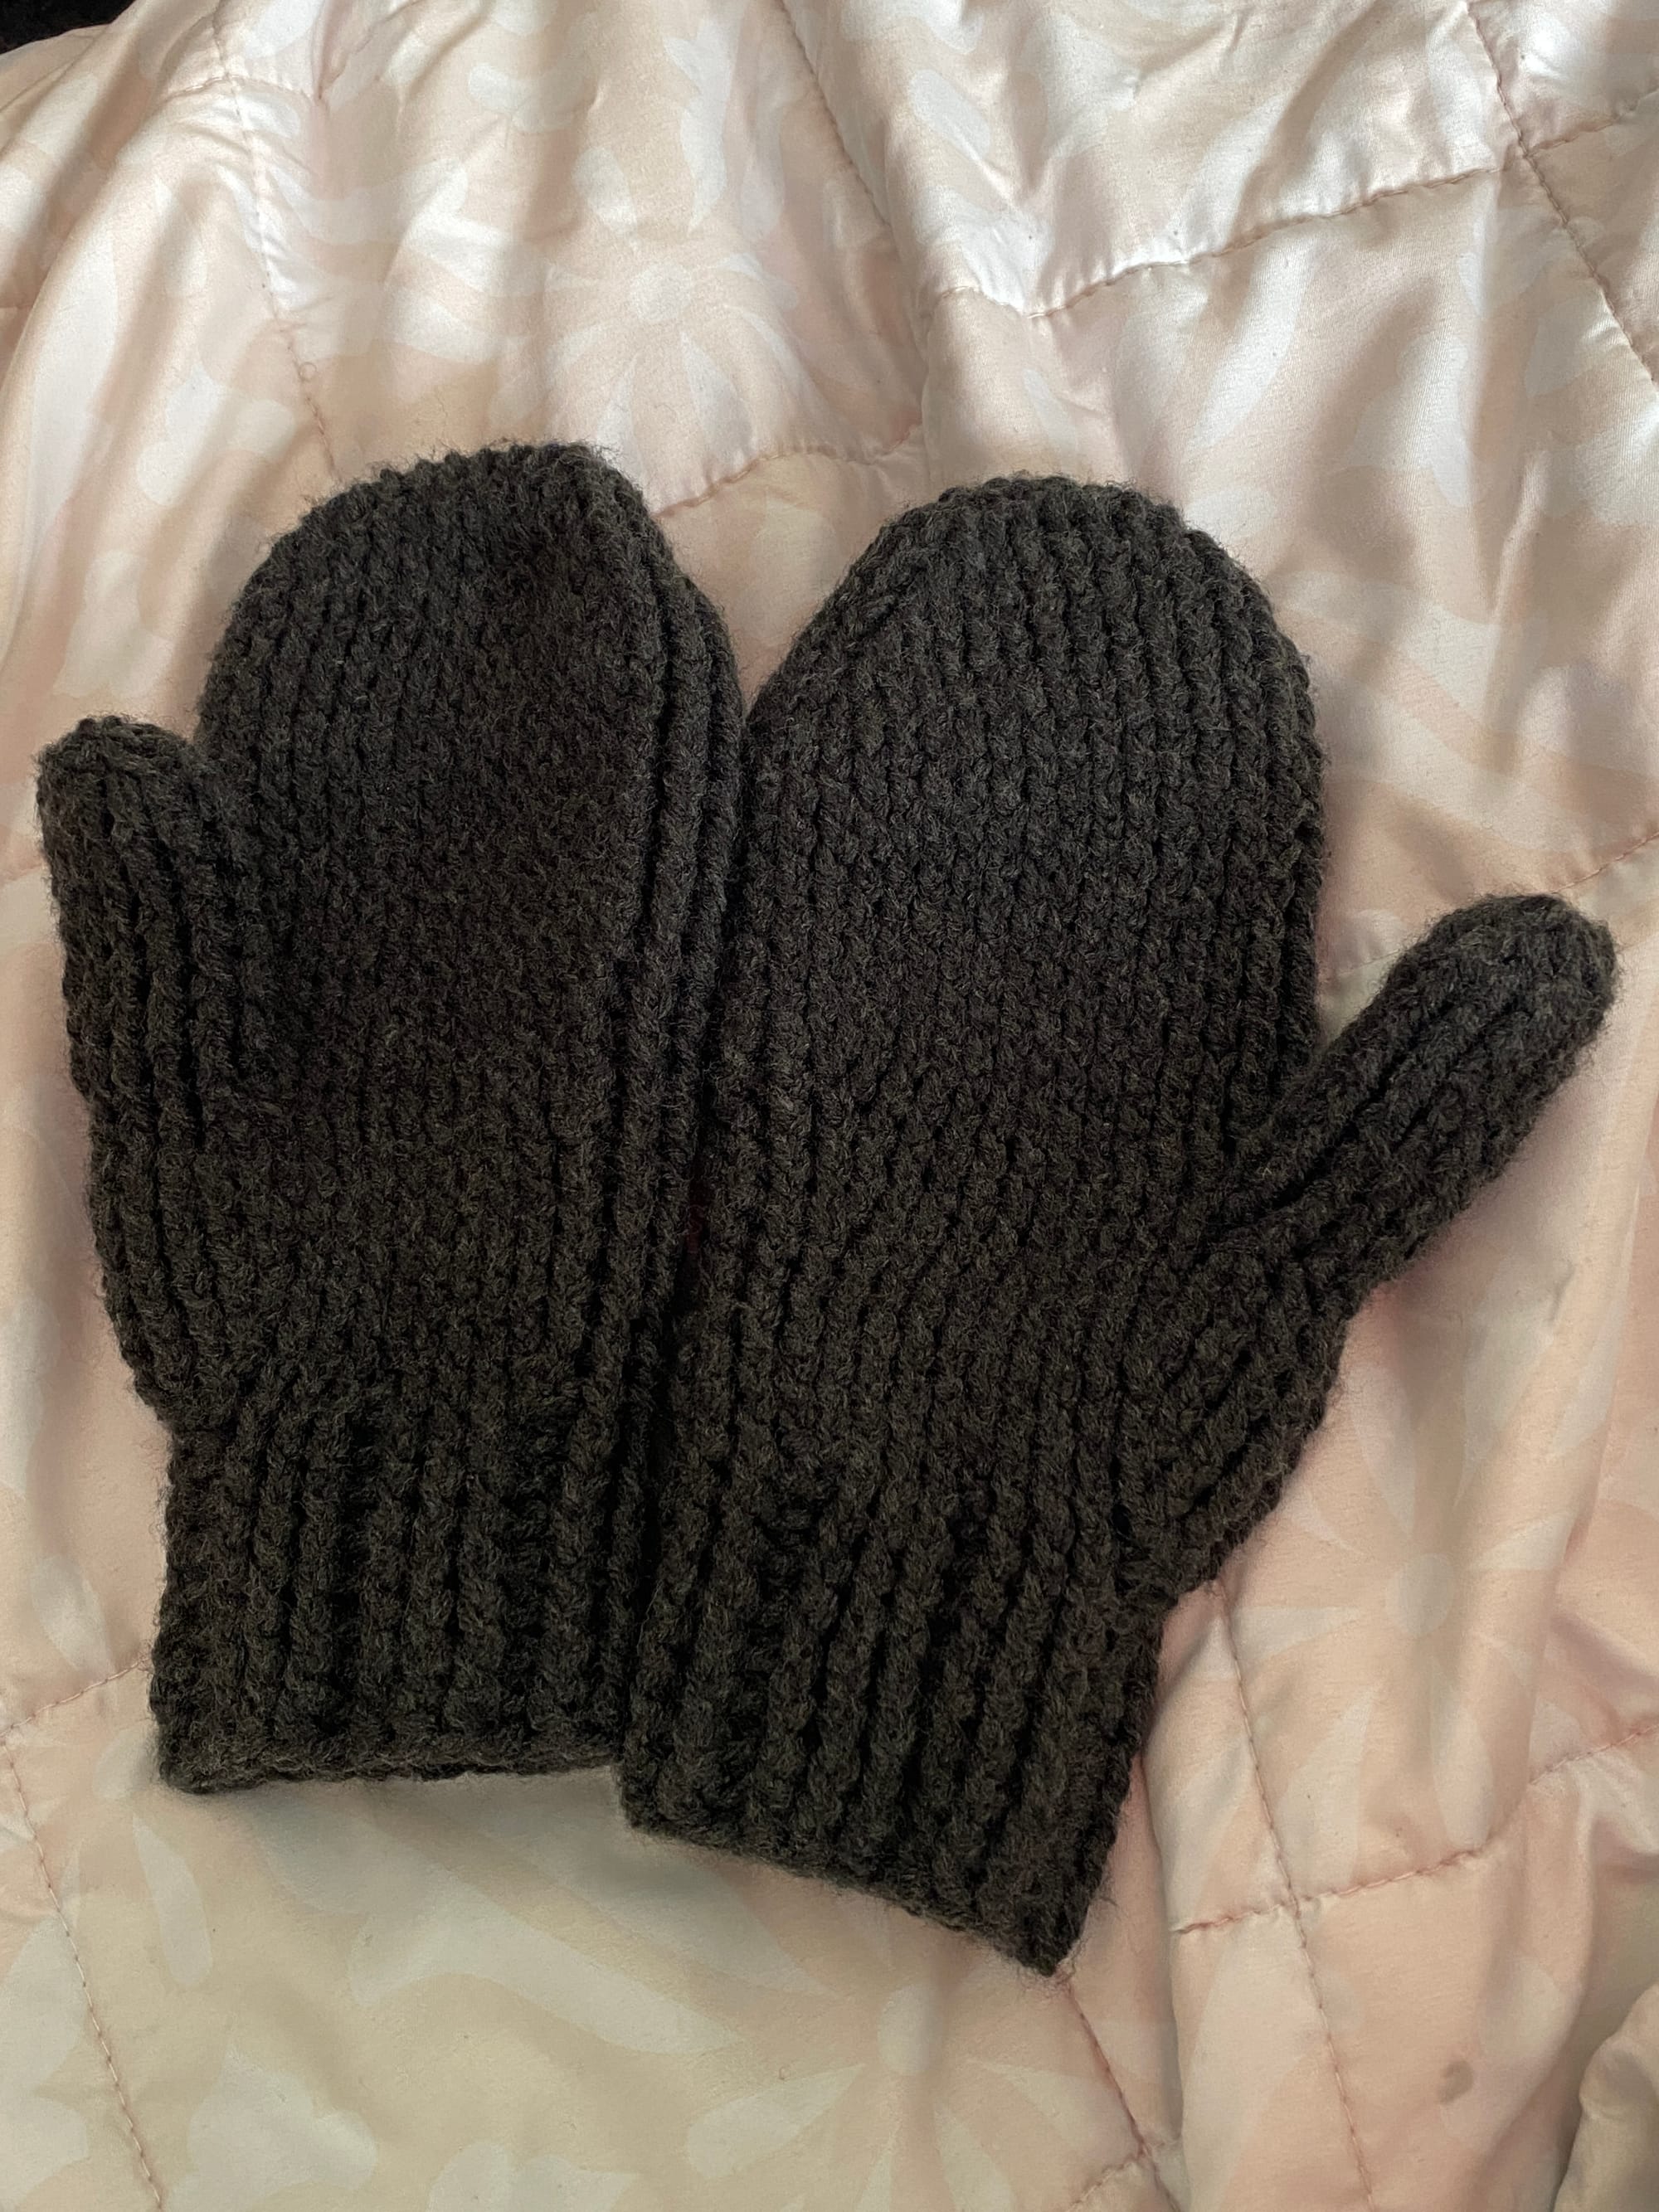
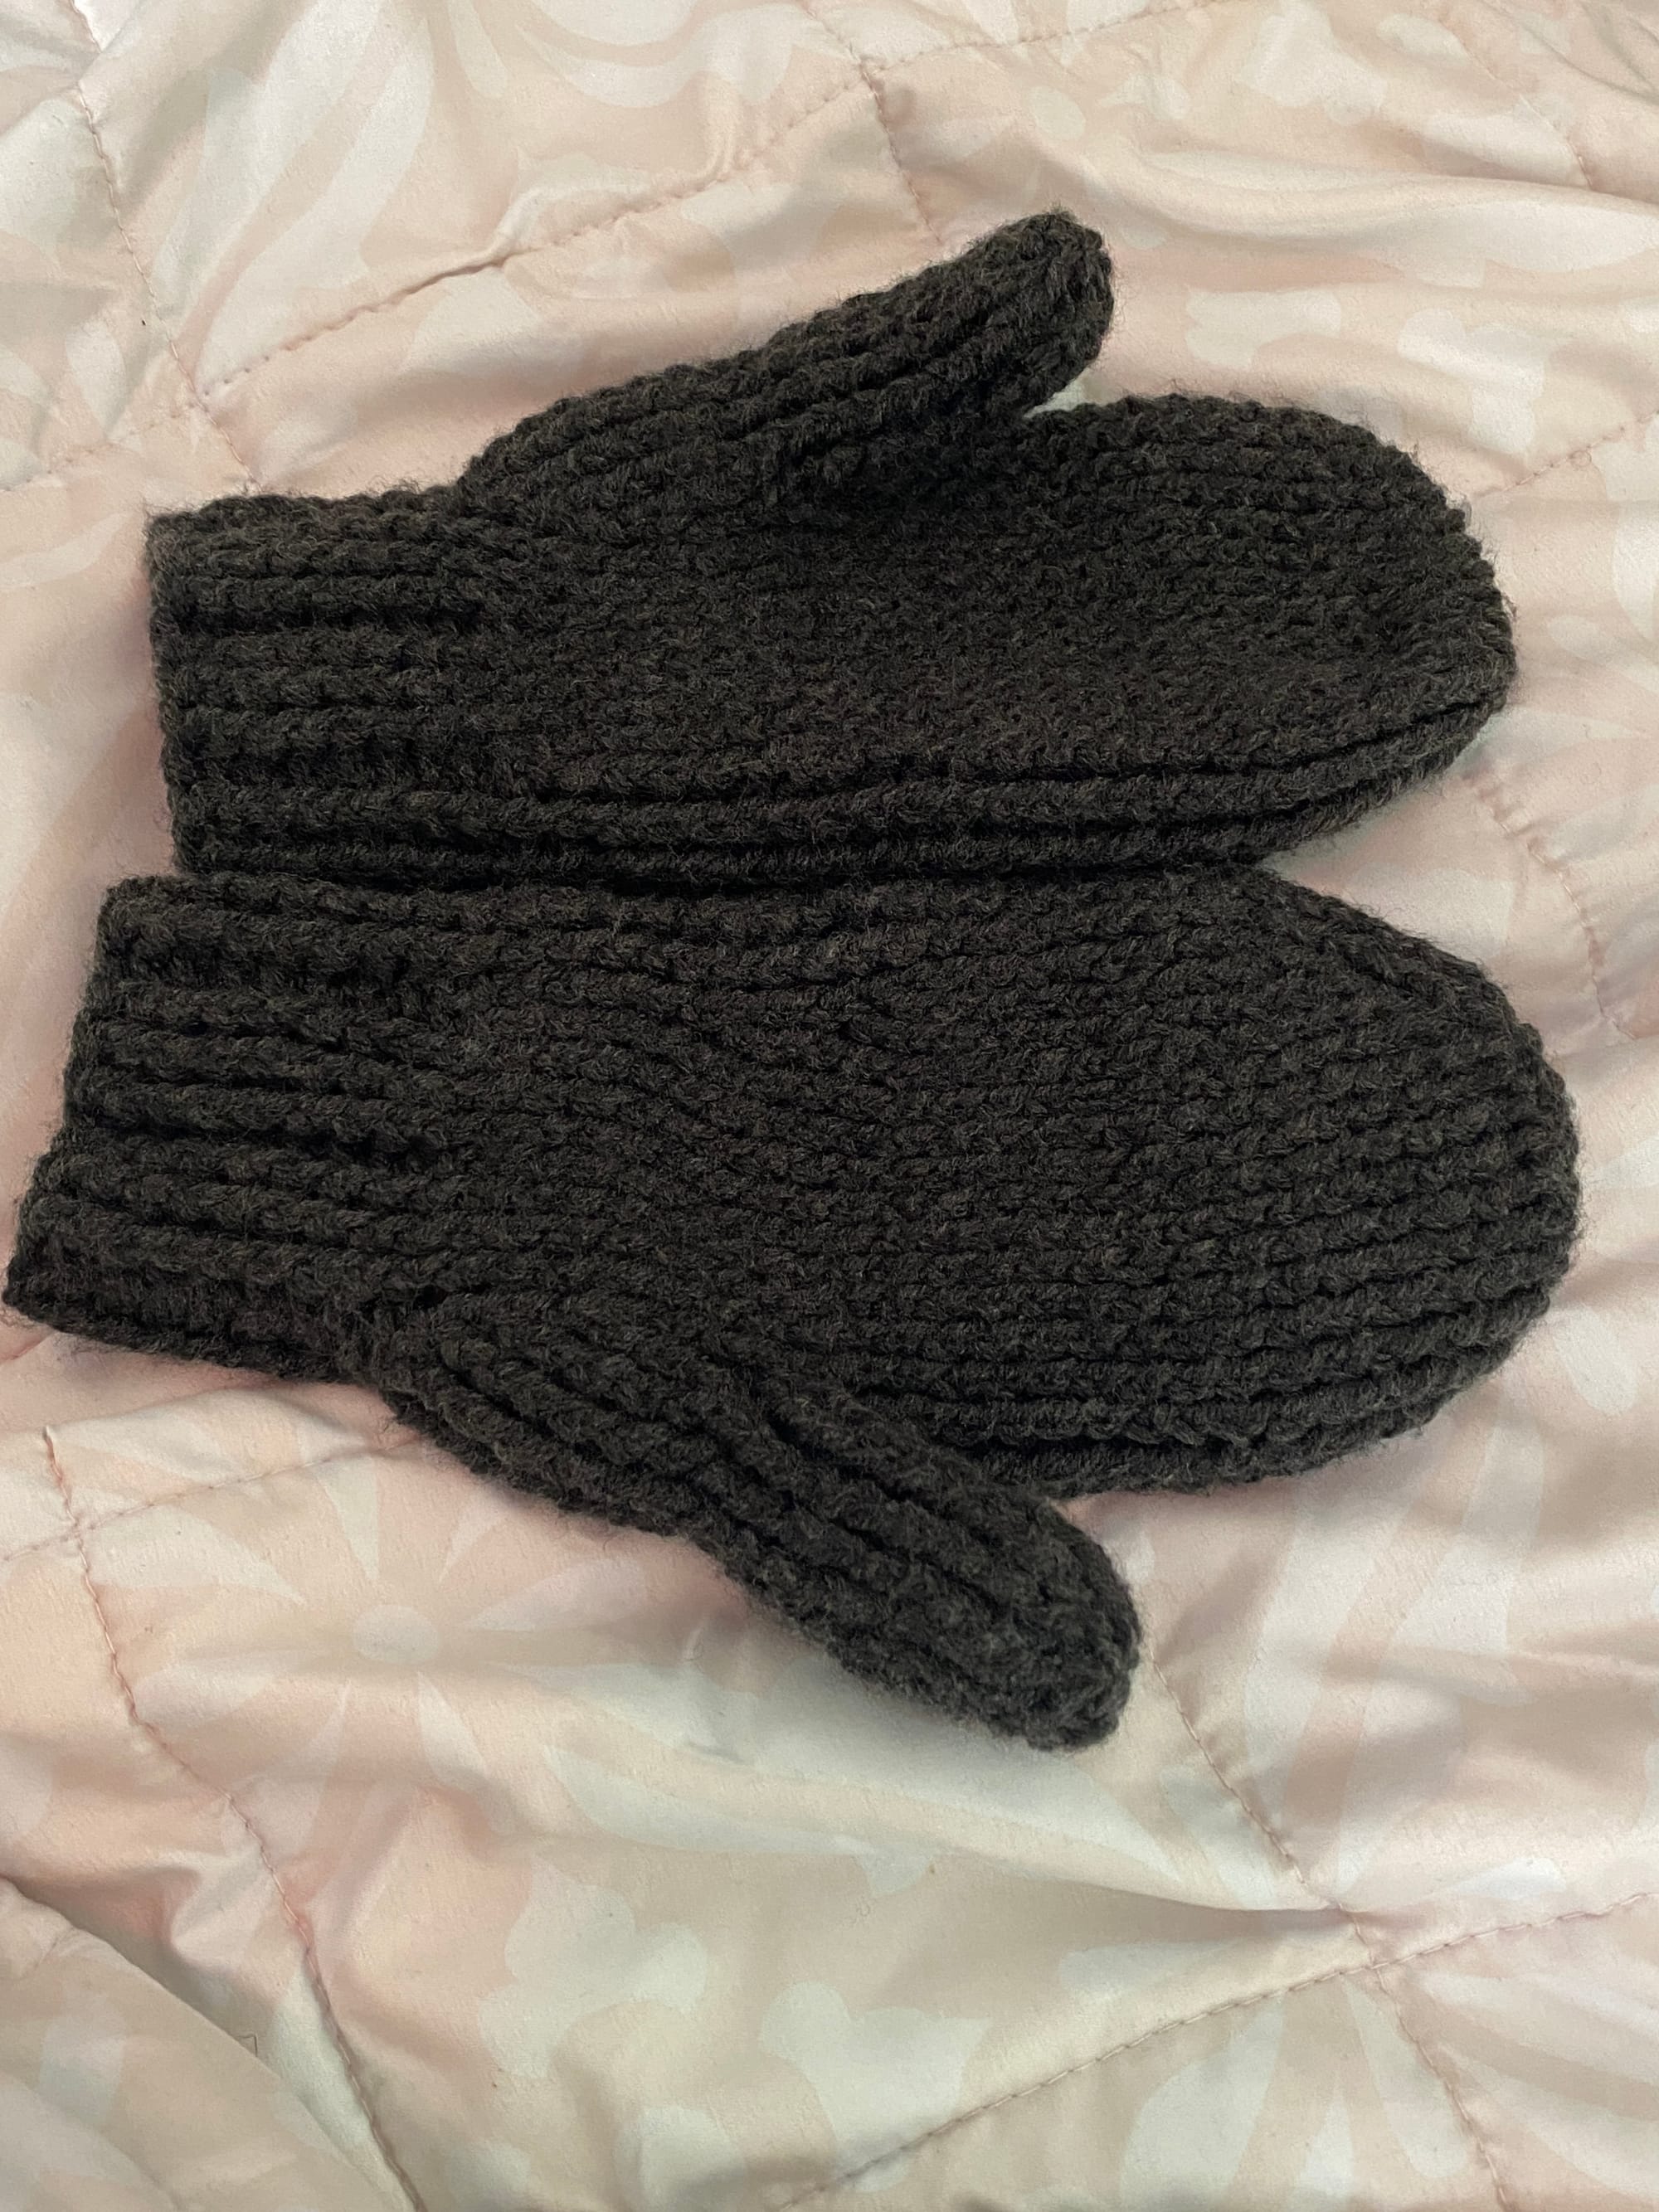
Starting the left hand now and I wanted to create as much symmetry as possible, so the first rounds are a little different. For the right hand after the 7 single crochets, I started the round making 3 dc in the end stitch, working my way around (with the increases at the other end as well), and then putting another 2 dc in the end stitch I started with. This was to ensure the seam fell more along the edge or towards the palm side of the hand and not on the outside. For the left hand, I'm beginning the round with 2 in the end stitch and then adding 3 more at the end of the round.
For both mittens, the seam is on the inner edge of the fingers.
The second round is fpdc inc, 7 fpdc, fpdc inc, 1 fpdc, fpdc inc, 7 fpdc, fpdc inc, and 1 fpdc. The third round is fpdc inc, 9 fpdc, fpdc inc, 1 fpdc, fpdc inc, 9 fpdc, fpdc inc, and 1 fpdc, fourth round is fpdc inc, 11 fpdc, fpdc inc, 1 fpdc, fpdc inc, 11 fpdc, fpdc inc, and 1 fpdc. I'm continuing on, essentially doing the same thing as the right hand, except on the other side to ensure on both hands the seam is on the inner edge.
Originally published on another domain 6 Feb, 2023.
This is a public note. It is not a pattern. This documentation of my process has been made public with little clarification in case there is anything to be learned.