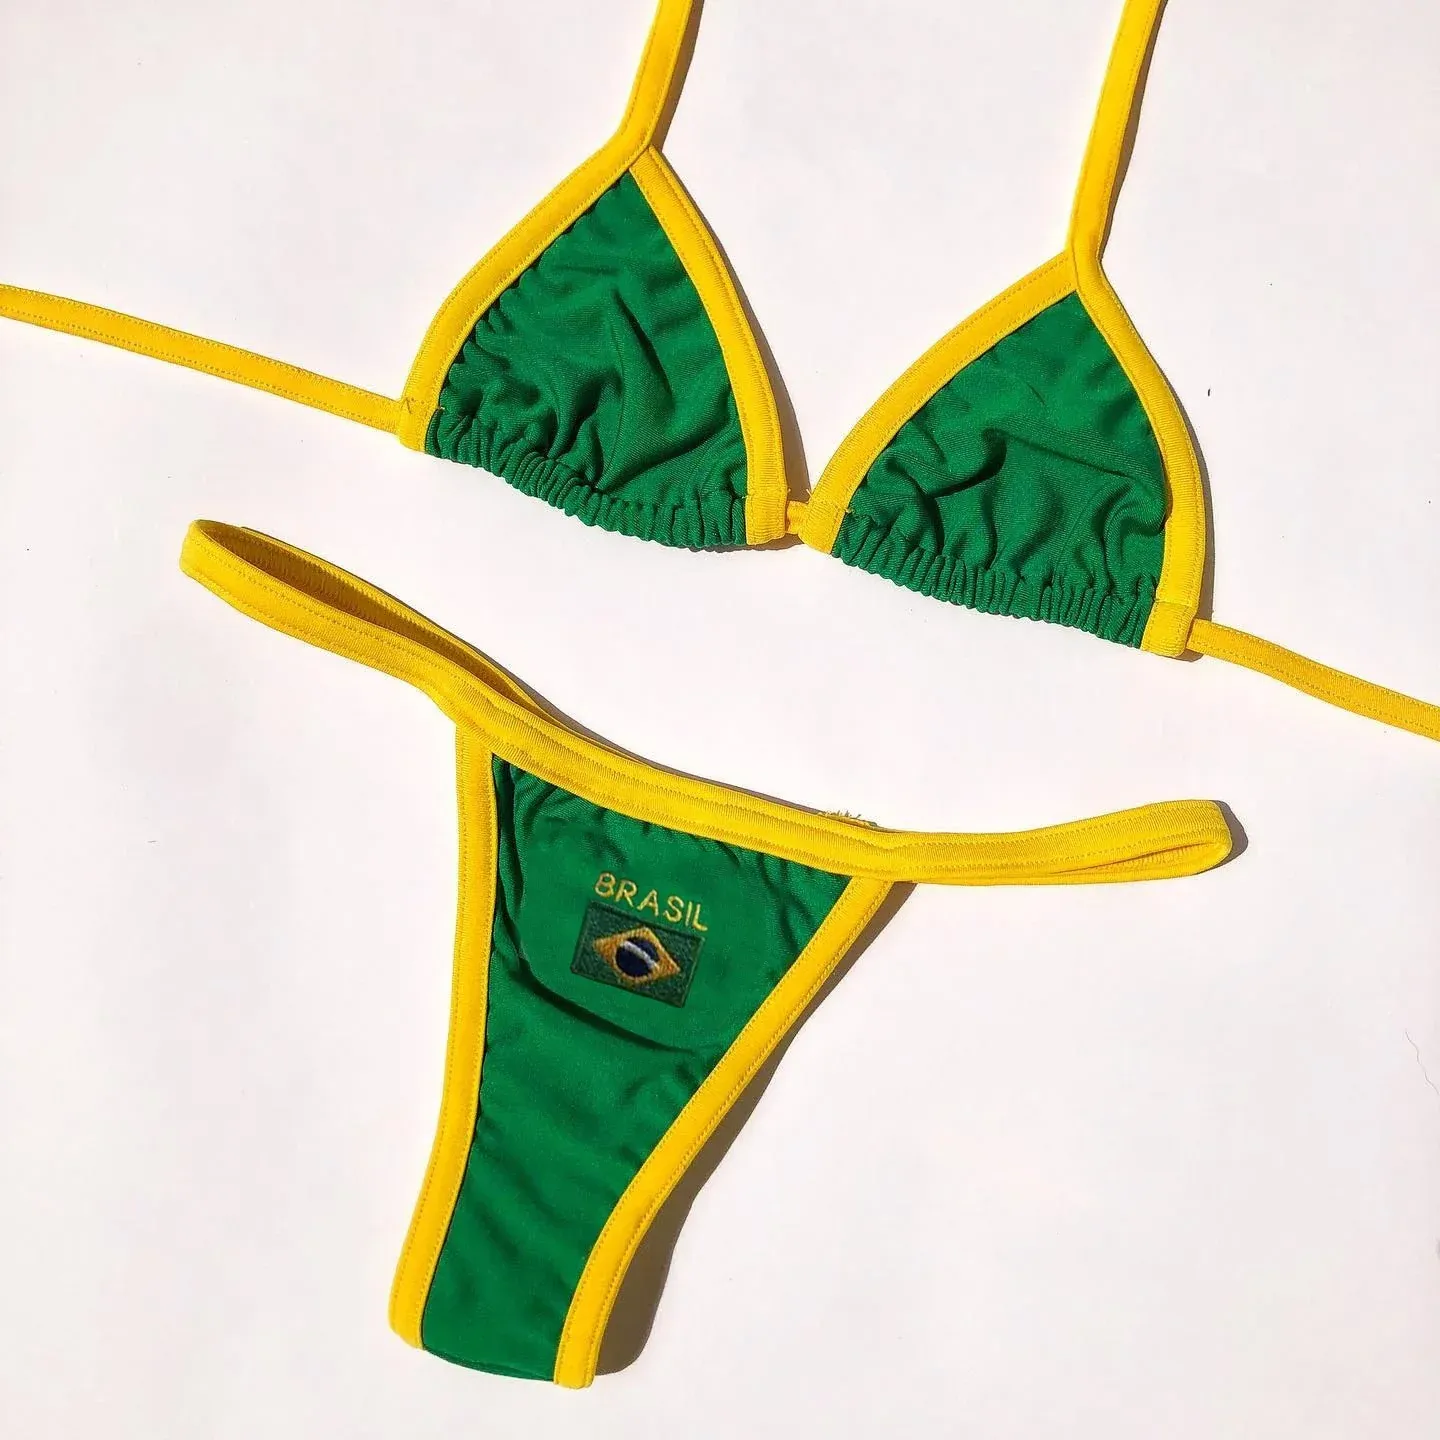
Brazil Bikini
Now that I've finished up the cups, I'd like to make a short guide. This pattern is made-to-measure. You'll need to know the desired width of one cup, ie., the width you require for the coverage you would like.
Overview
The below materials are based on the original design, but there will be instructions along the way for customisation and generalisation. As this is a made-to-measure pattern, you may want to take note of what you do for the first cup so you can replicate it for the second cup and any future creations.
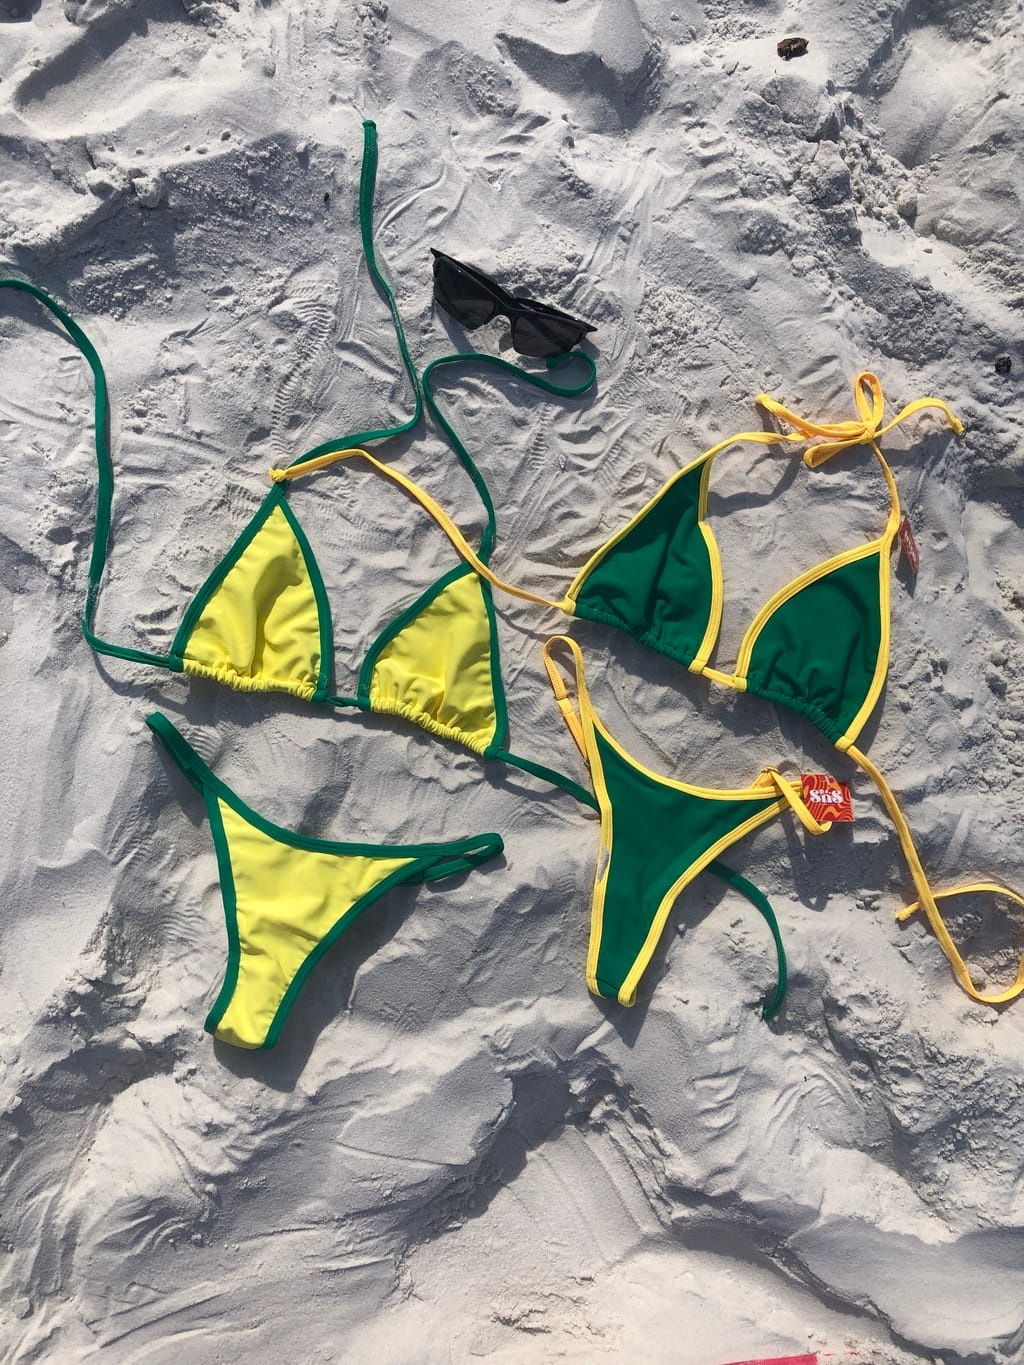
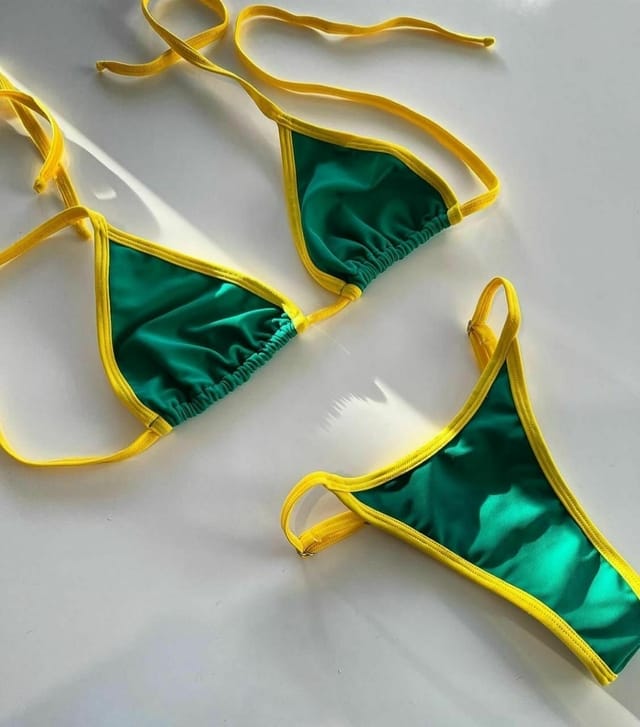
There are simpler ways to make a comparable bikini, but with the below inspiration pictures, I specifically wanted the following features:
- A completely closed casing for the drawstring in the main colour with a matching seam
- Ties of a width that matches the width of the contrasting colour around the cup
Preparation
These materials are based on the design with contrasting colours. The skein count may alter slightly if you working with one colour alone.
Materials
Fingering weight (1) cotton yarn
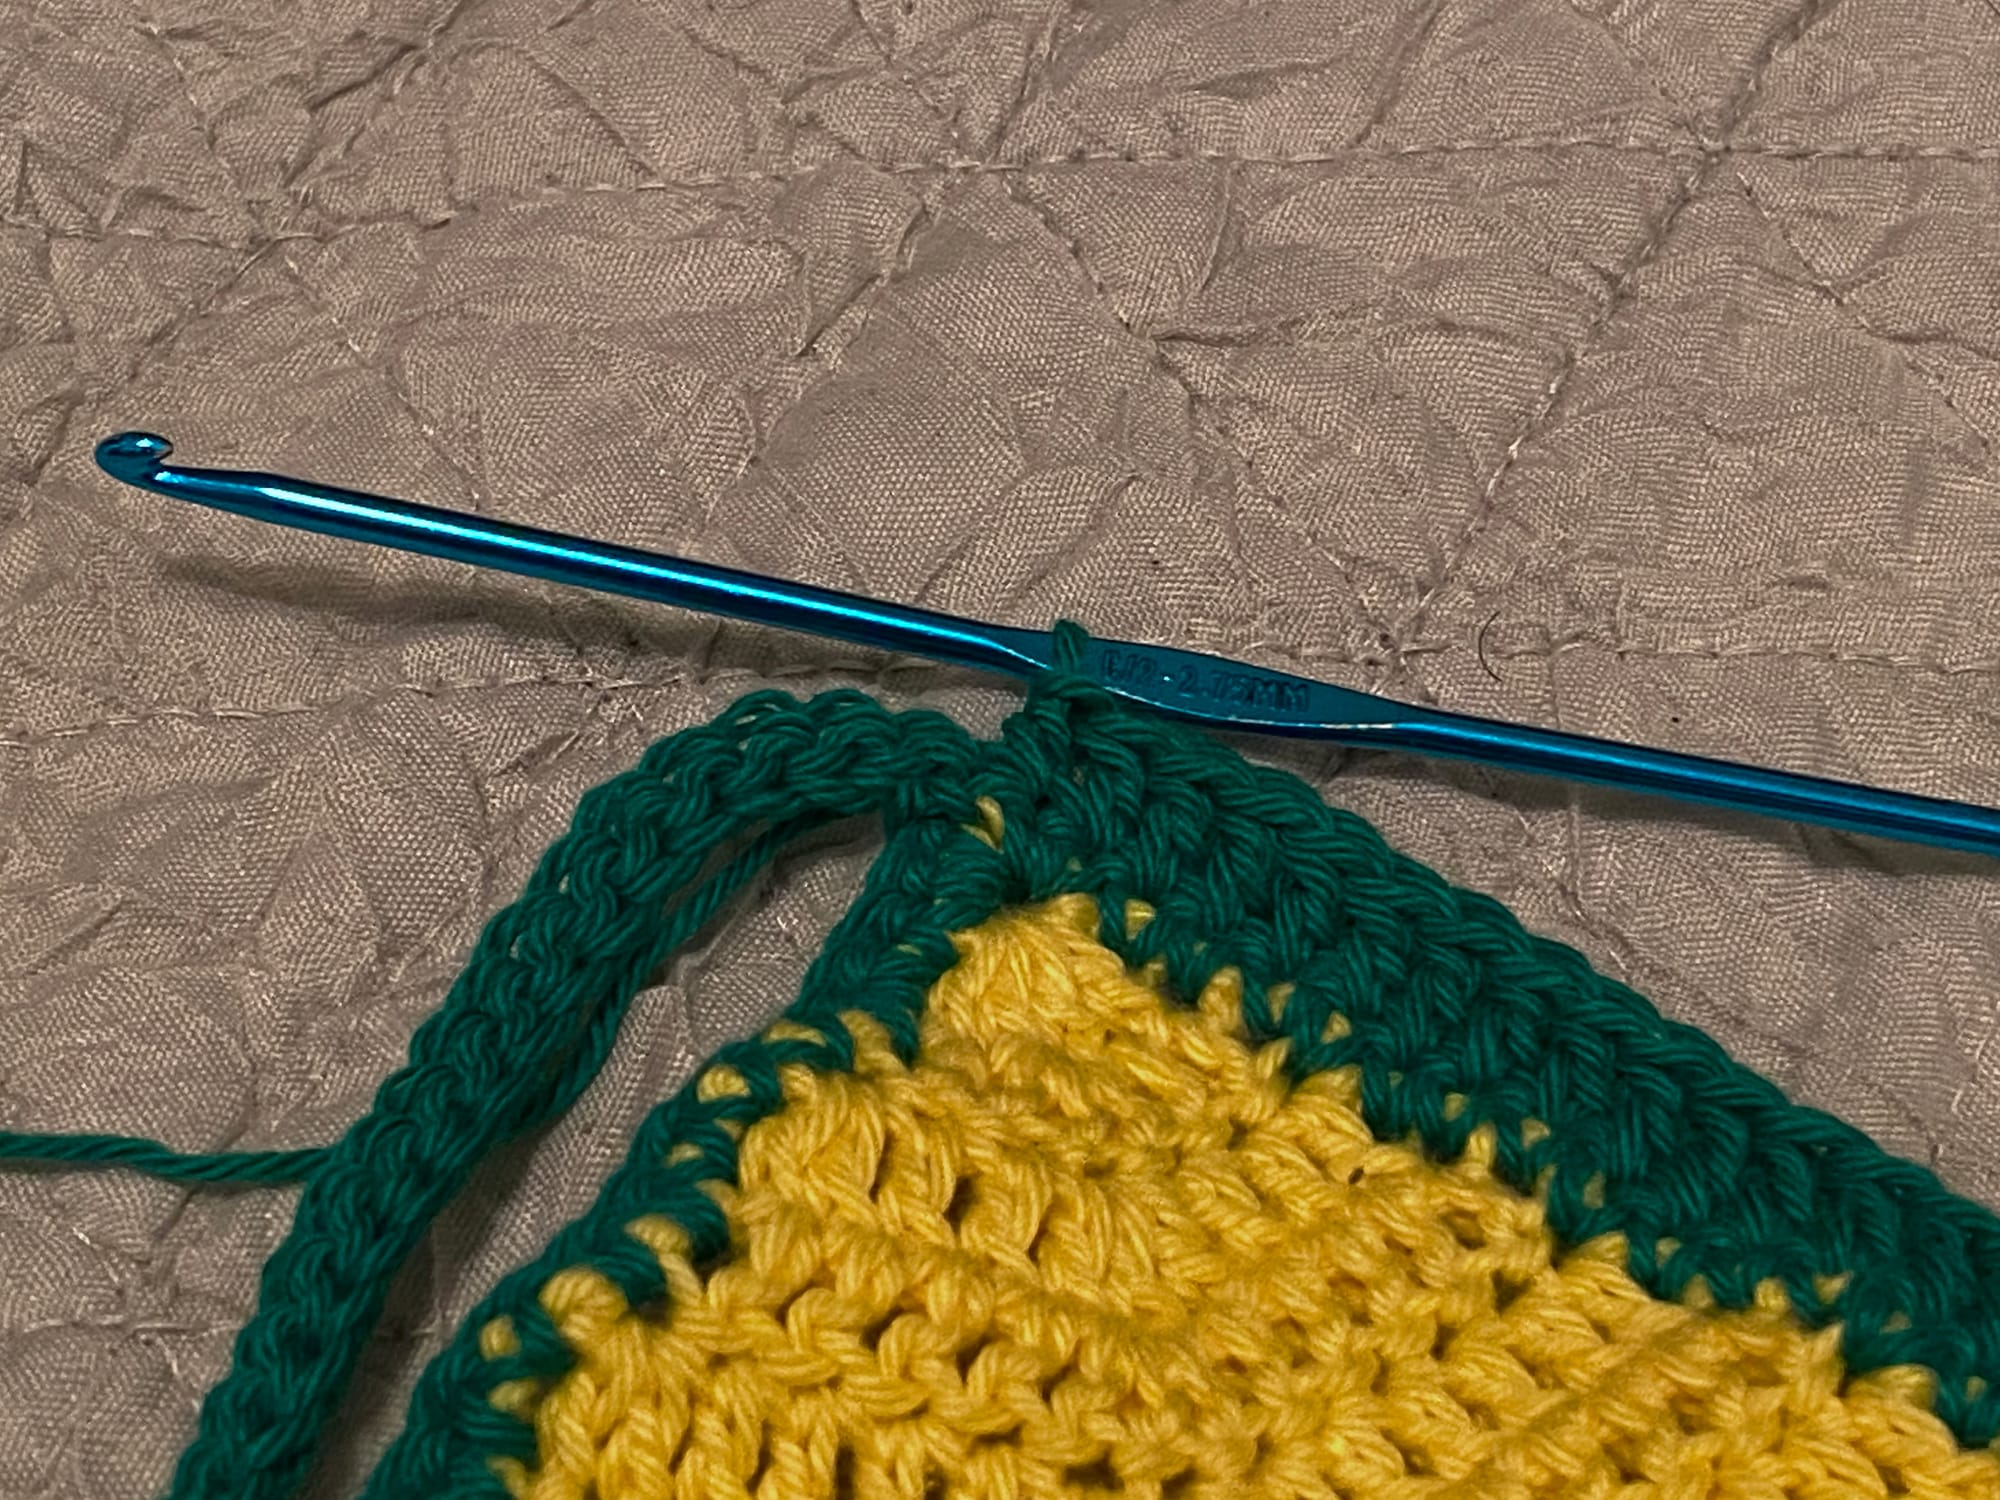
2.75 mm crochet hook
For two cups each 9" (22.9 cm) wide or smaller, one skein in your main colour and one in your contrasting colour will be sufficient. For anything larger, I'd recommend a second skein in your main colour to be safe.
Gauge
6 st x 3 rows = 1" x 1" (2.5 cm x 2.5 cm)
Stitches
Chain — ch
Slip stitch — sl st
Single crochet — sc
Half double crochet — hdc
Double crochet — dc
Pattern
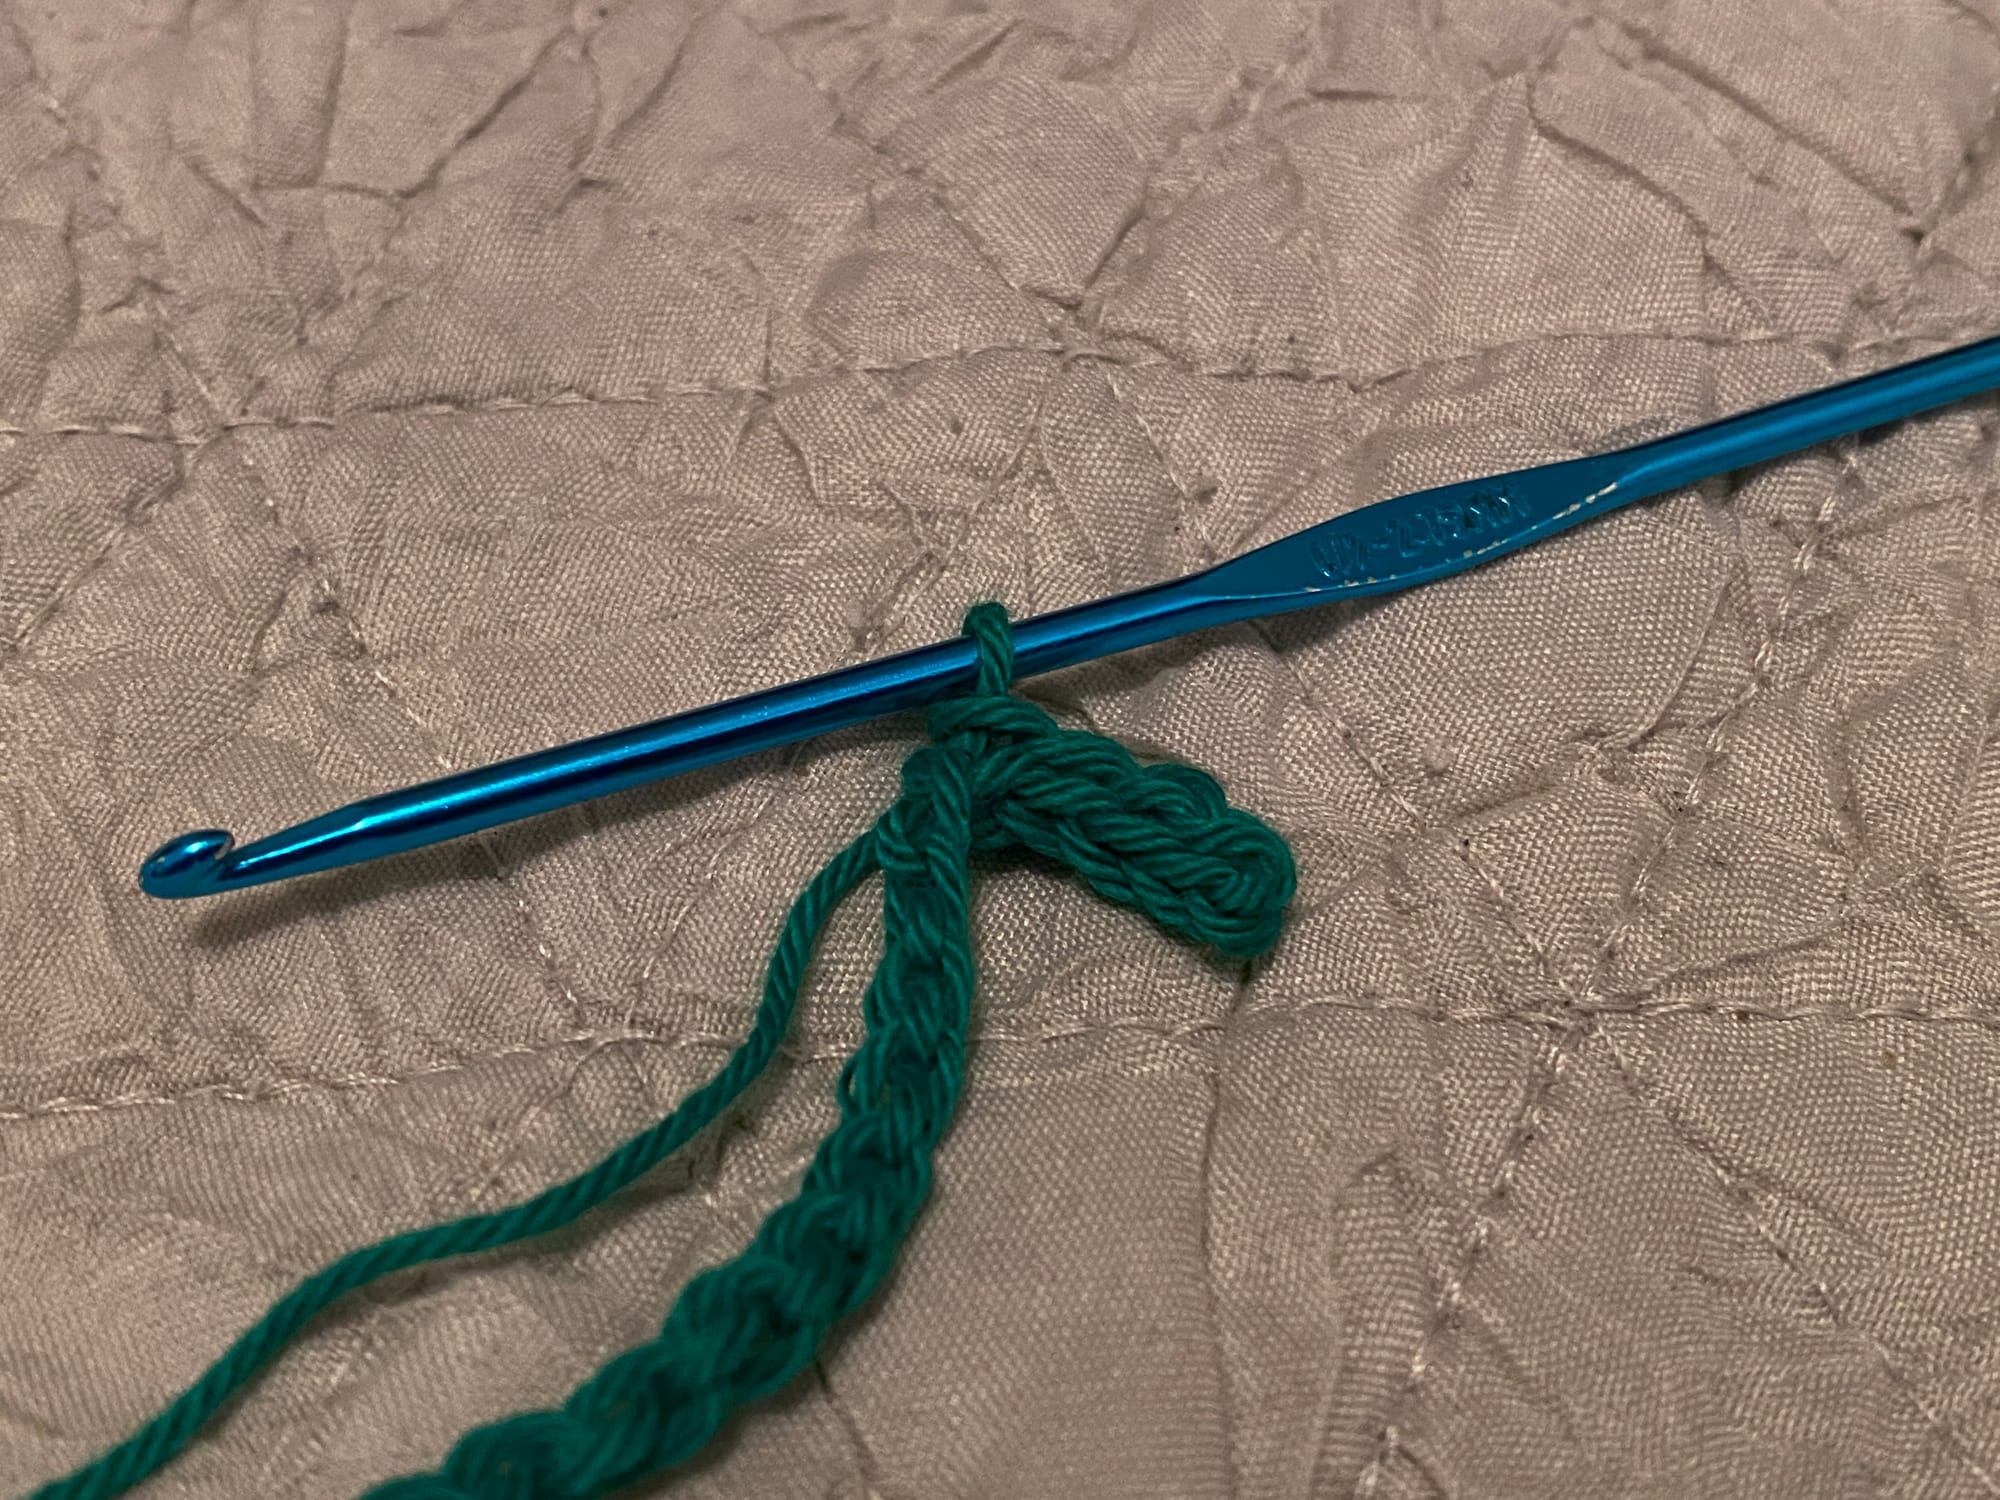
Row 1: Chain 2. Single crochet in the second chain from hook.
Row 2: Chain 3 and turn. Work 5 double crochets into the below sc.
Row 3: Chain 3 and turn. Work 1 dc into the first two stitches. Place 3 dc into the center stitch. Work 1 dc into each of the remaining stitches.
Row 4: Chain 3 and turn. Work 2 dc into the first stitch, and 1 dc in each of the following stitches until you reach the center. Place 3 dc into the center stitch. Work 1 dc into each stitch until the last, then work 2 dc into the last stitch.
Row 5: Chain 3 and turn. Work 1 dc into each stitch until you reach the center. Place 3 dc into the center stitch. Work 1 dc into each of the remaining stitches.
Repeat the last two rows until your work reaches a width that is one inch (2.5 cm) less than your desired cup width.
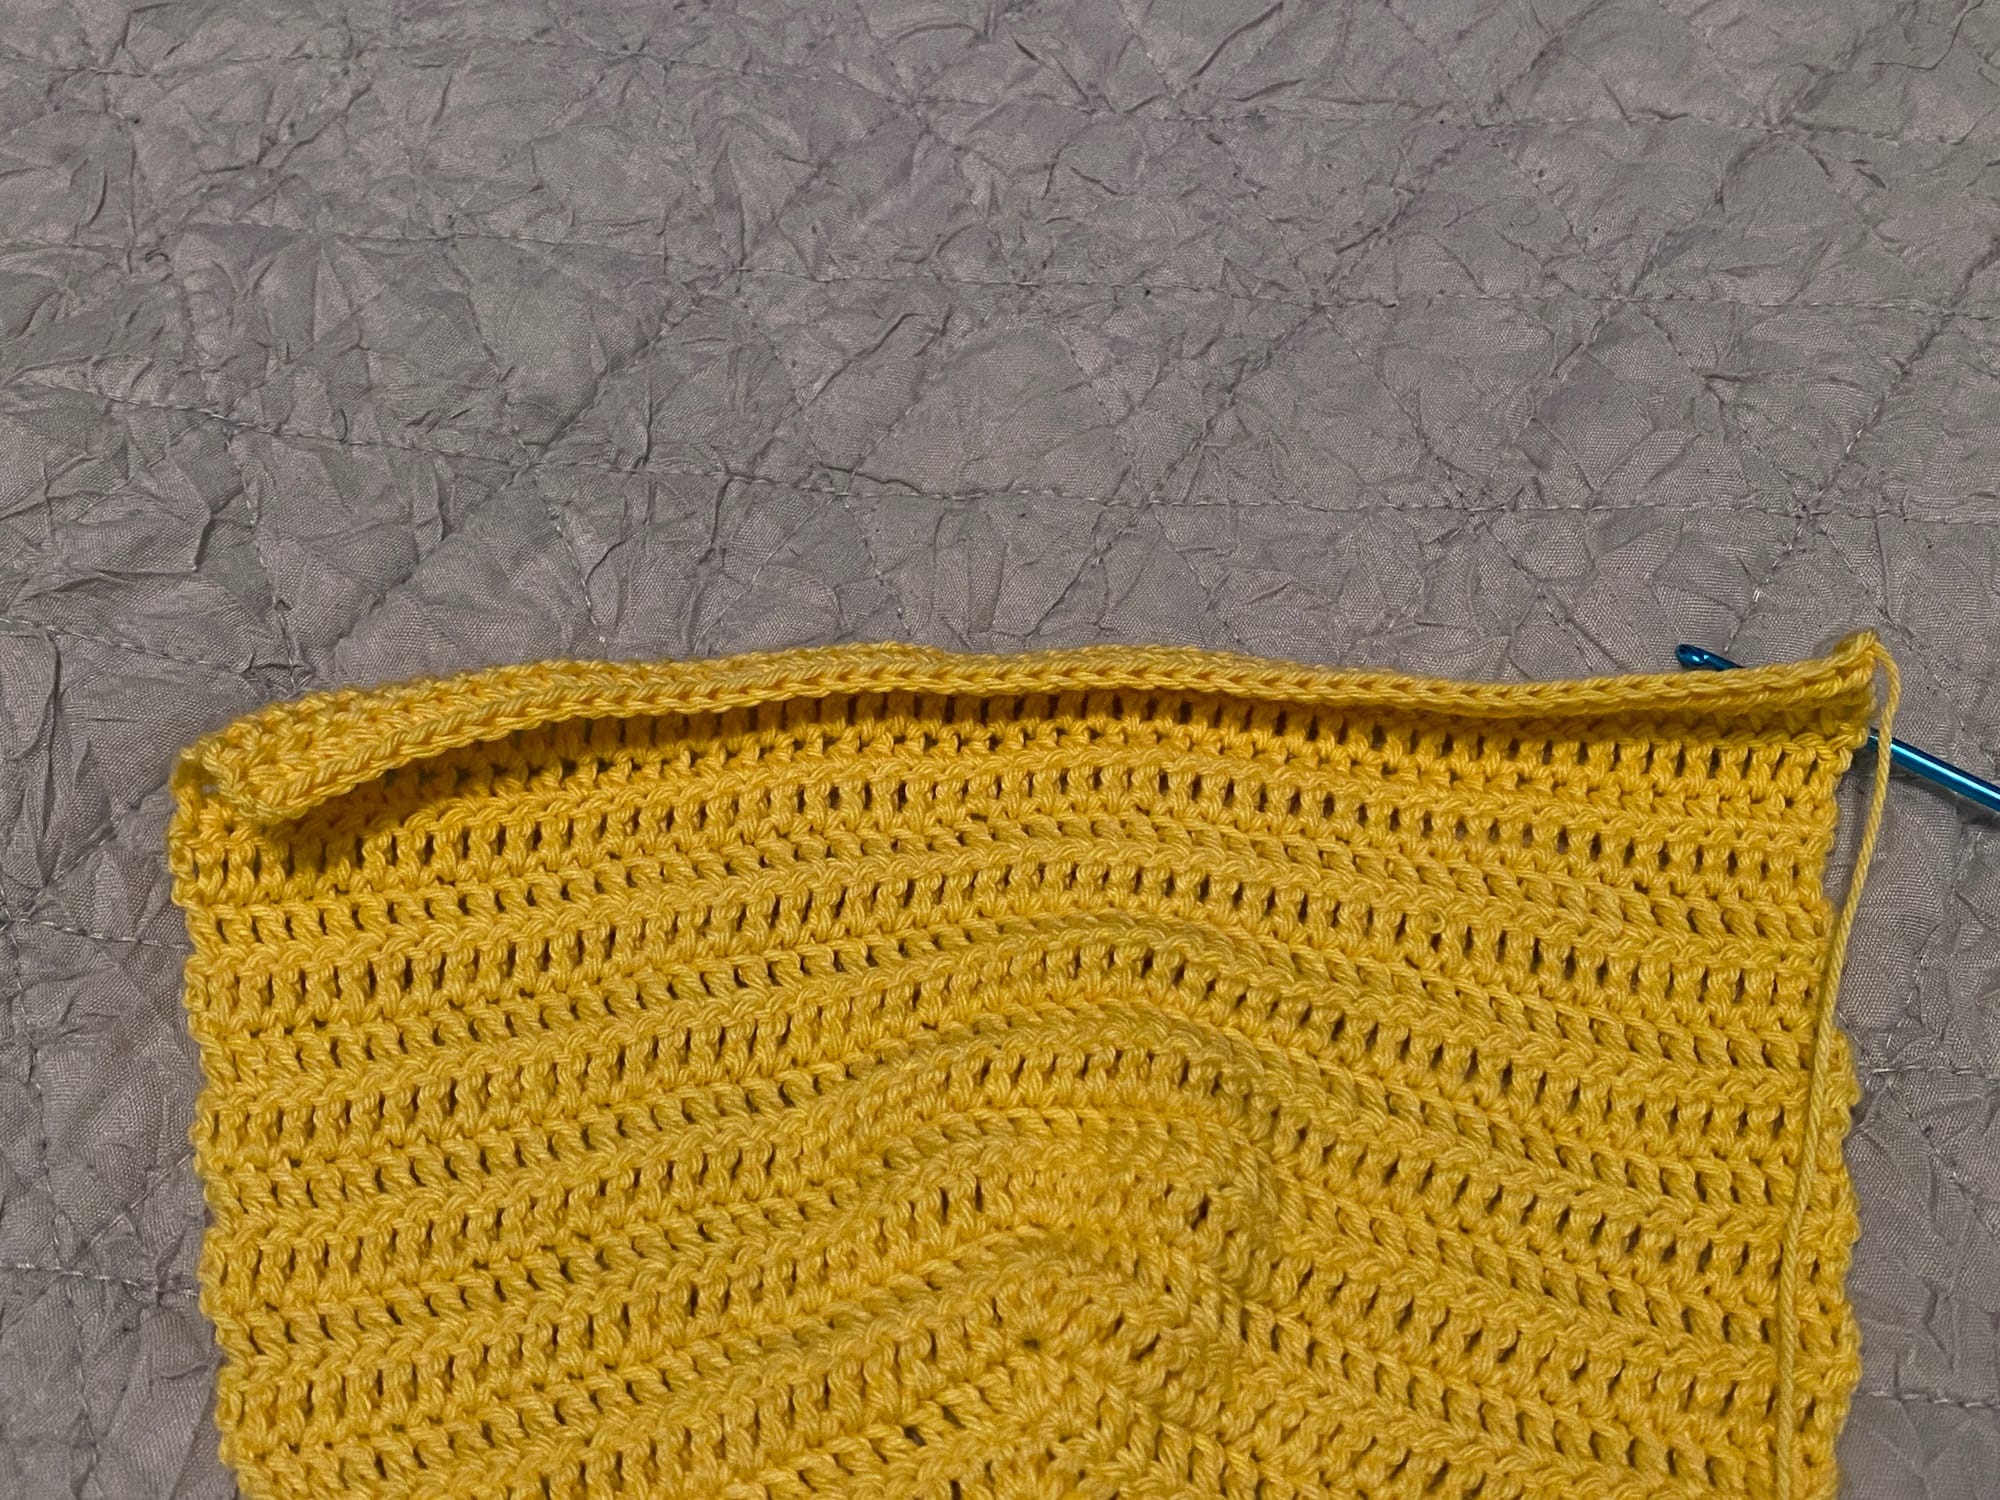
Chain 3 and turn. Work dc into each stitch across, without increasing.
Repeat the last row until the height of your cup is approximately 1/2 inch (1.25 cm) less than the current width of your work.
Chain 2 and turn. Work half double crochets into each stitch across.
Chain 3 and turn. Work dc into each stitch across.
Chain 3 and turn. Work dc into each stitch across.
Chain 2 and turn. Work hdc into each stitch across.
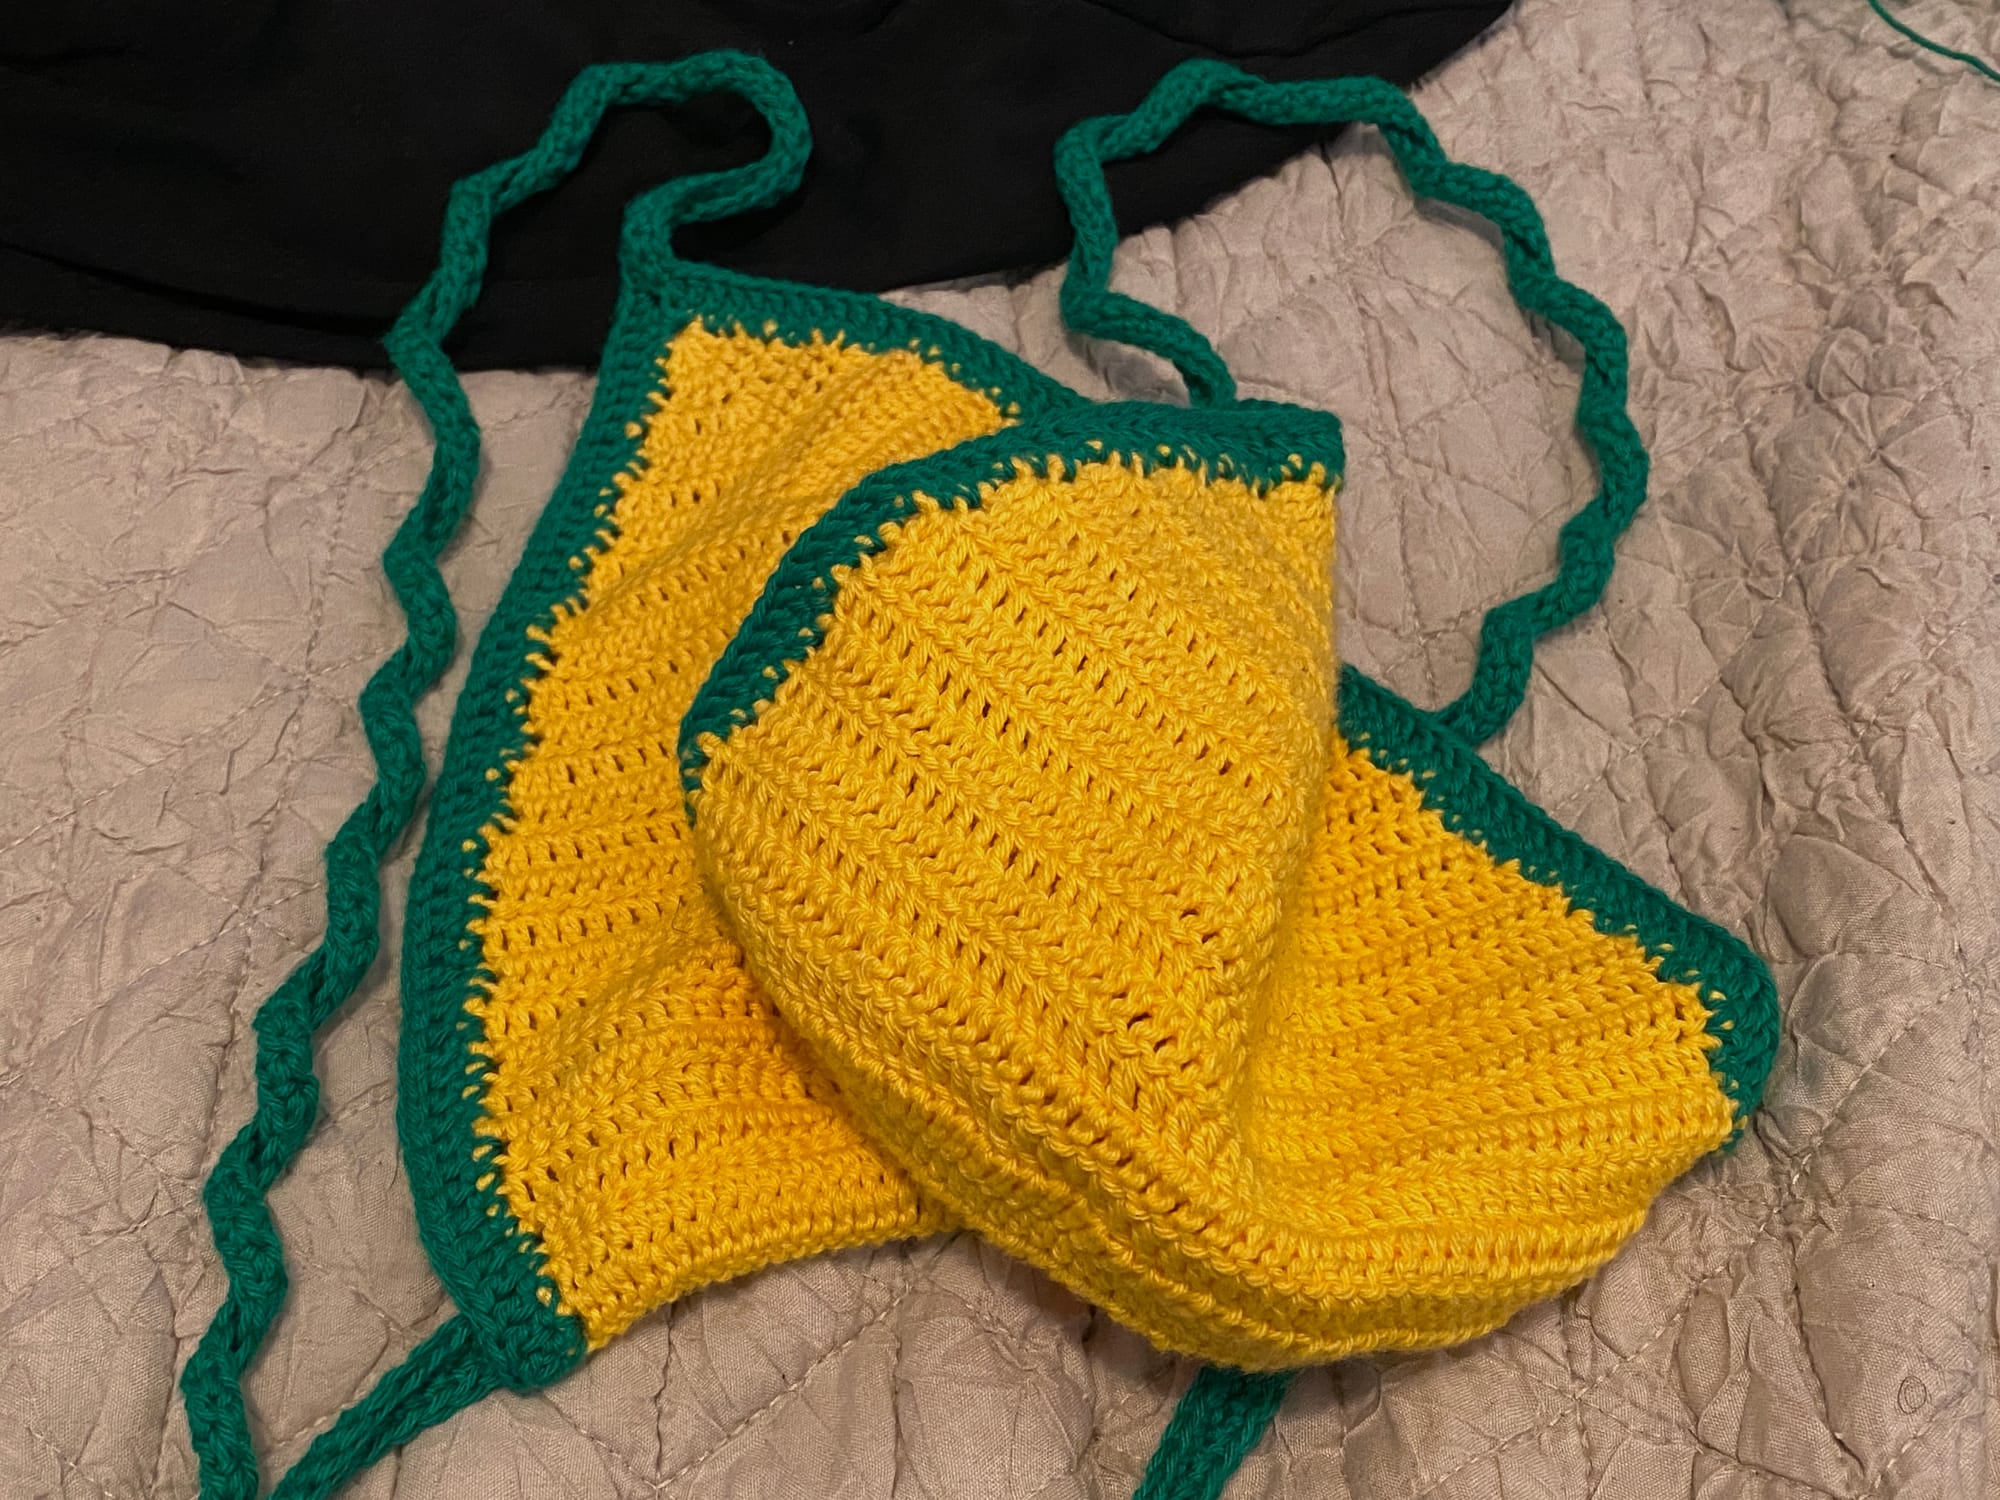
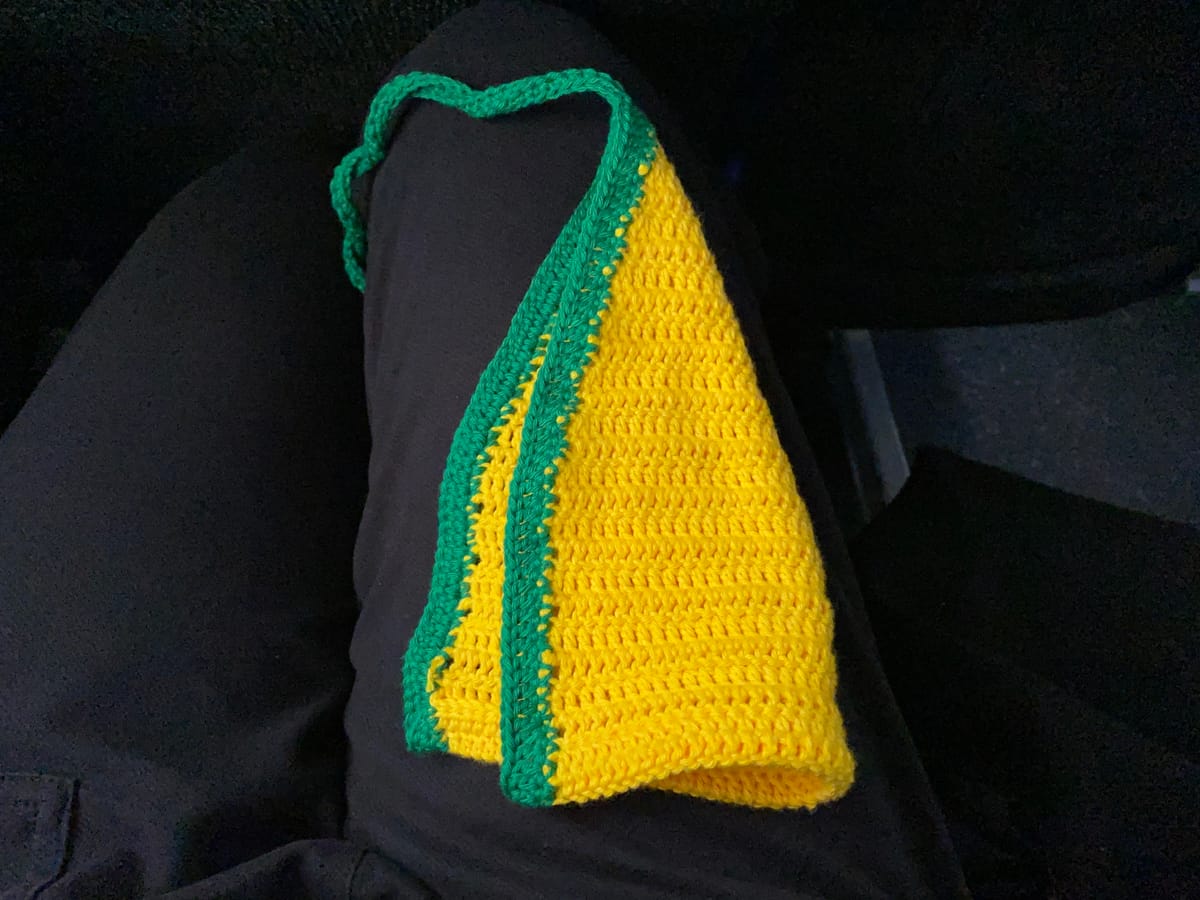
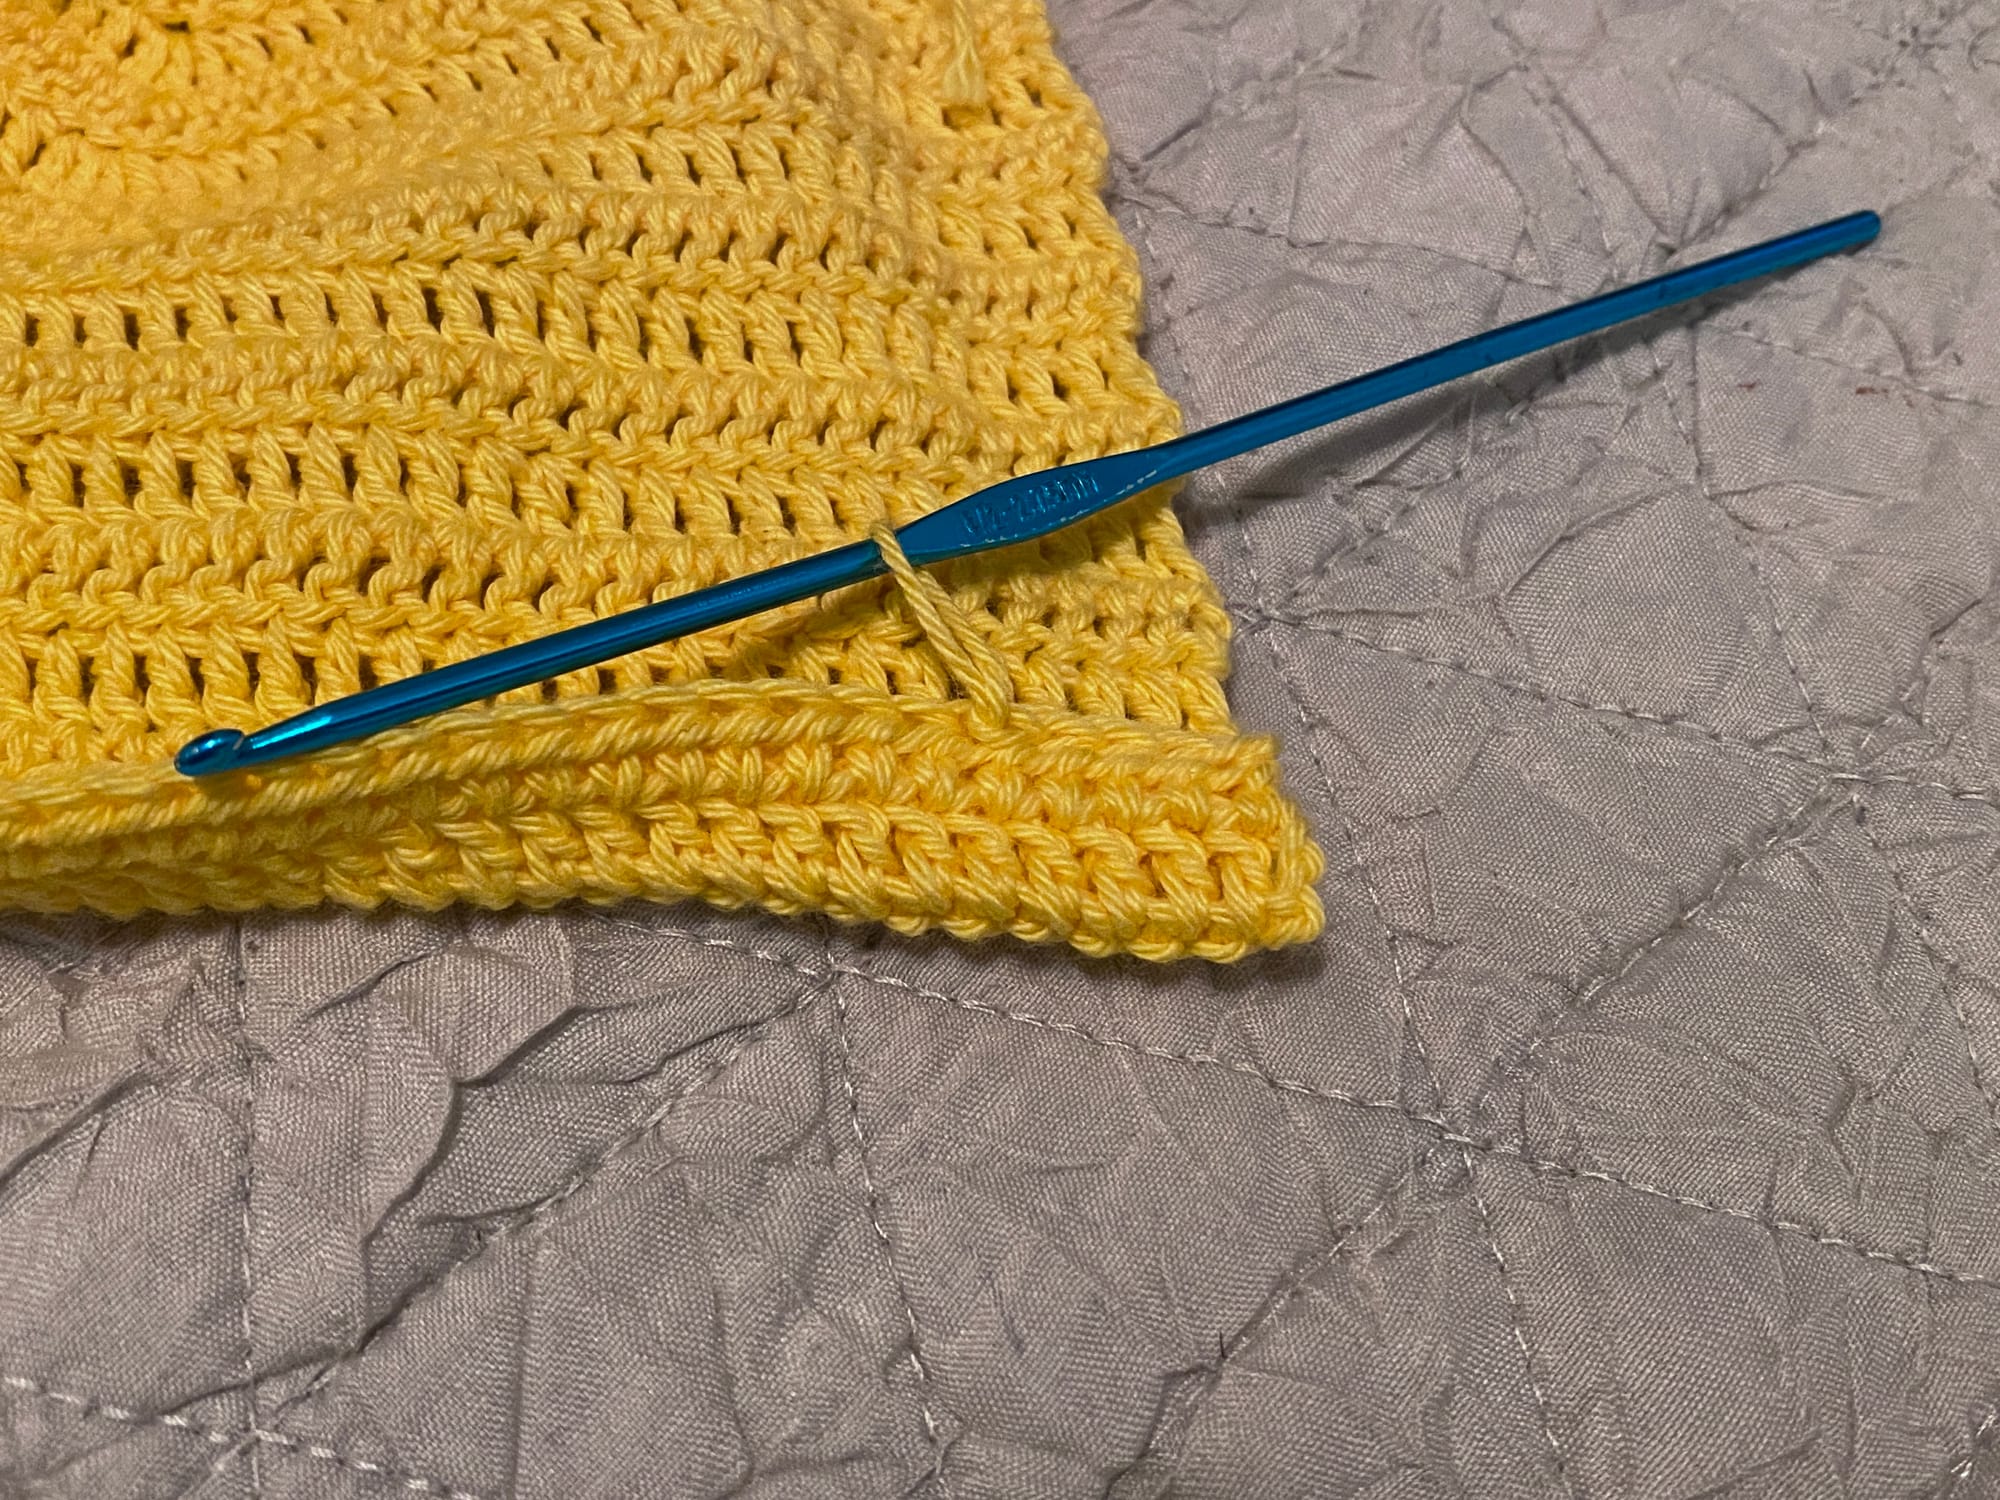
You'll now form the passage for a drawstring by seaming the bottom with slip stitches. I had a designated backside for my work, so I flipped it over and worked right to left, as you may notice in the pictures. This is not necessary.
Chain 1 and turn. Fold over the last two rows so the two hdc rows are lined up.
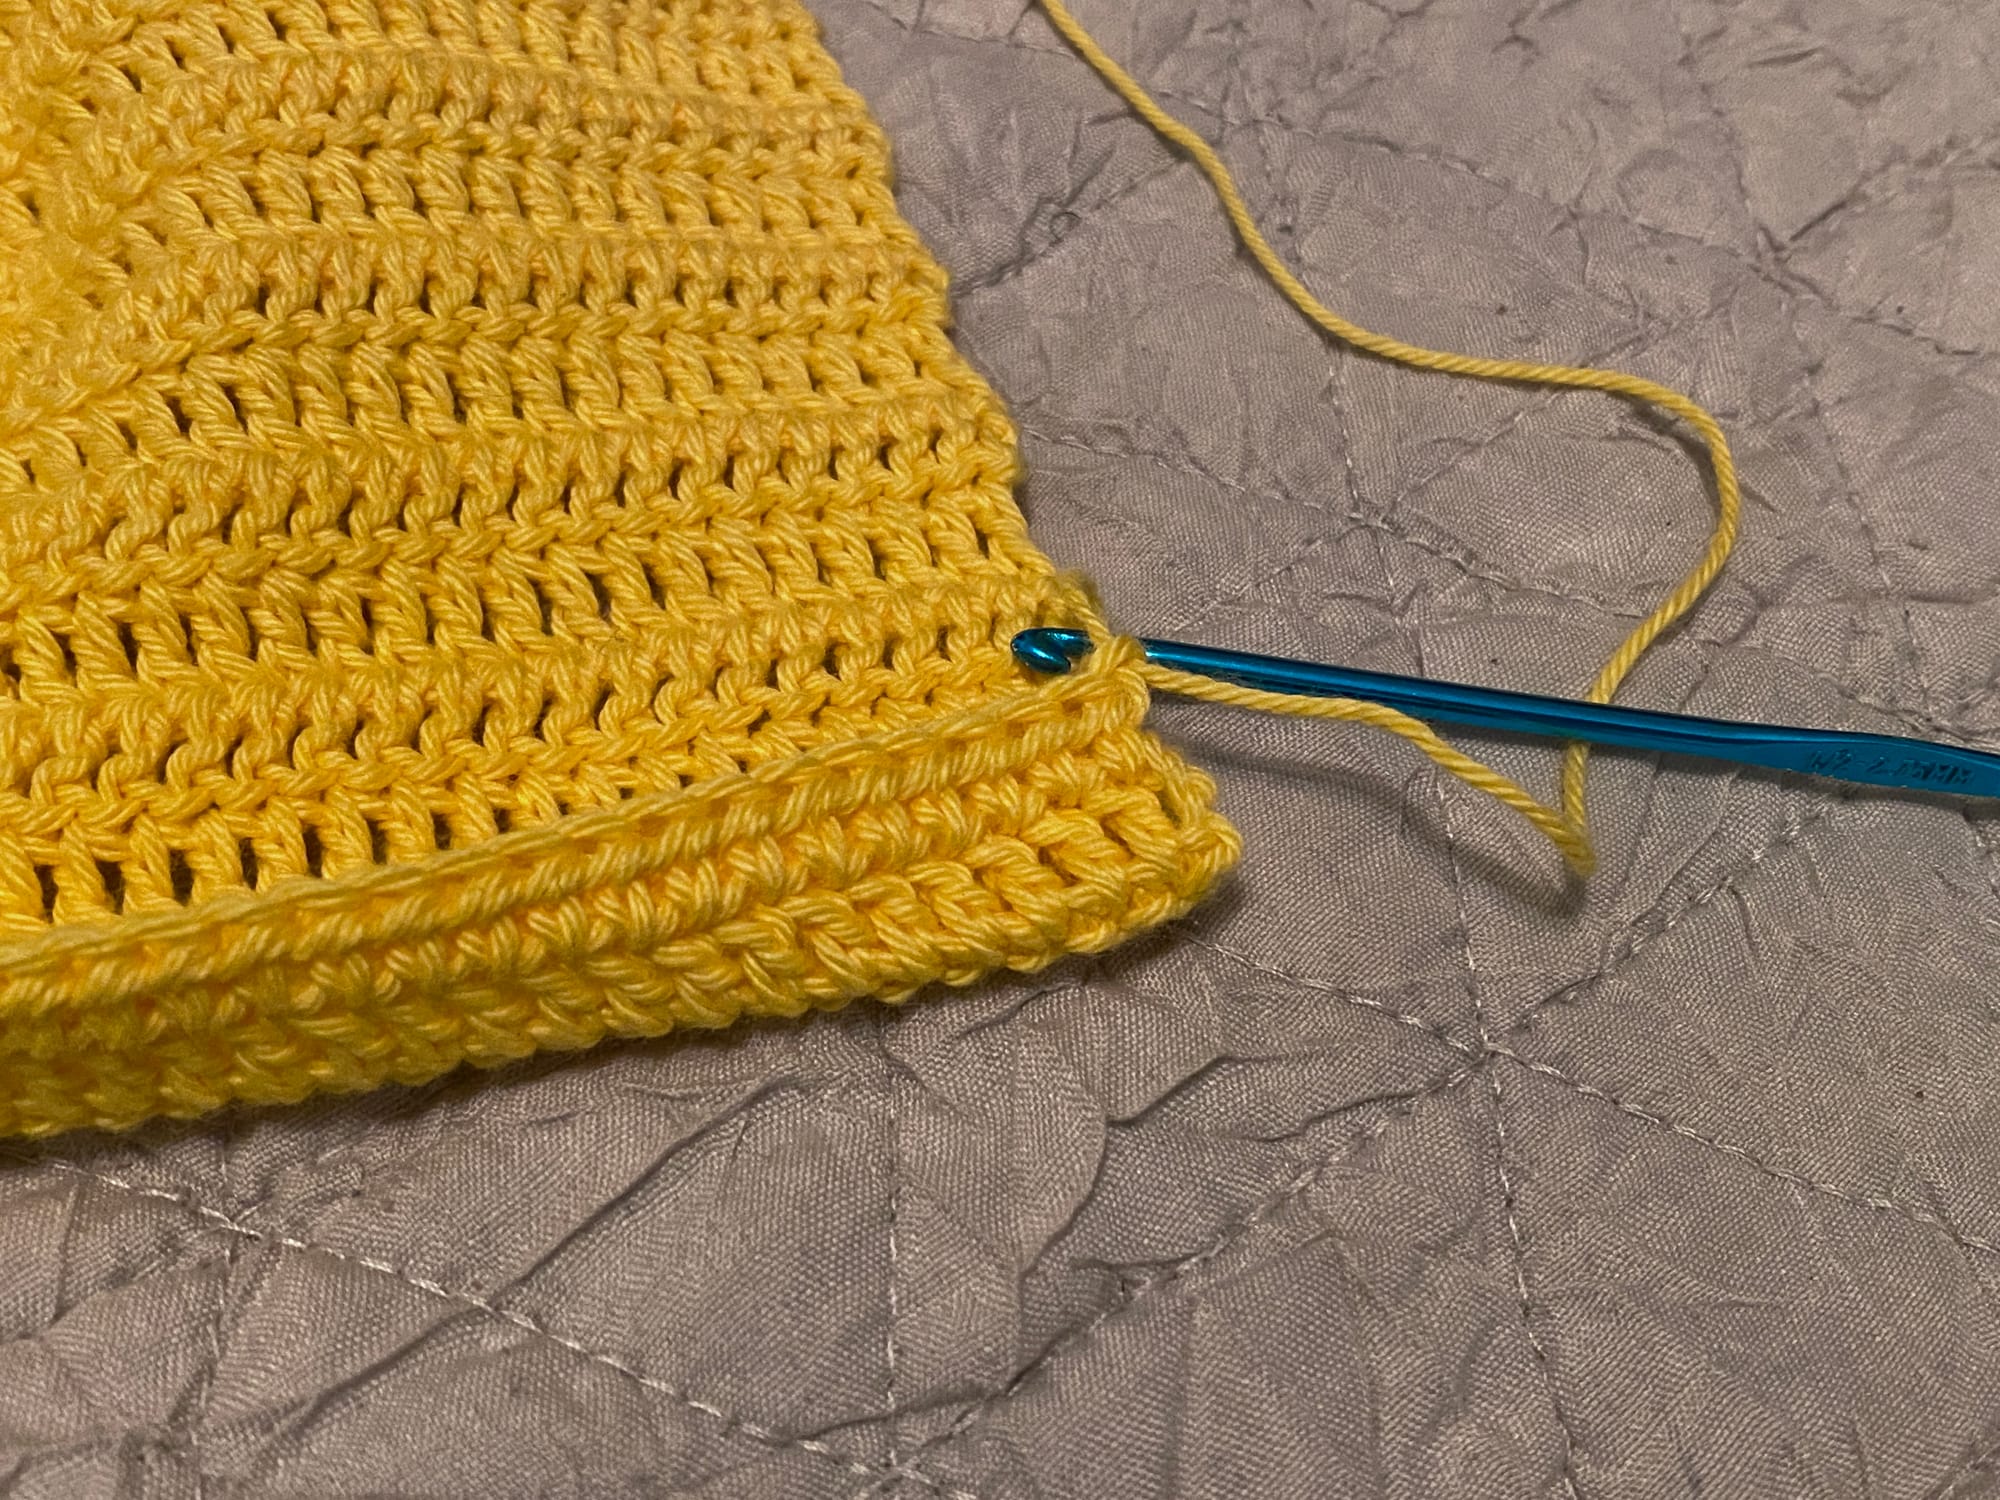
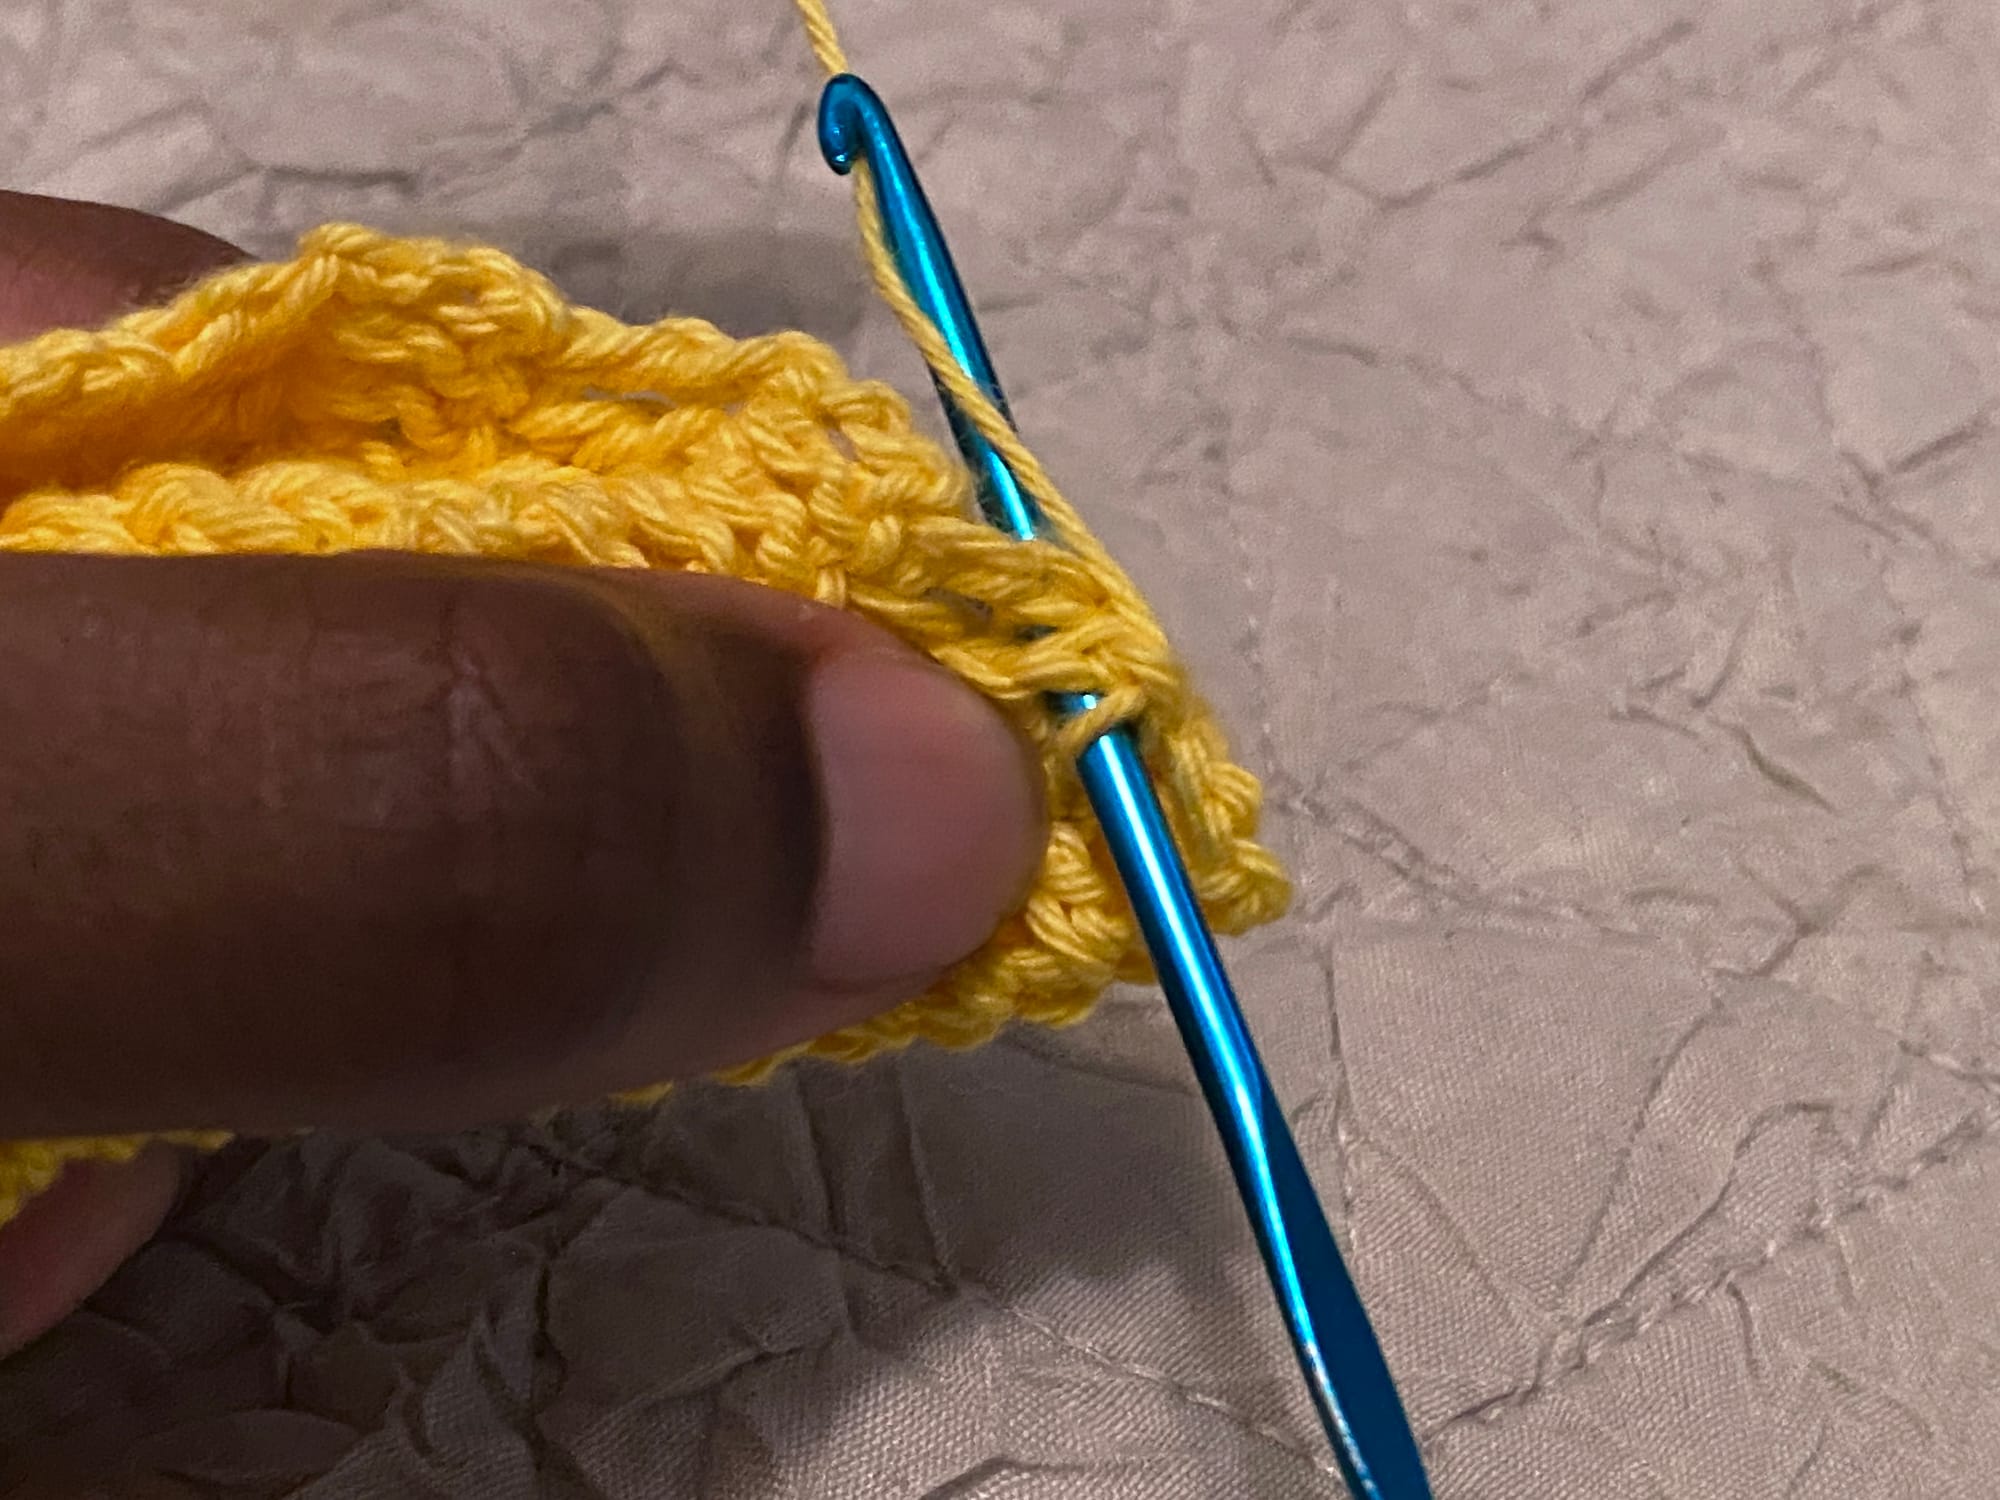
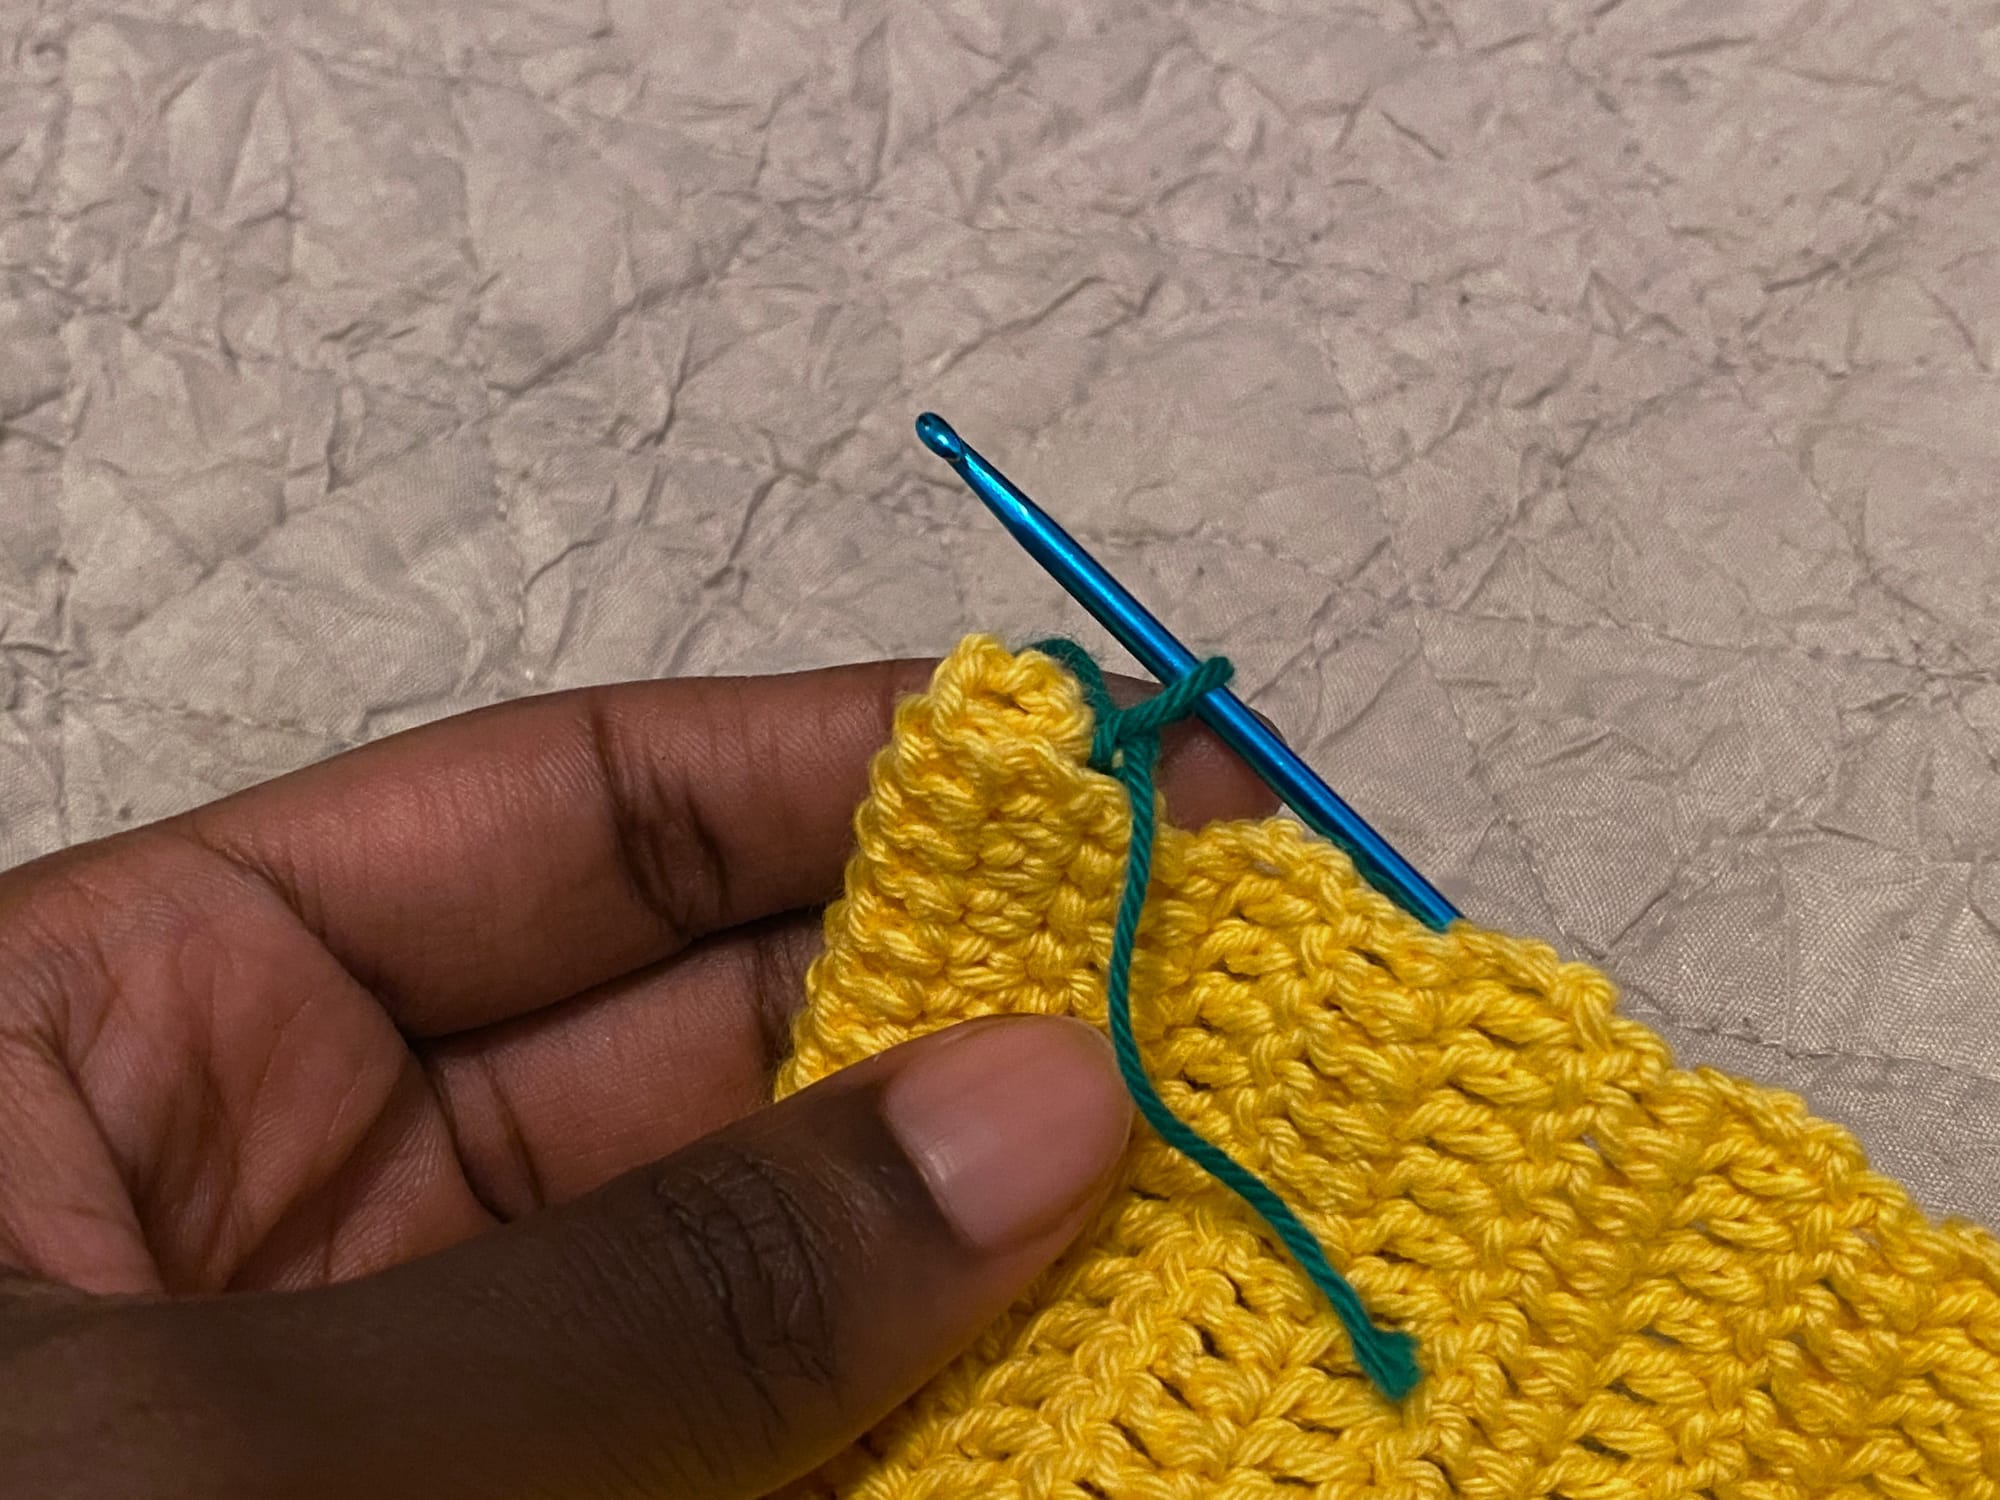
Insert your hook through the end hdc of the last row you crocheted. With the two layers held together, insert your hook through the end dc of the last row you double crocheted before making the first hdc row ie. through the end dc of the fifth row from the end.
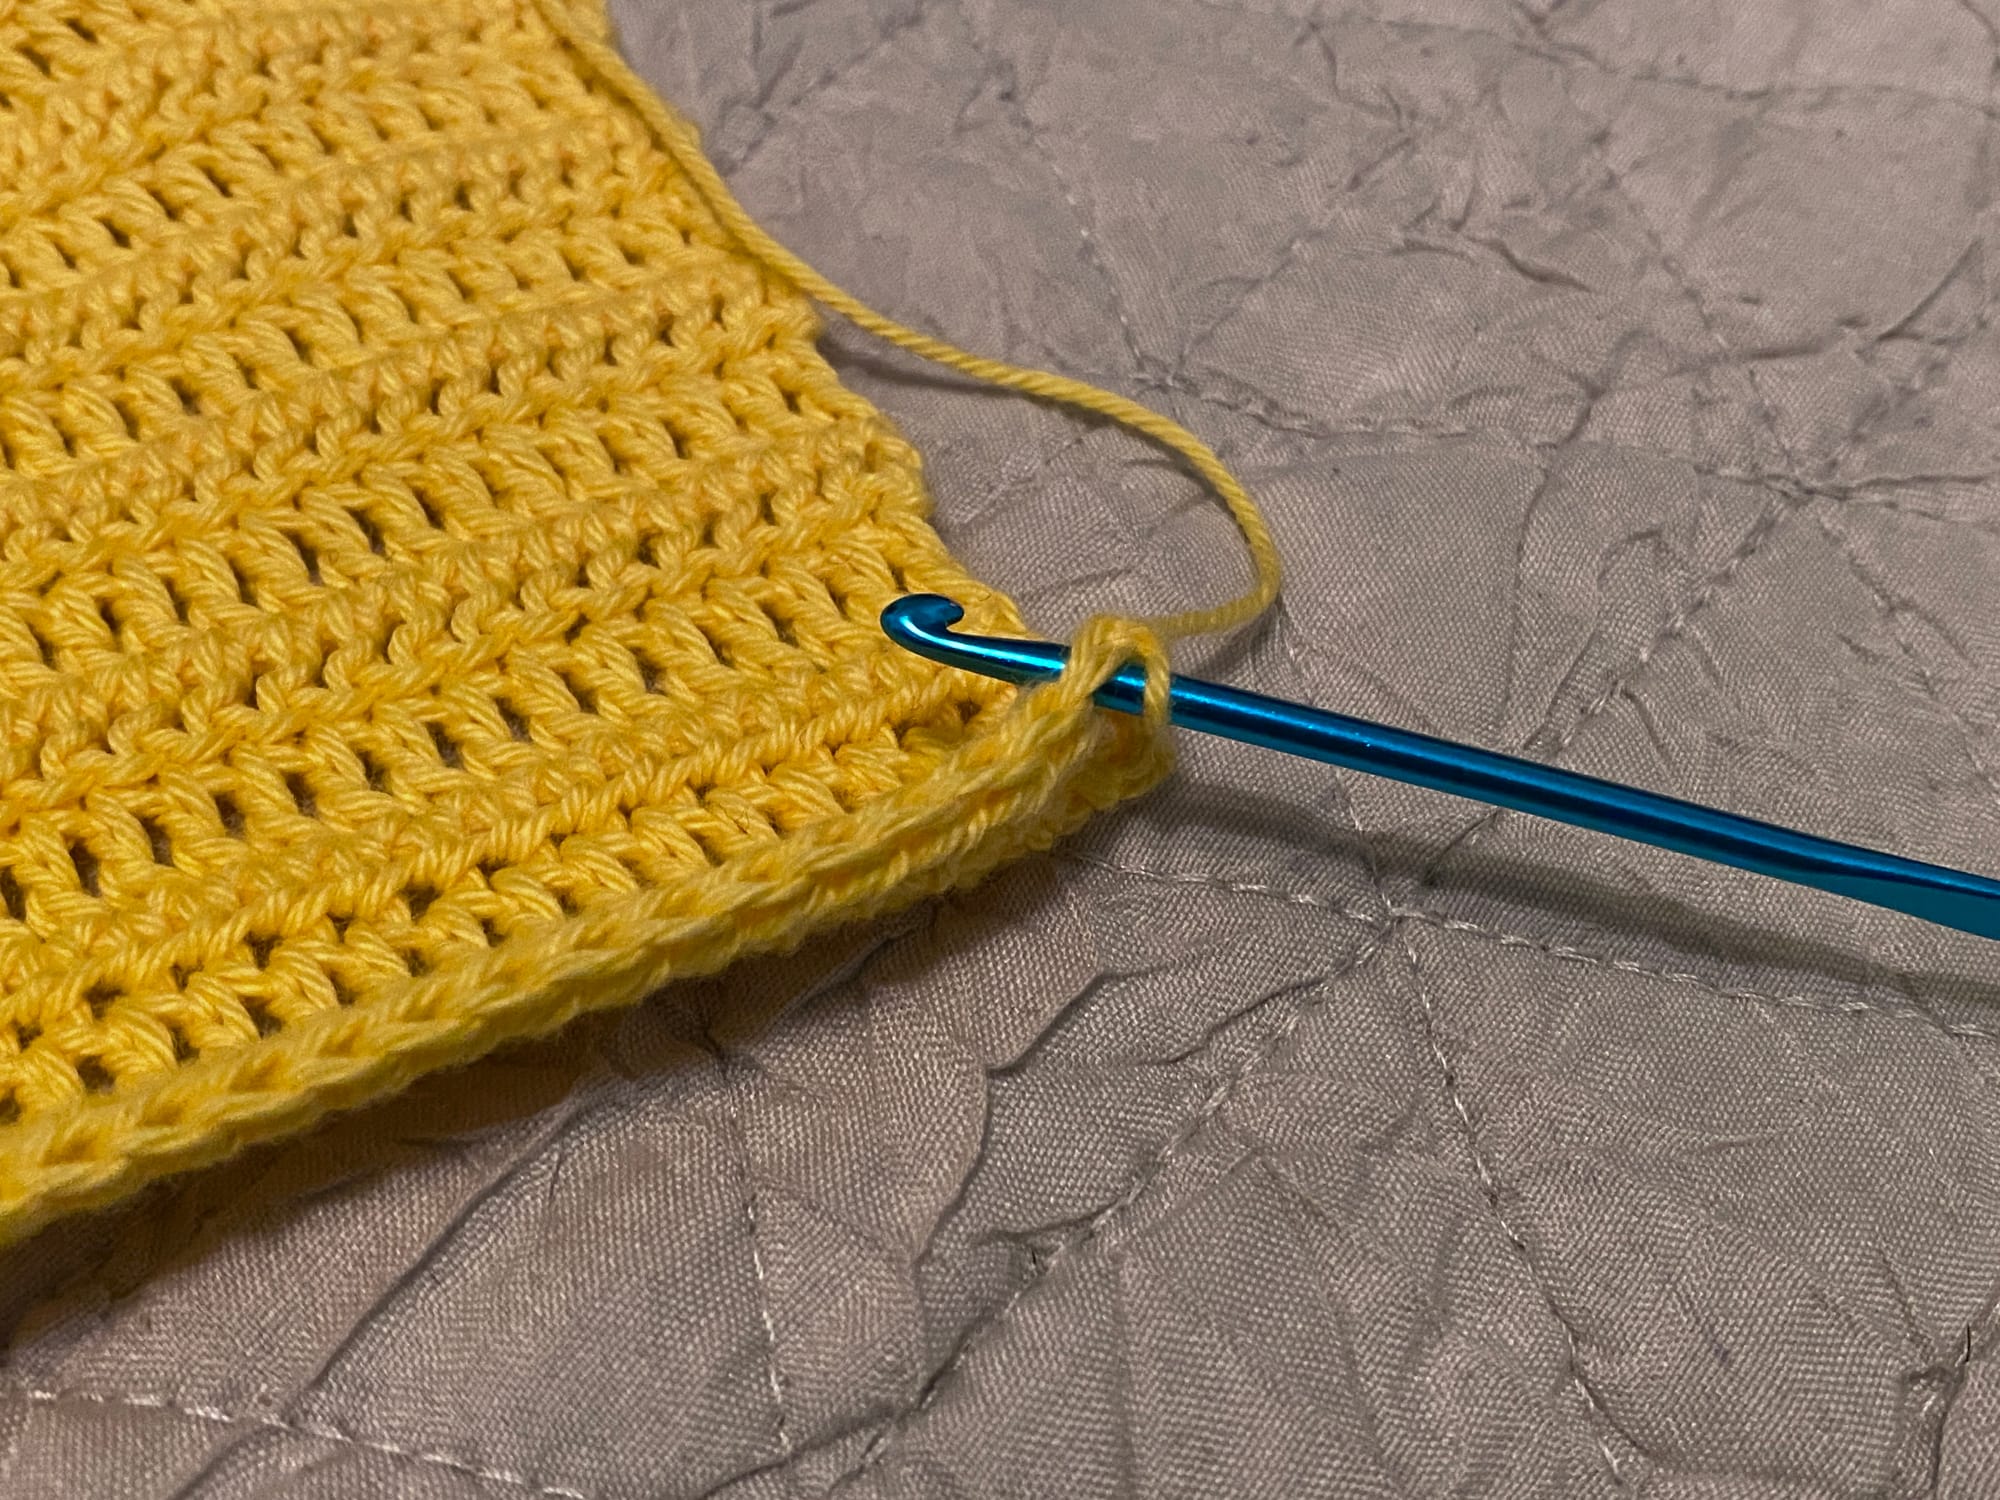

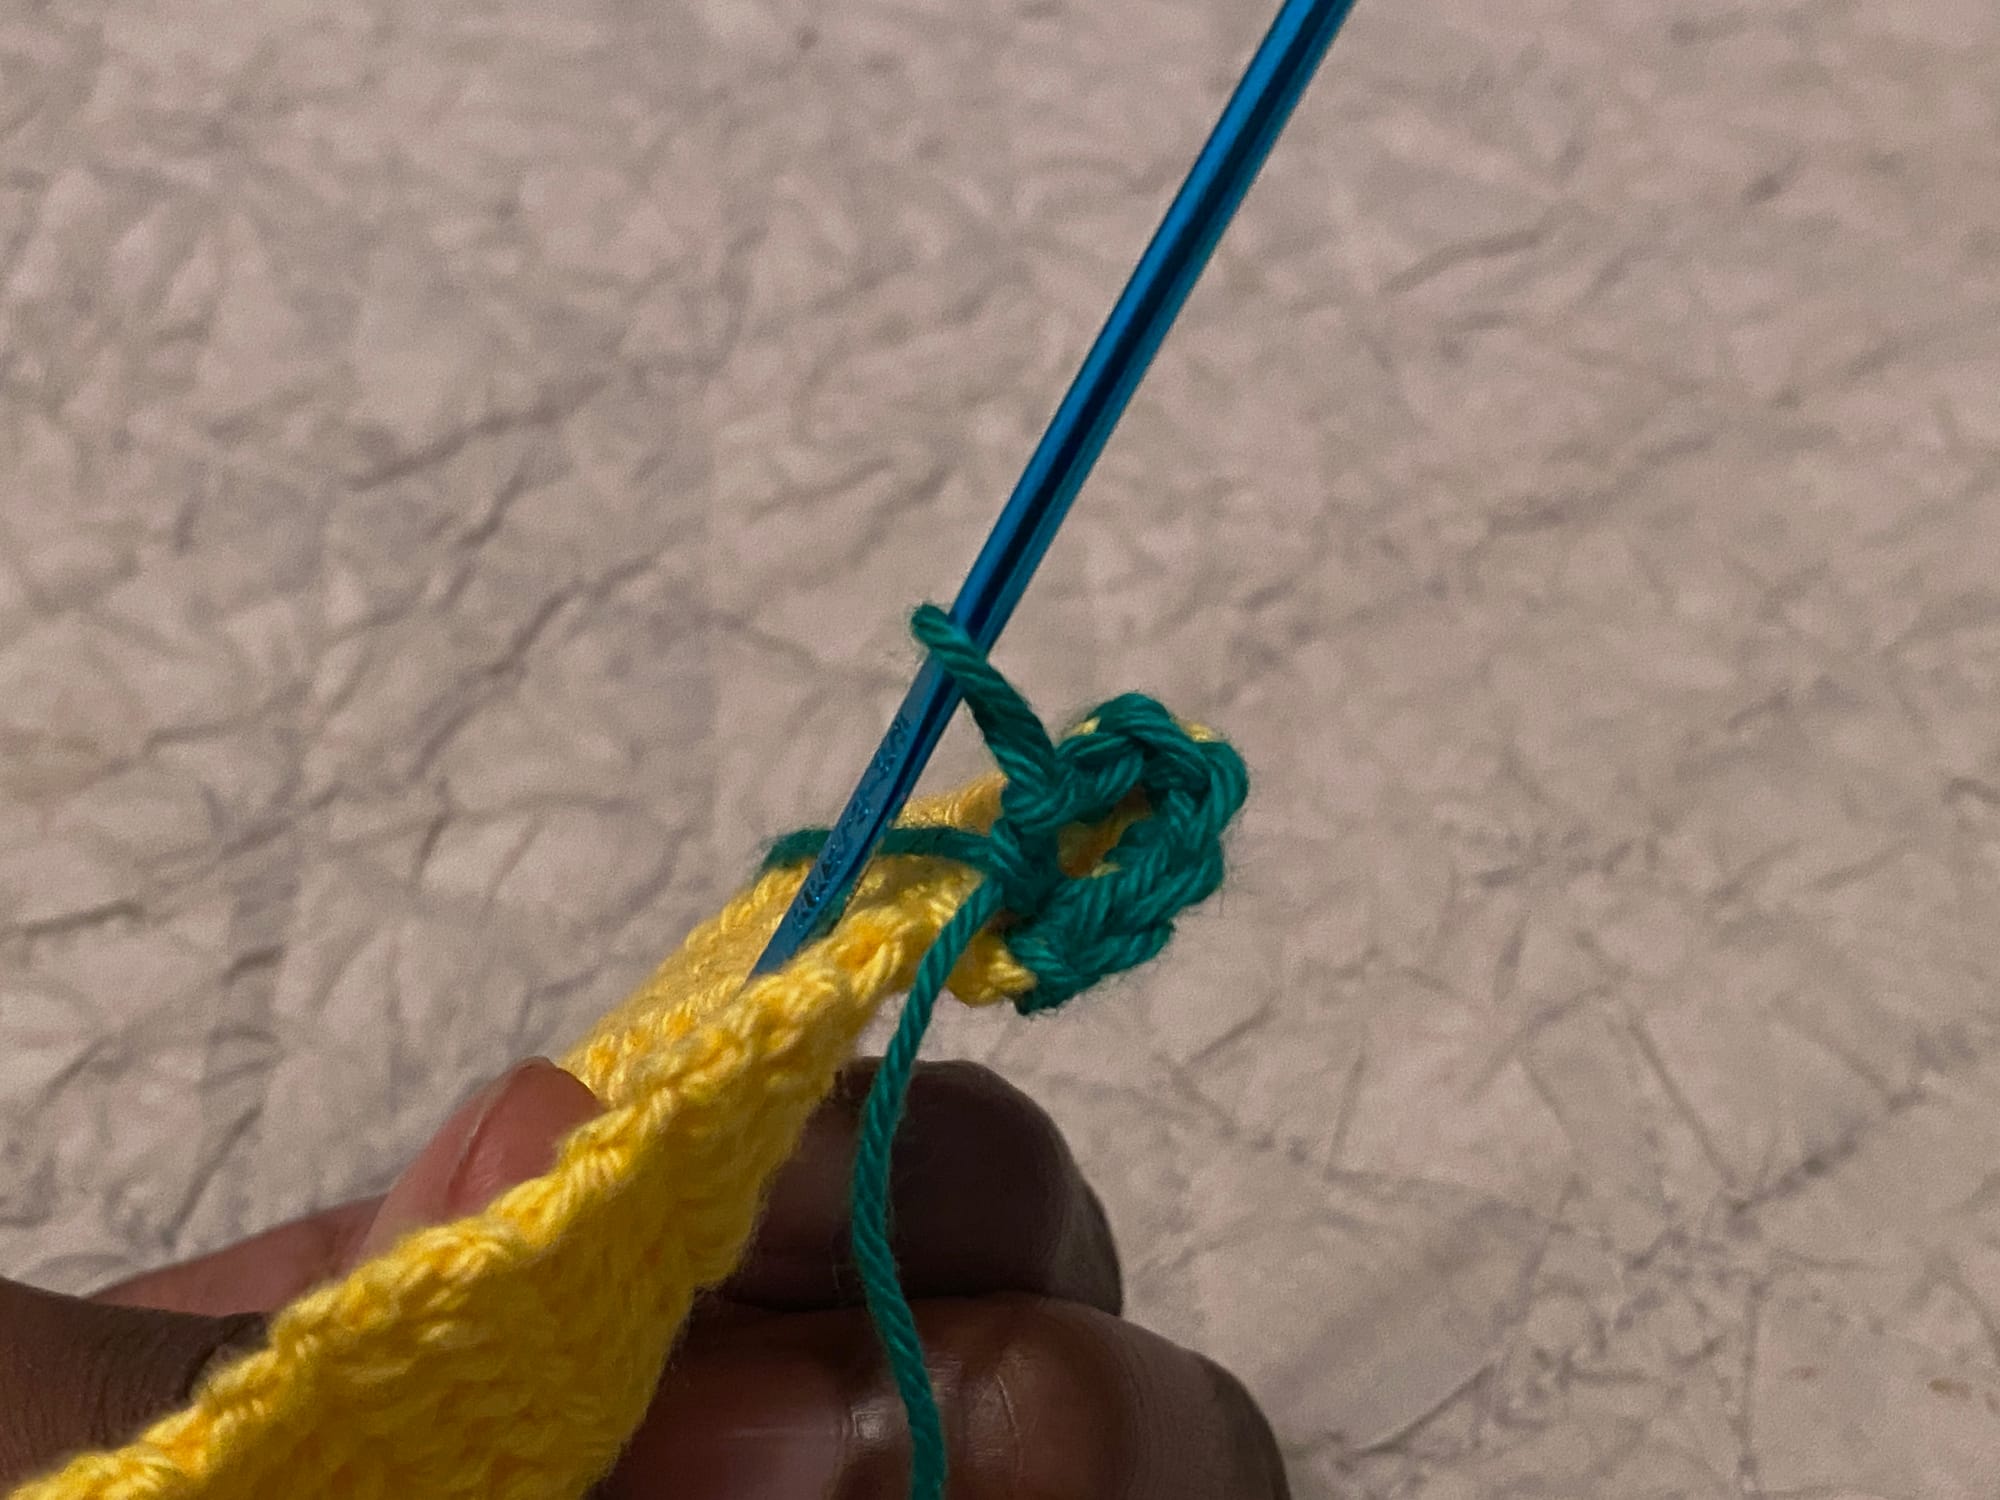
Yarn over and pull up a loop.

Pull the second loop through the first to complete a slip stitch. Continue across making a seam by slip stitching through the last row and the fifth from last row. When you reach the end. Chain 1 to secure and fasten off.
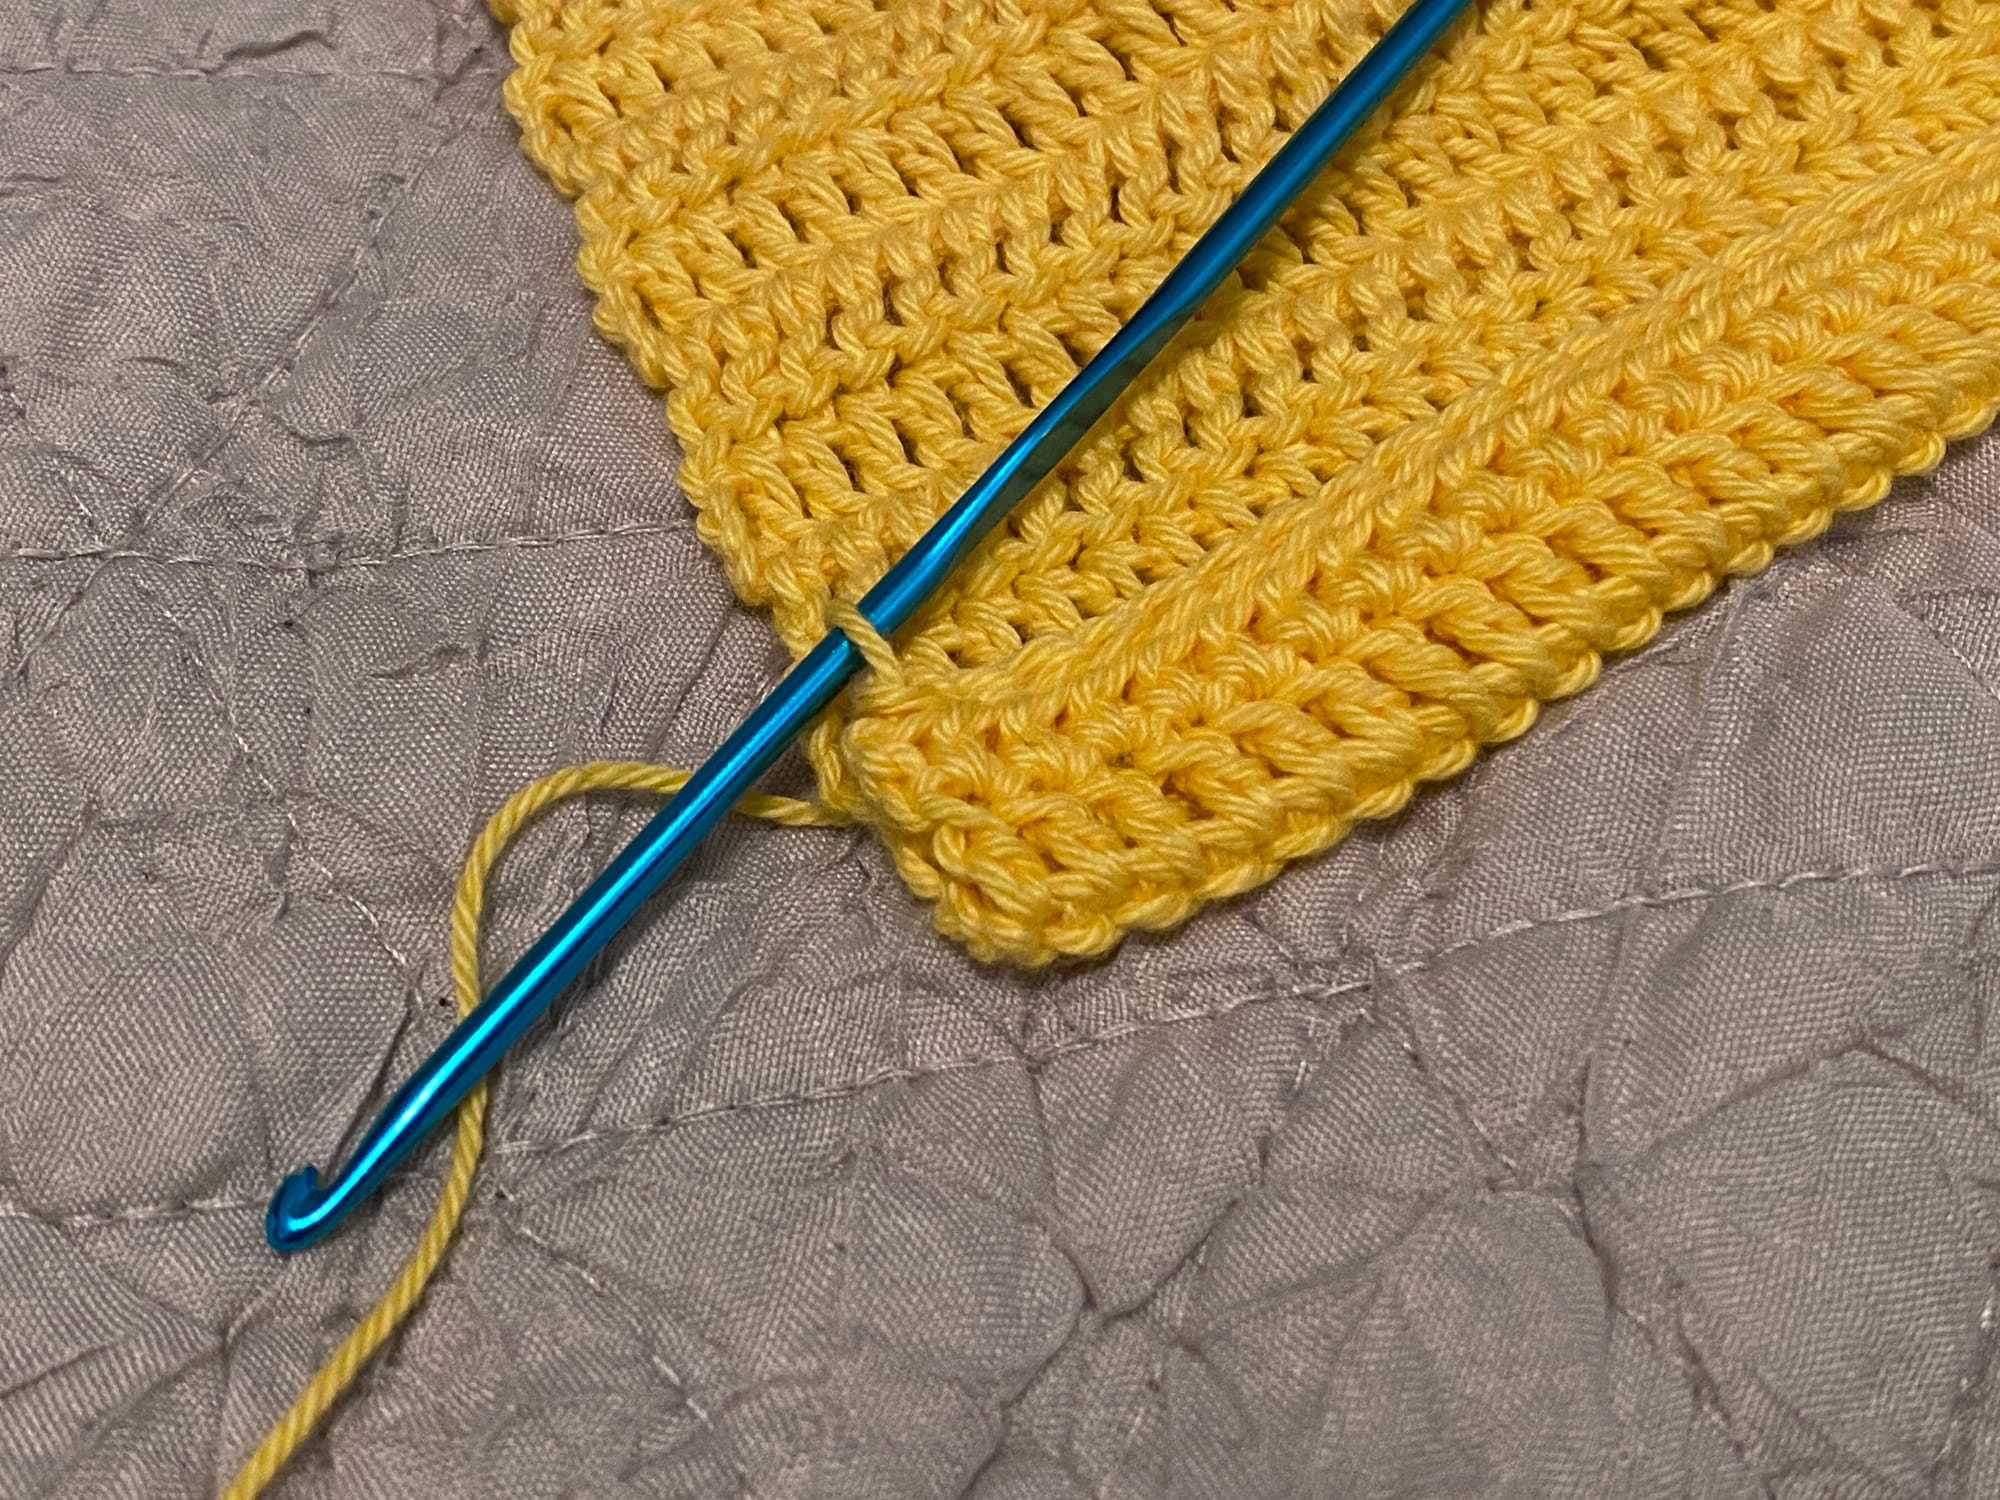
Whichever side you made your slip stitches on is now the backside of your work.
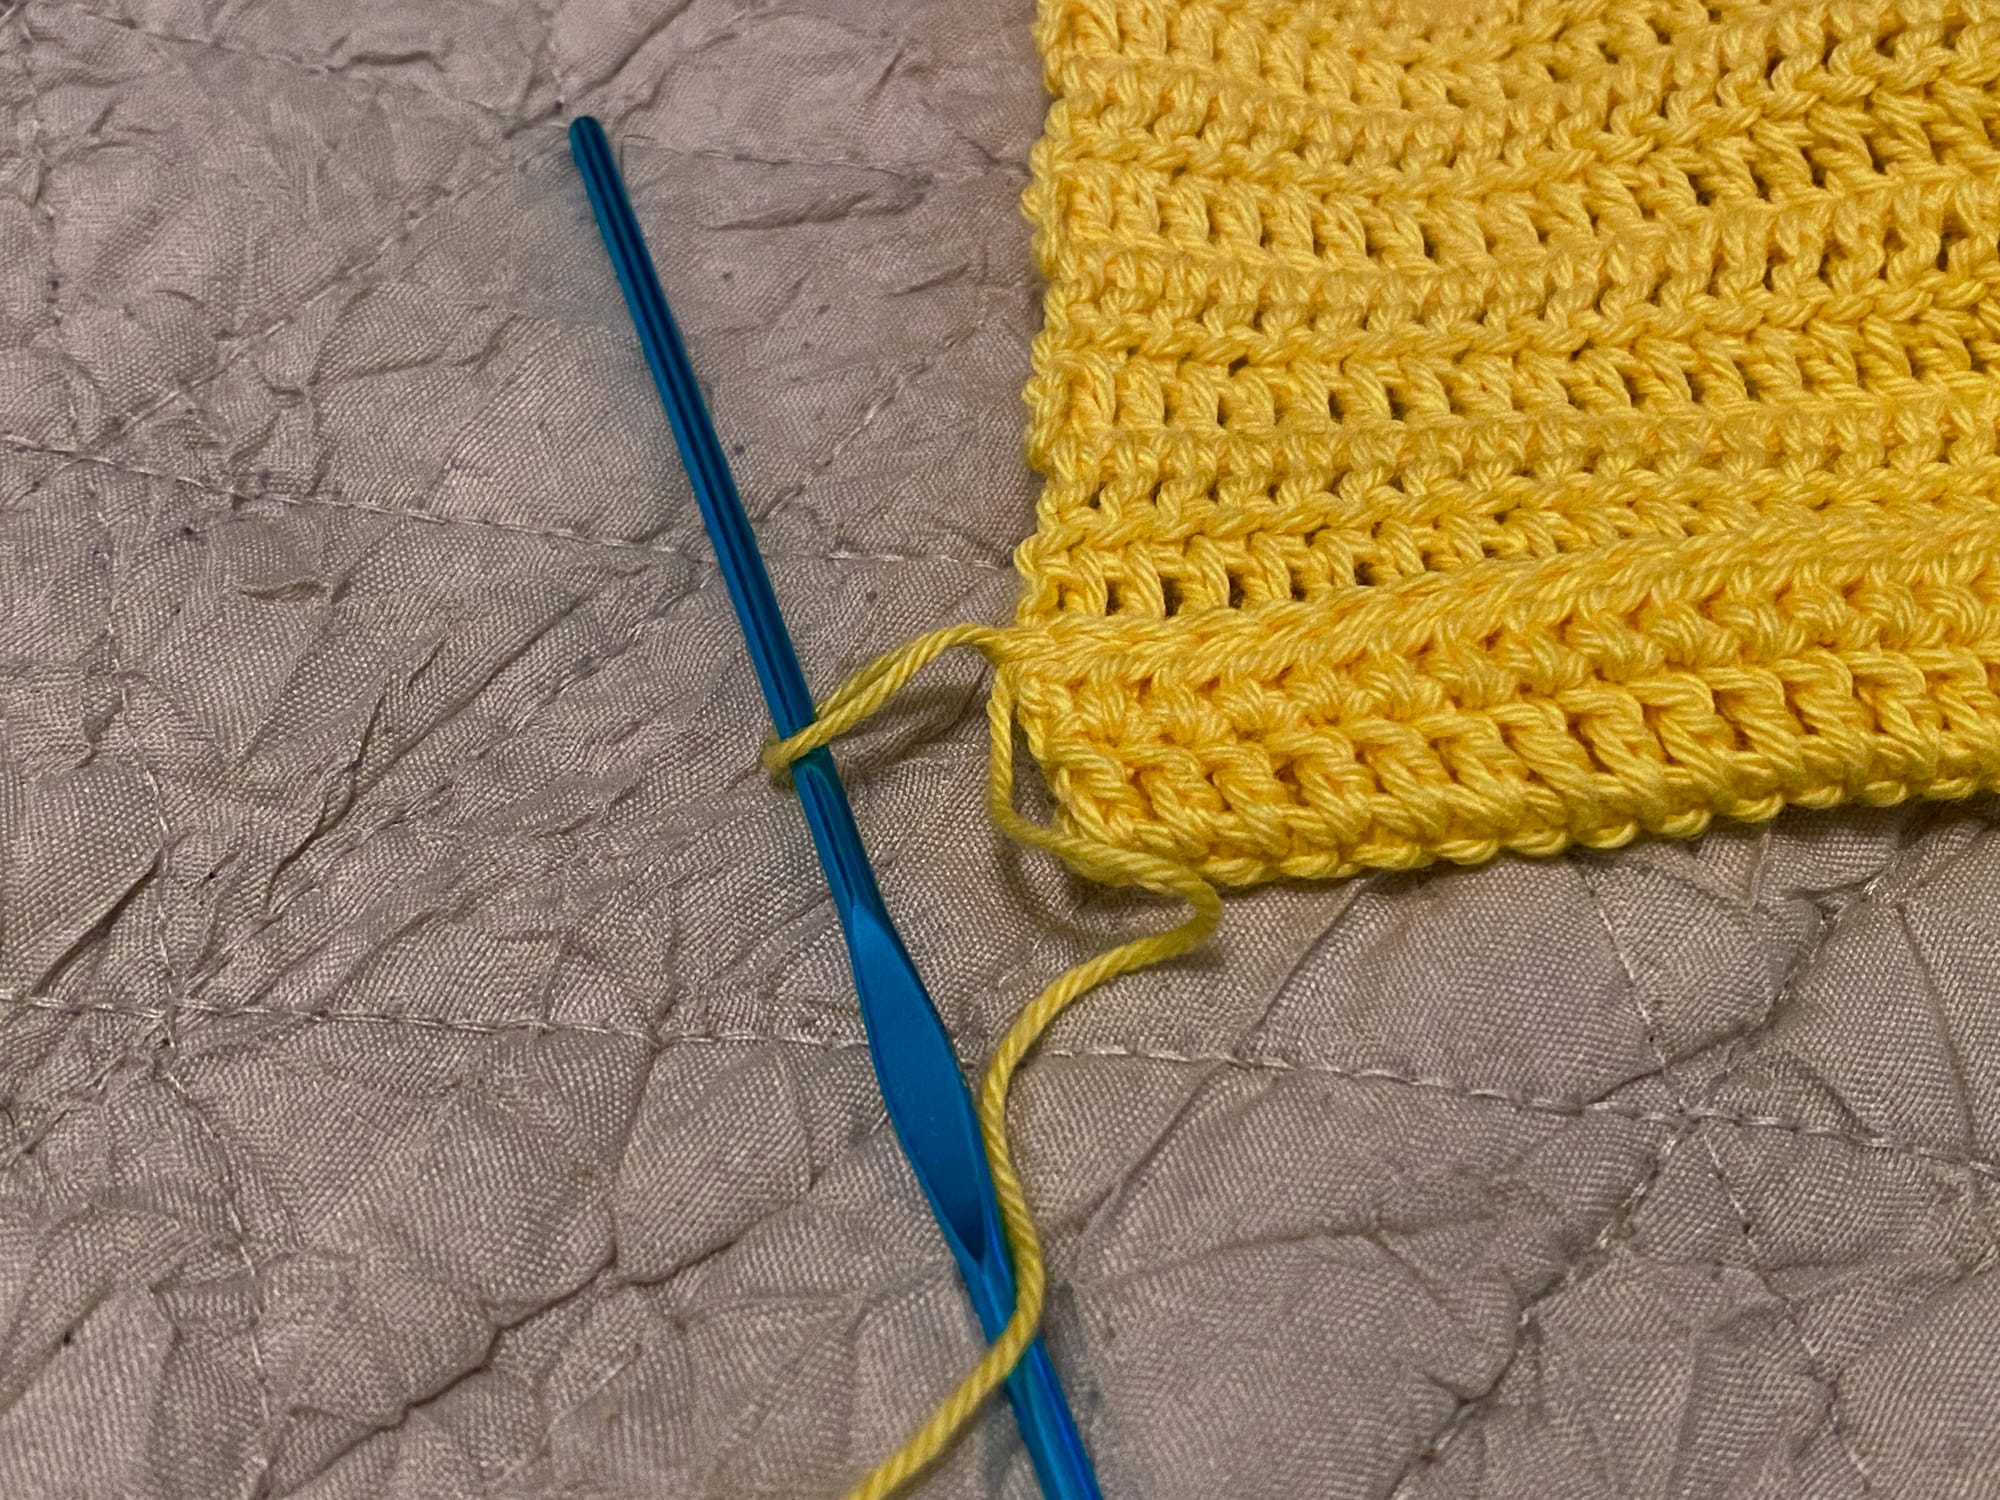
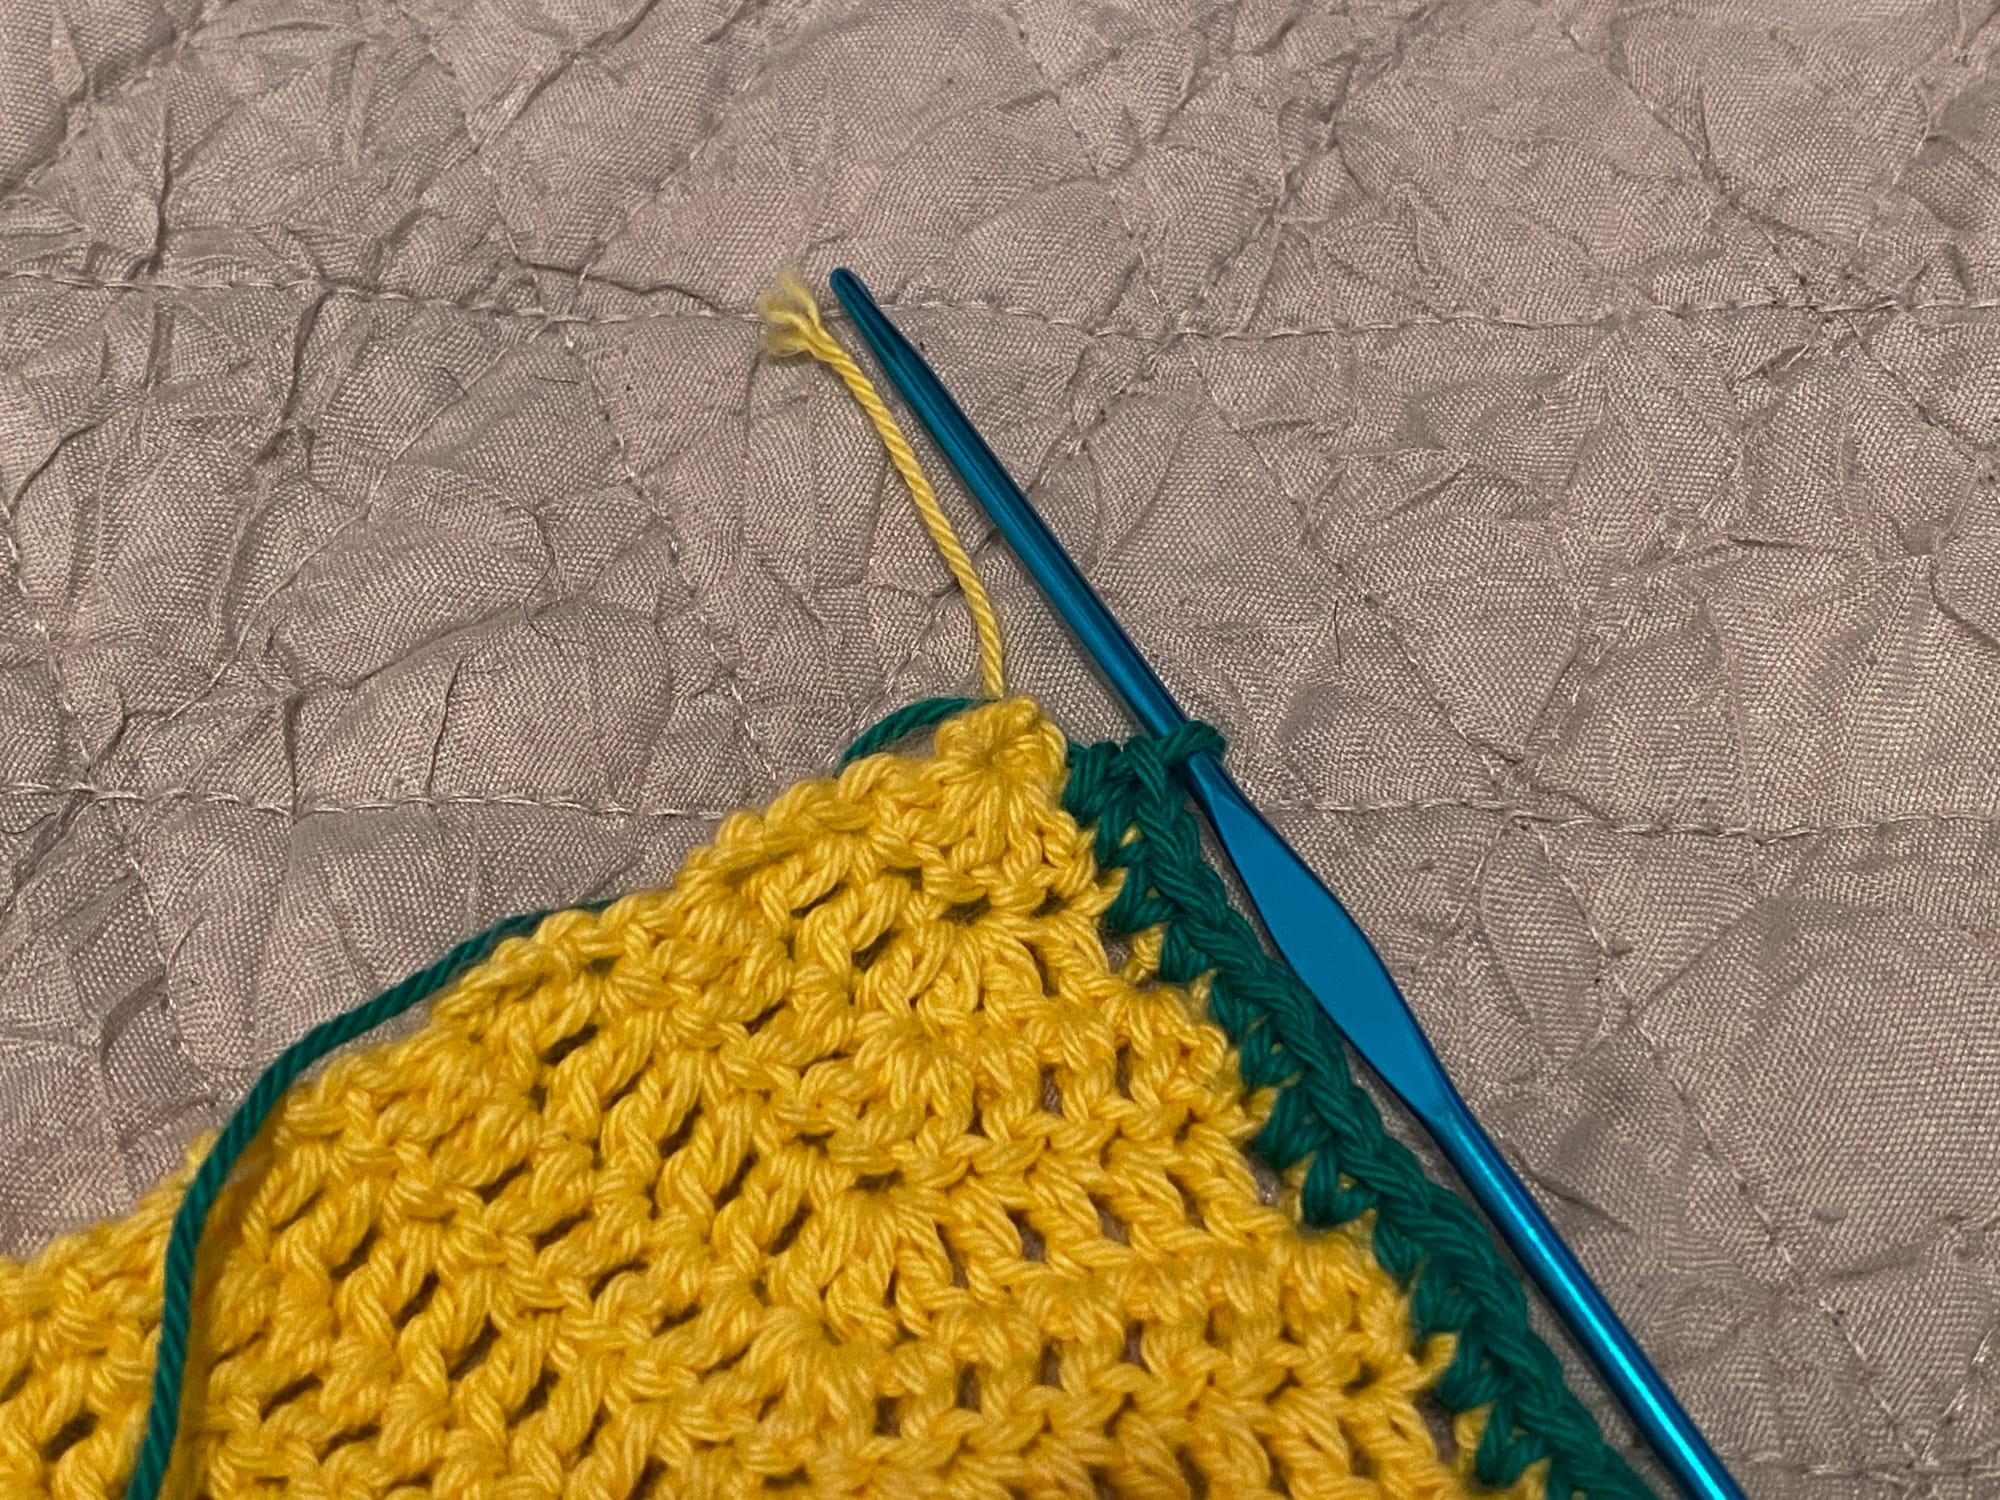
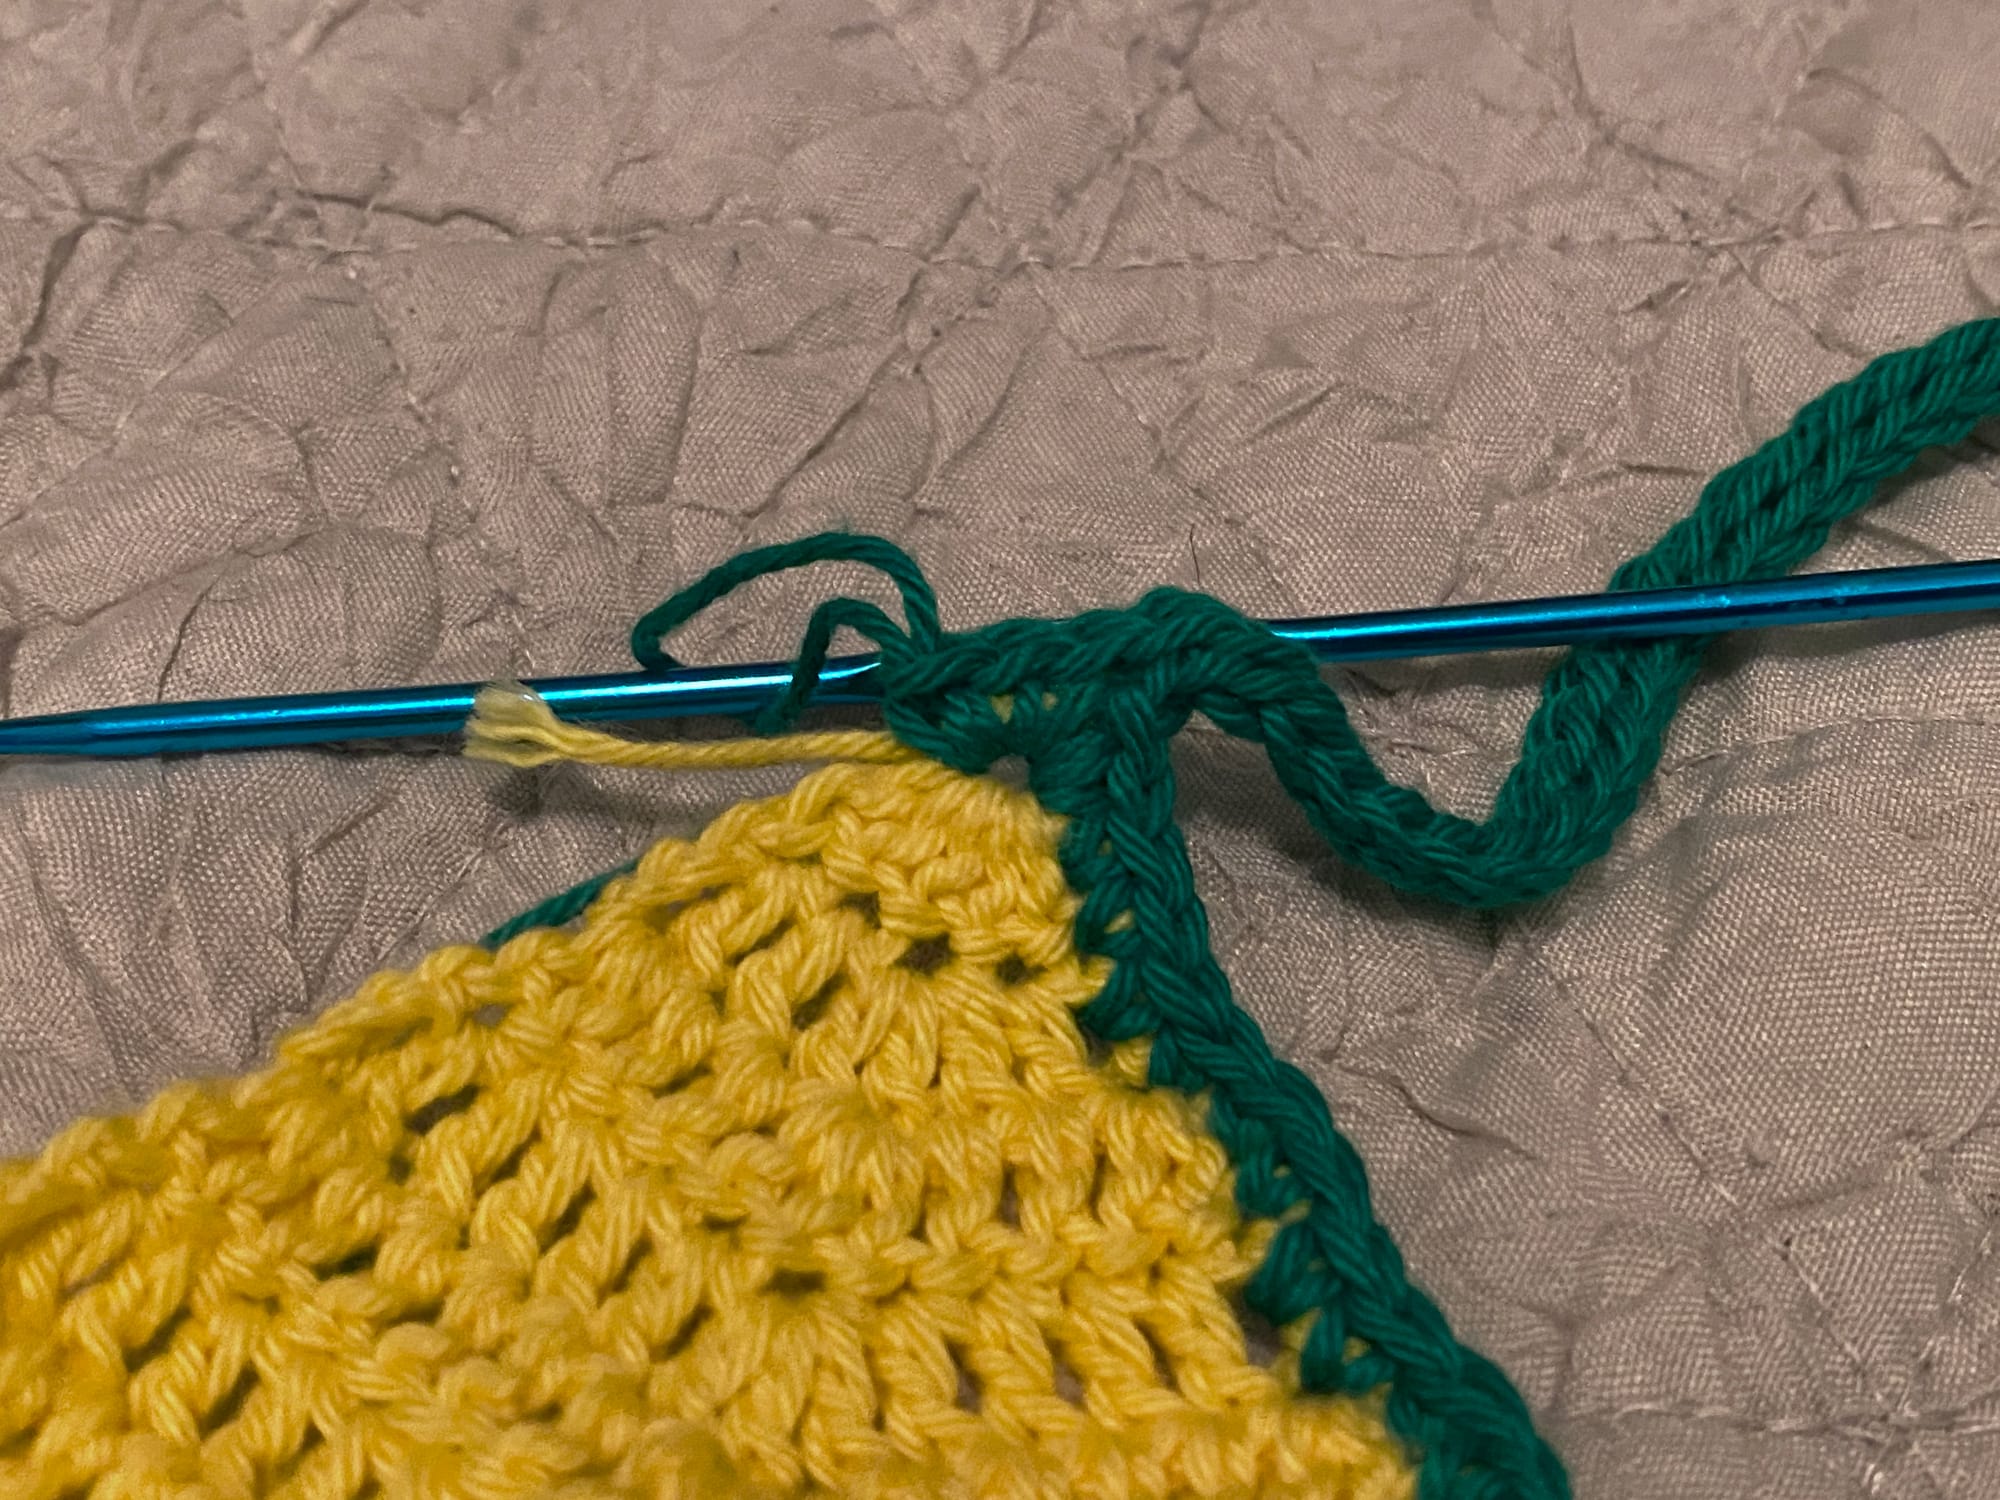
You will now attach your contrasting yarn to the right corner of the backside of your work. When you attach the yarn, you are attaching it through the back-most layer only where your slip stitch seam begins or ends. If you go through both layers, you will seam the opening closed. Make sure to only go through the back and attach with the front of your cup facing you.
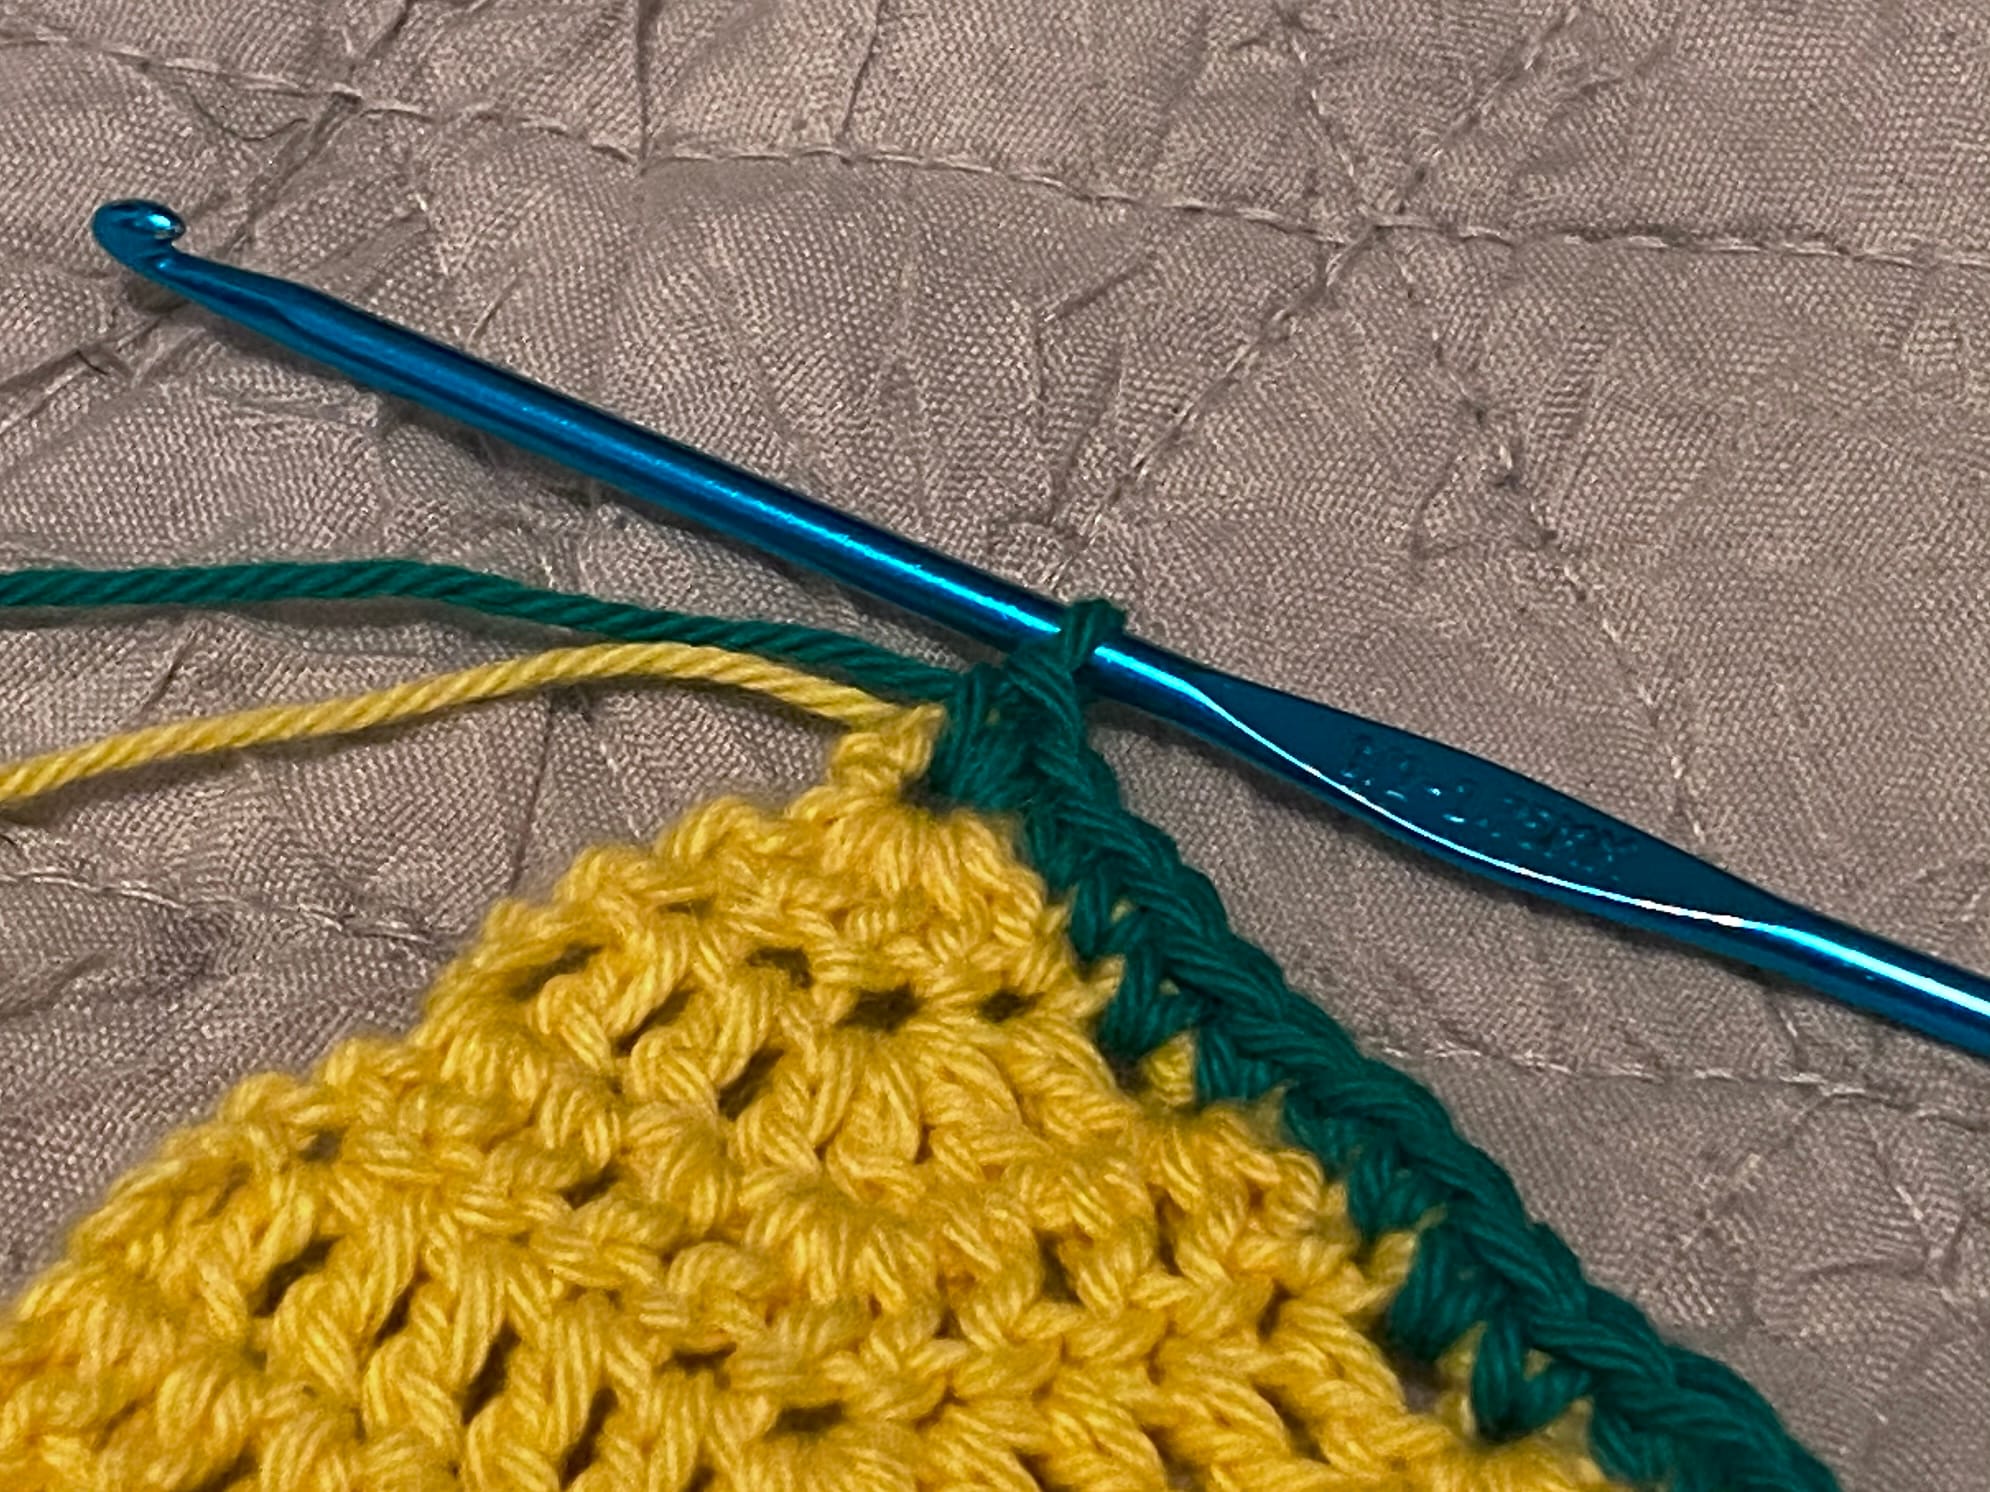
To crochet around the opening, work 3 sc evenly along the back of the opening, 1 sc into the bottom corner, and 2 sc along the front. As you manouver around the opening, the back of the cup should now be facing you.
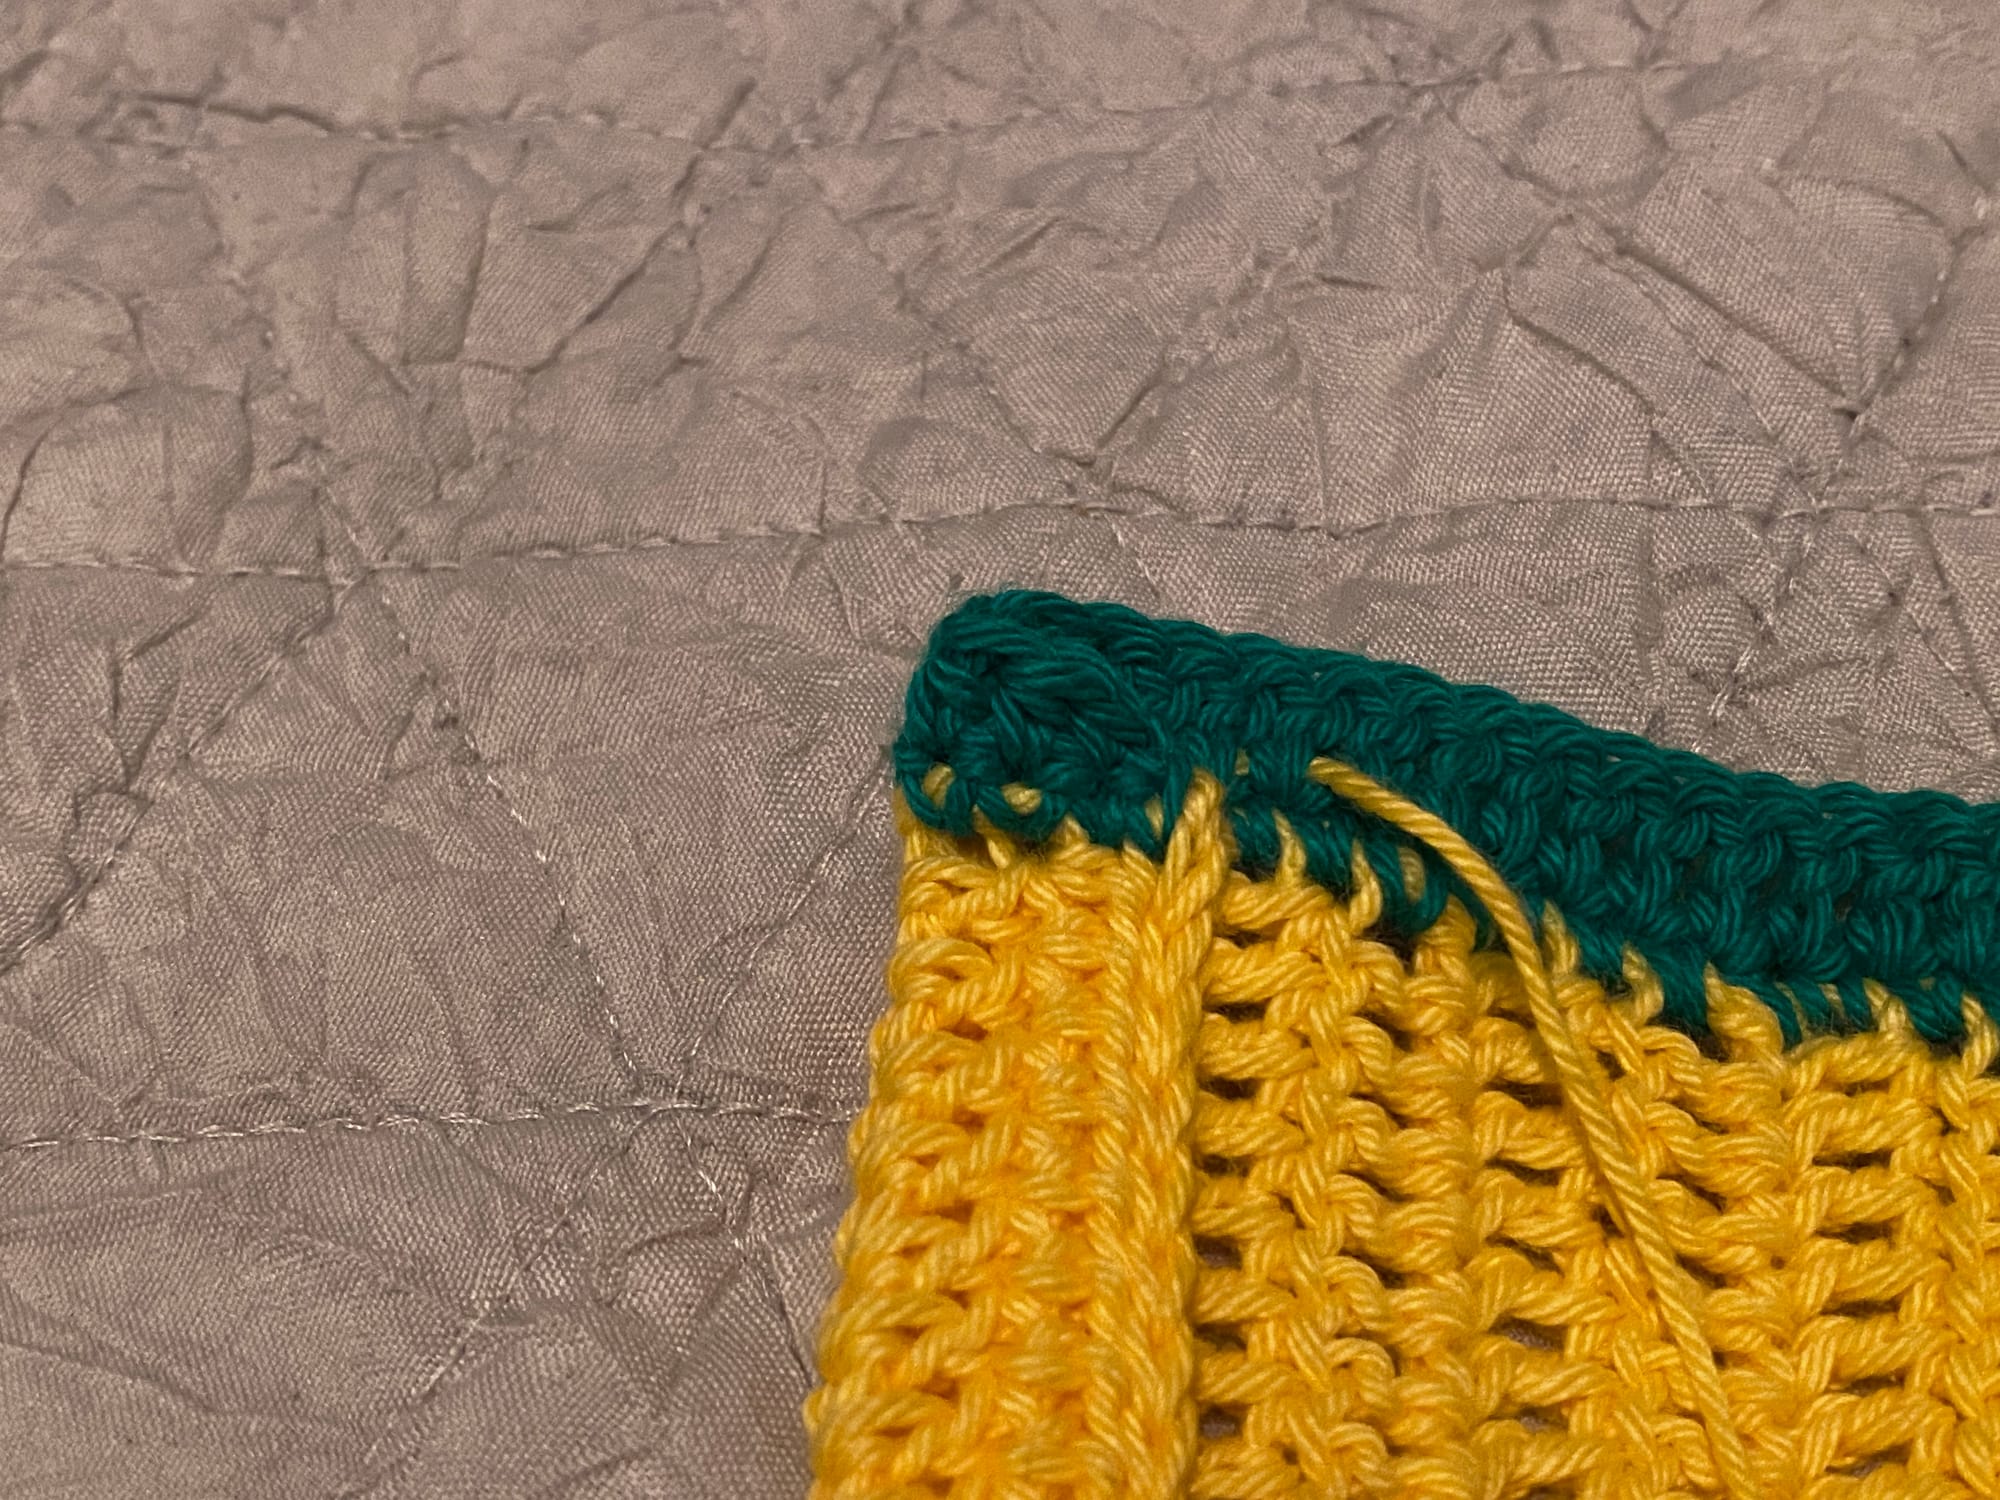
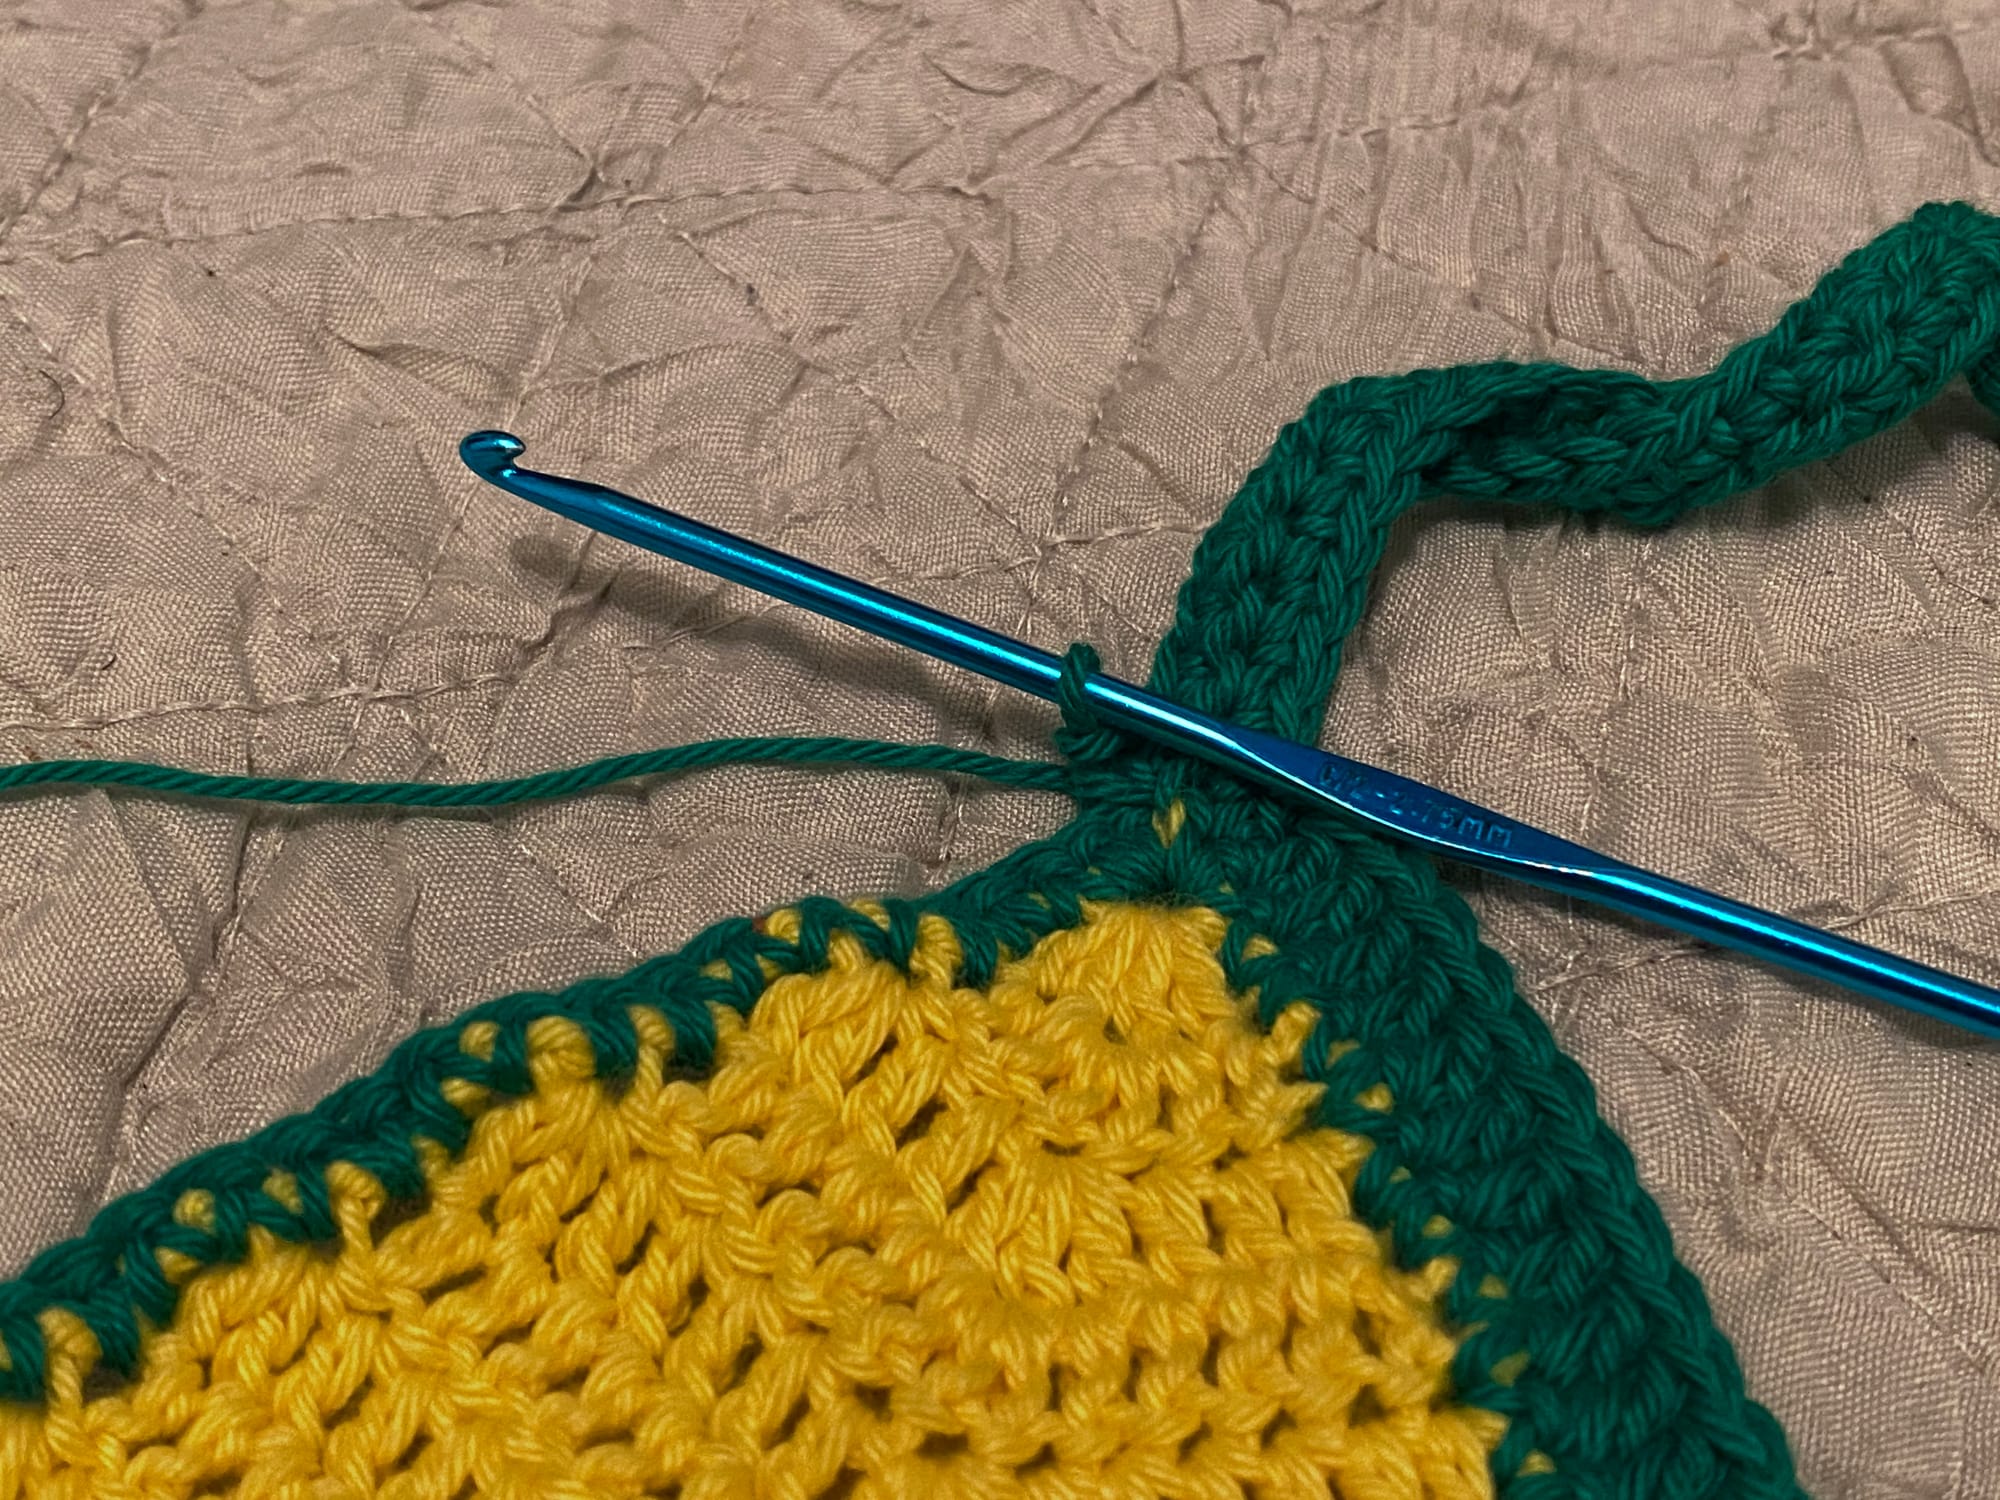
To continue from here, just sc along the edge of the cup until the top corner, making 2 sc for every row of dc. When you reach the single crochet at the very end, work 2 sc into that stitch.
From here, make a chain of 100 stitches or however long you'd like your neck-tie to be. Make an additional chain for turning and keep it loose — you'll need to be able to crochet into it later. Begin working back along the chain, slip stitching into the back bump of each stitch.
At the top corner of the cup, work another two sc stitches.
Continue along the edge like you did previously: 2 sc for every row of dc, 2 sc along the front of the opening, 1 sc at the corner, and 3 sc along the back.
Chain 1 and turn. Work 1 sc into the first stitch and 1 hdc into each of the next two stitches. Place 2 dc in the next stitch, the corner stitch. From here, work 1 dc in each along the edge until you reach the last stitch at the top corner.
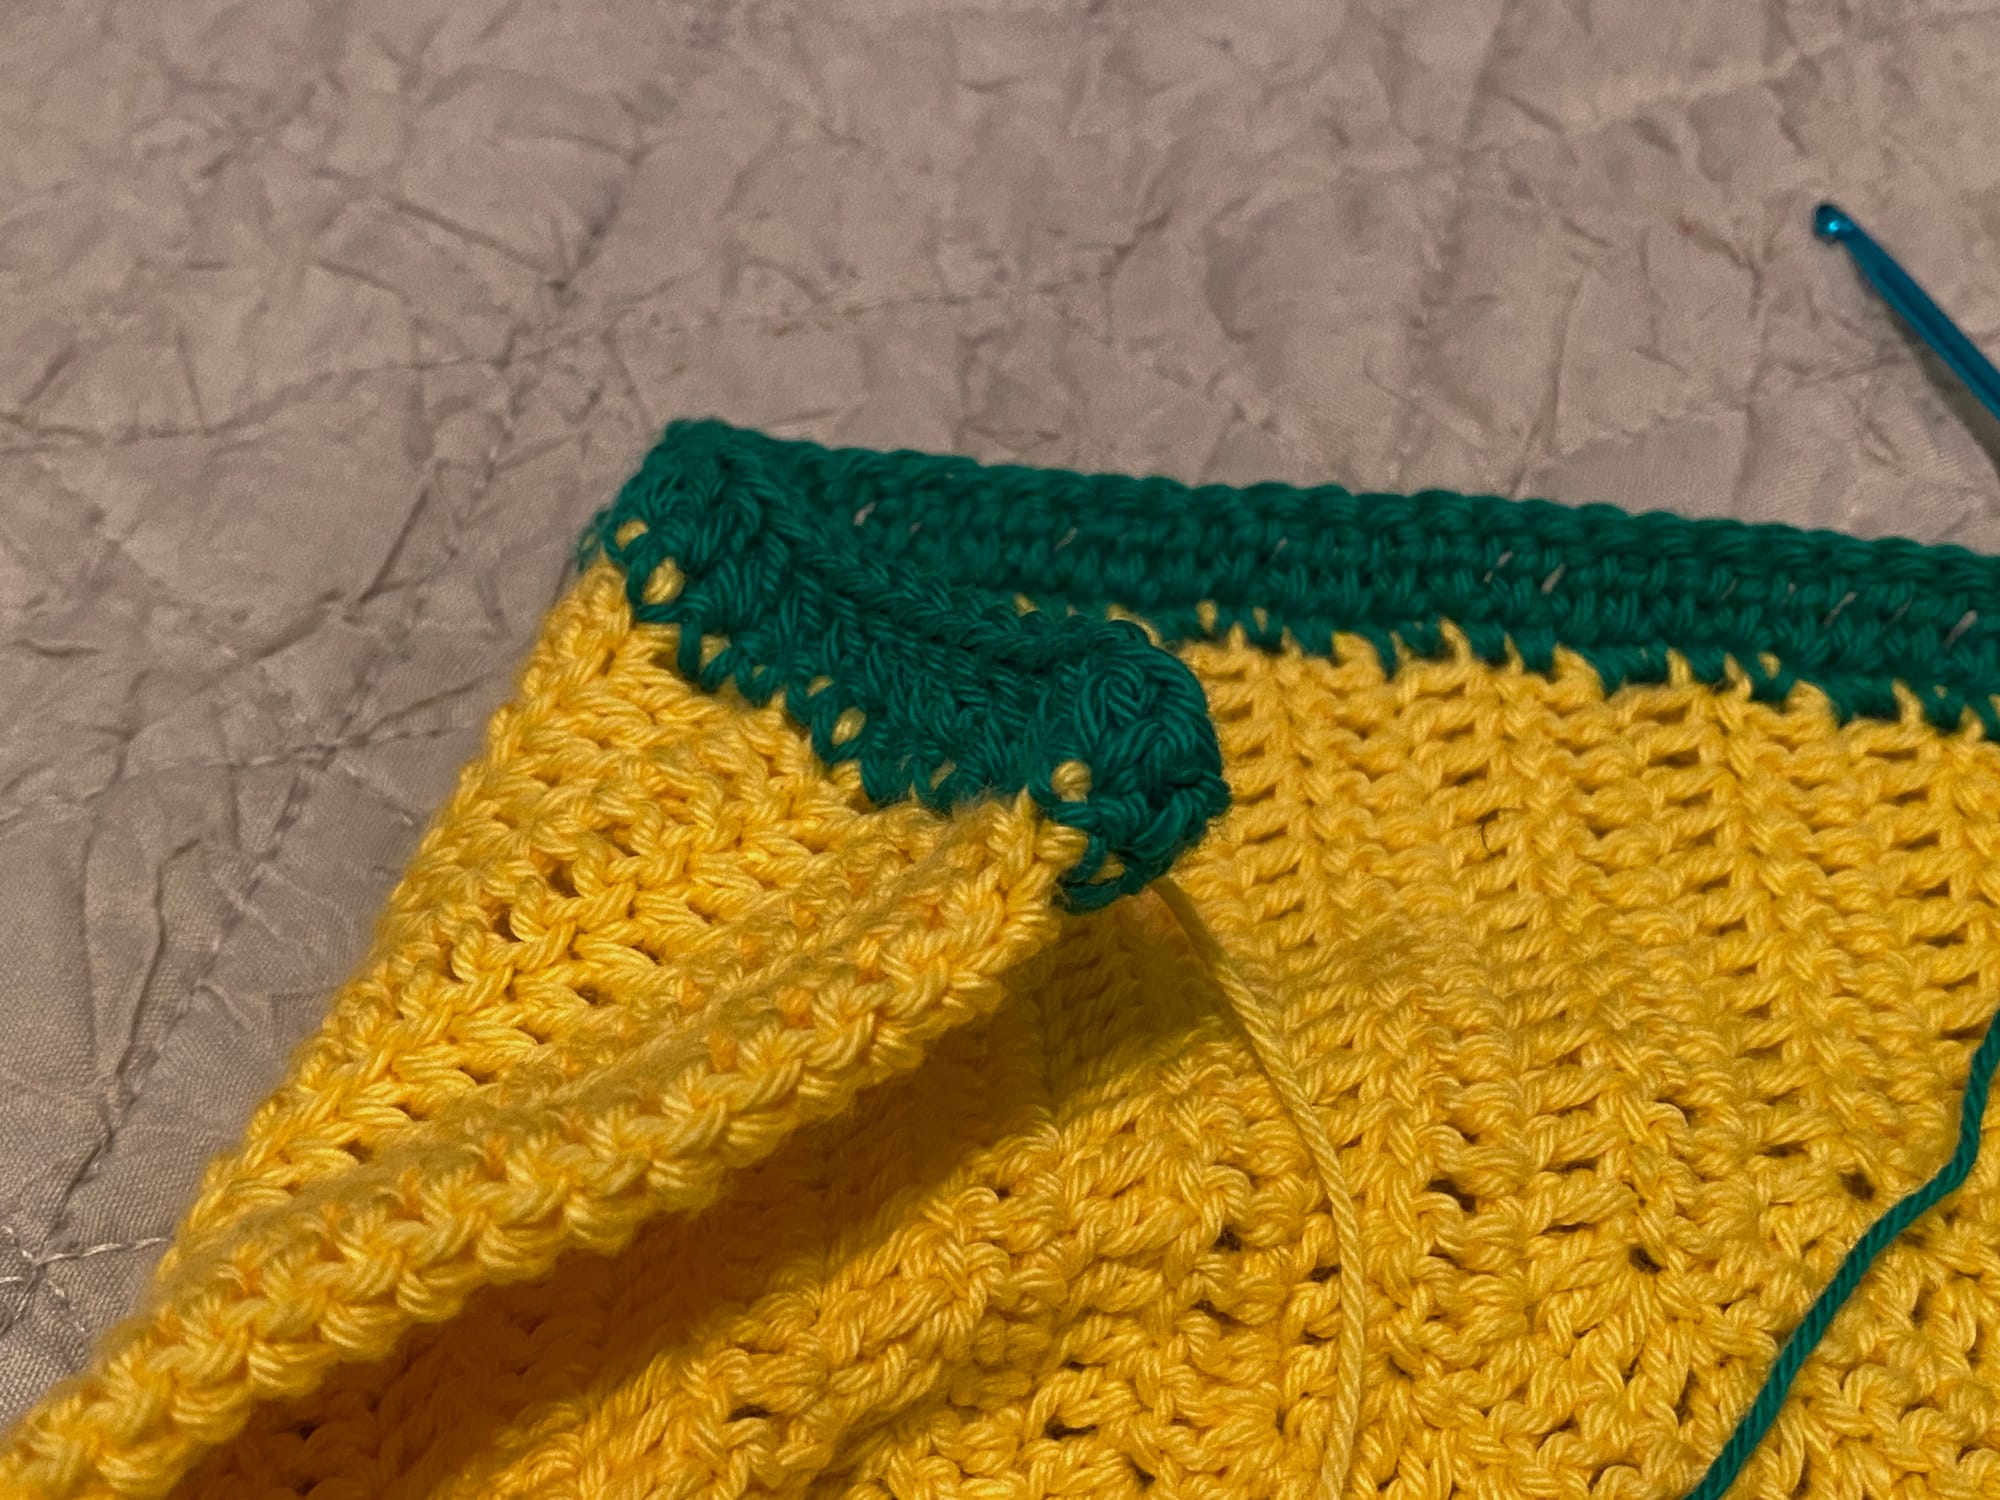
When you reach the top corner, place a hdc in the last stitch before beginning to work along the neck tie.
To begin completing the tie, work a sc into each chain stitch until the end. Place 3 sc in the turning chain to turn the corner, then continue by working 1 sc into each slip stitch back down the neck tie.

At the corner, make a hdc in the first corner sc then continue making dc stitches along the edge. Mirroring what you did previously, place 2 dc in the bottom corner of the opening, a hdc into each of the next two stitches, and a sc in the last stitch.
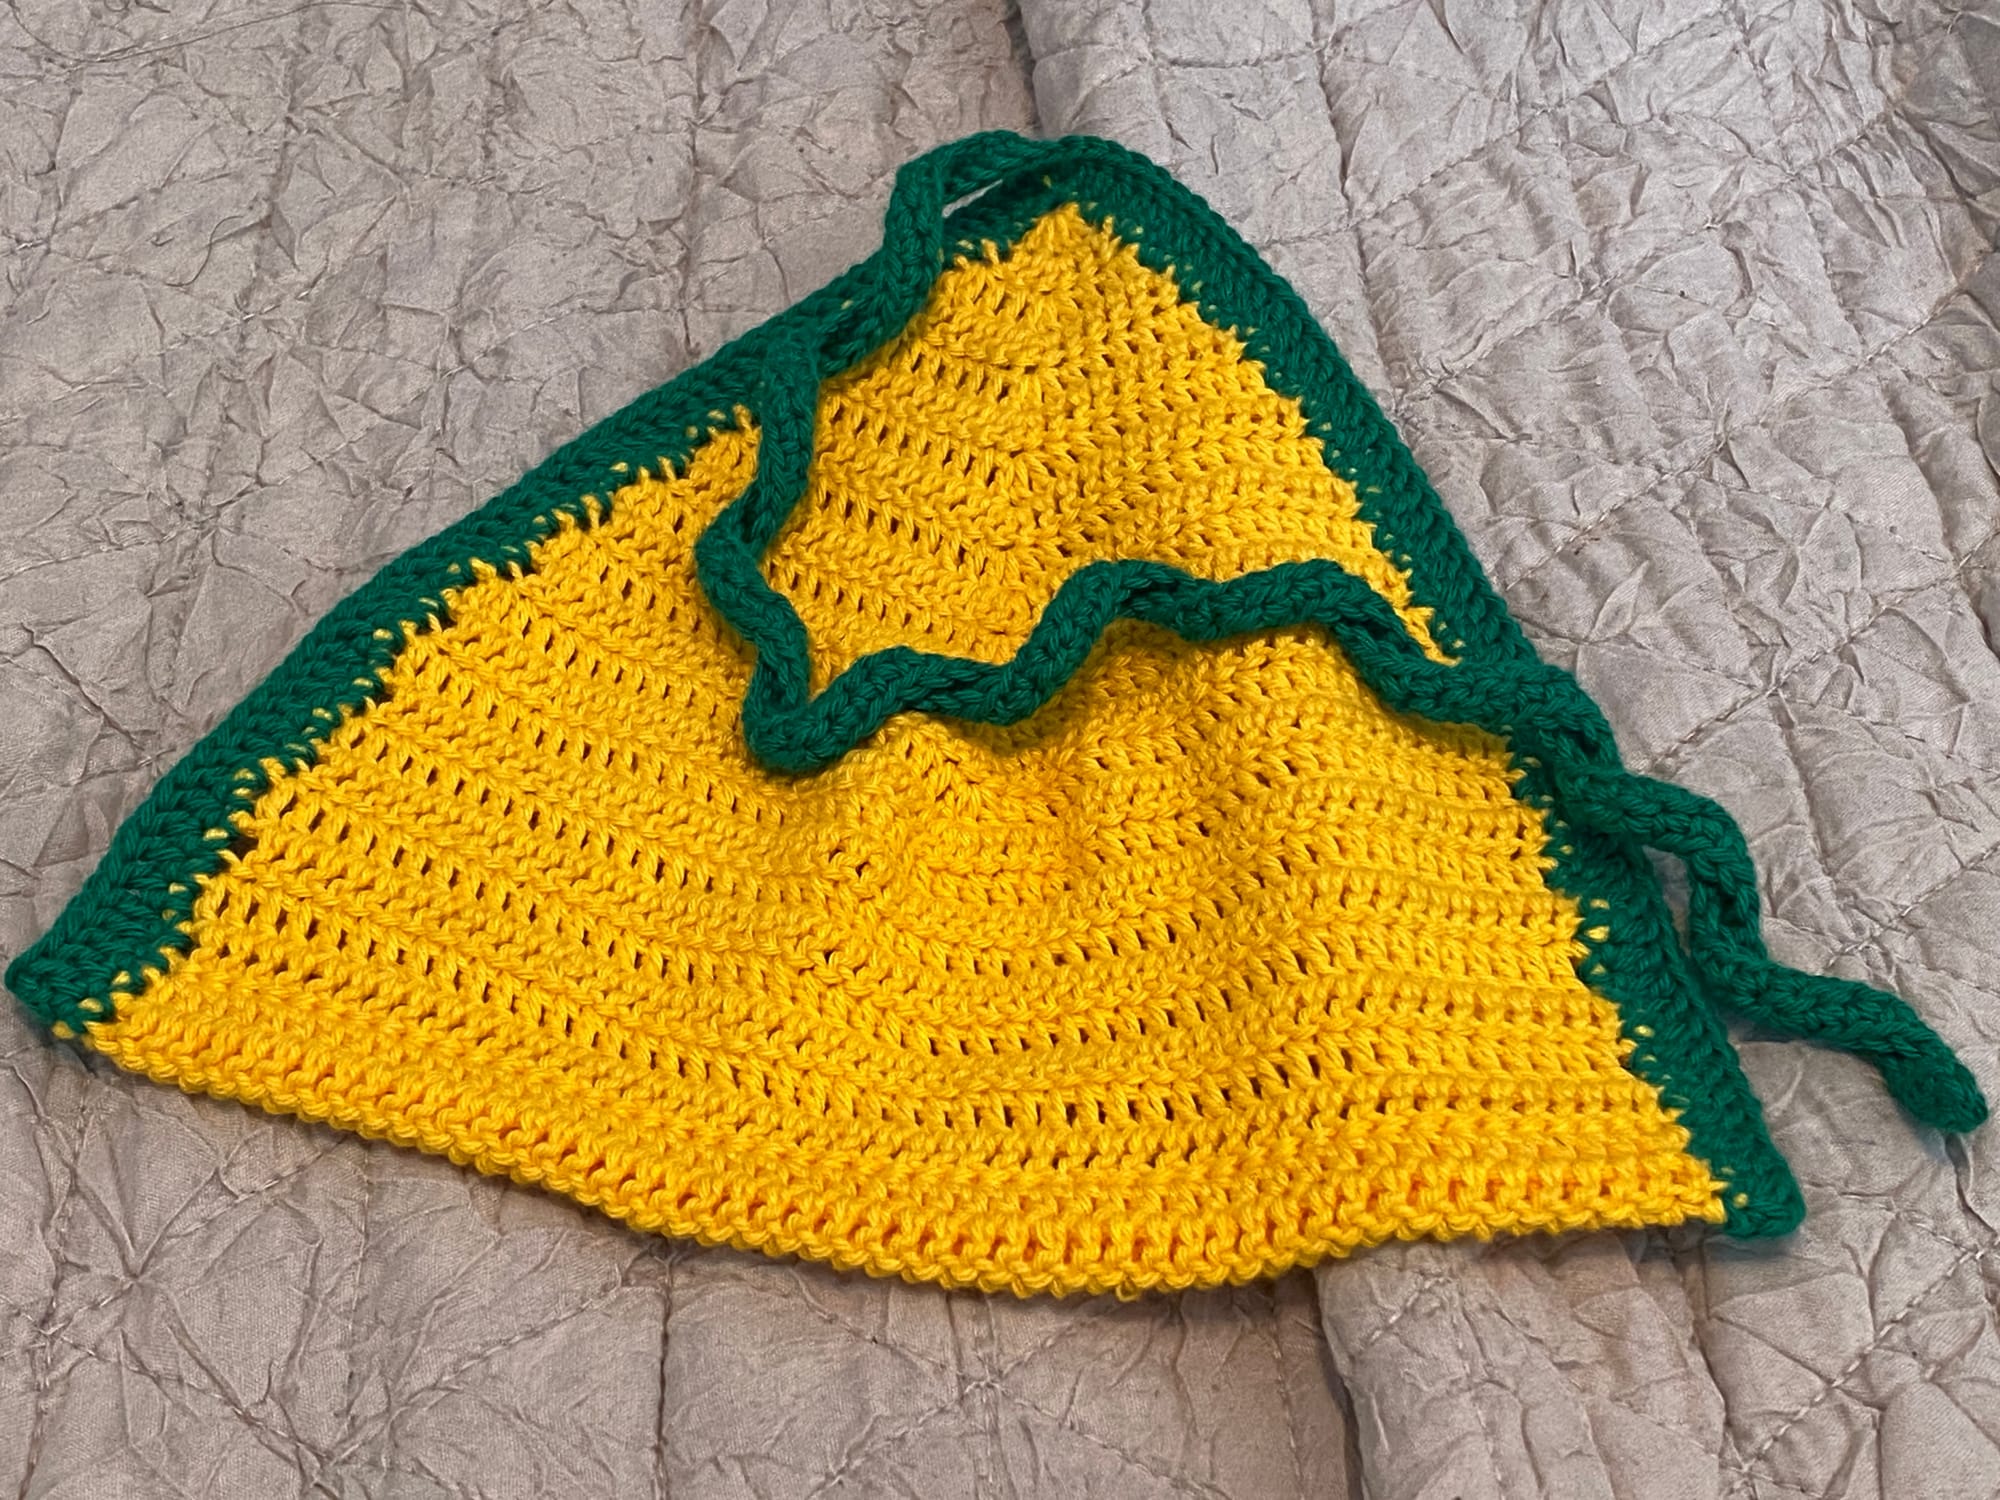
Fasten off and weave in your ends, then repeat for a second cup.
For a tie that goes around your back, I recommend starting with a chain that measures at least 24 inches (60 cm) longer than your true underbust measurement. This allows enough length for a bow at the back, but if you prefer bows with longer tails or want the option to wrap the tie around again and join it at the front, extend your chain as needed.
When you're ready, turn and slip stitch into the back bump of each chain. Place 3 sc in the last stitch to form a corner and begin working in the round. Continue along the chain placing a sc in each stitch. At the end, place 3 sc in the turning chain, then work a sc into each slip stitch until the end. Slip stitch into the first sc of the round to join and fasten off to weave in your ends.
Feed your tie through the bottoms of your cups and as a finishing touch, form a knot on each of the ends.