Basic Butterfly Cup
I'm in the middle of making a pattern for a summer top that requires the bust of a crochet butterfly top. It took a bit of work to figure out, so I've decided to document it here.
Materials & Key
We're working with a fingering cotton yarn (Hobbii Rainbow 8/4) and a 3.5 mm hook today.
Ch – chain
Sc – single crochet
Hdc – half double crochet
Dc – double crochet
Tc – treble crochet
Process
- Chain 3. Into the third chain from the hook, dc, chain 1, dc, chain 3, dc
- Chain 4 and turn. Tc in the first dc. Chain 5. Make a dc into the below chain 3 space. Chain 2. Dc into the below chain 1 space.
- Chain 2 and turn. Dc into the first stitch (dc at the end). Chain 1. Make 2 dc into the below chain 2 space. Make 8 dc into the below chain 5 space. Dc into the tc at the end. The {dc, chain 1, 2 dc} area will be referred to as the tail and the area after the {dc, chain 1, 2 dc} will be referred to as the main body from here on. Currently, the main body should be made of 9 dc stitches.
- Chain 2 and turn. Increase (make 2 dc) in the first stitch. Increase in the second stitch. Make a dc into each of the next 6 stitches. Increase in the last body stitch. Make 2 dc into the chain 1 space. Chain 1. Dc into the remaining dc stitch. Main body has 12 stitches.
- Chain 2 and turn. Dc into the first stitch. Chain 1. Make 2 dc into the below chain 1 space. Increase (make 2 dc) in the first body stitch. Increase in the second stitch. Make a dc into each stitch until 2 stitches are remaining. Increase in the second to last body stitch. Dc into the last stitch. Main body has 14 stitches (increased by 2).
- Chain 2 and turn. Increase (make 2 dc) in the first stitch. Increase in the second stitch. Make a dc into each of the next 11 stitches. Increase in the last body stitch. Make 2 dc into the below chain 1 space. Chain 1. Dc into the remaining dc stitch. Main body has 17 stitches.
- Continue repeating the pattern of the last 2 rows. Generally,
Row A: Work tail. Increase by 2 in the main body (increase once on each end).
Row B: Increase by 3 in the main body (increase twice at the beginning, once at the end). Work tail.

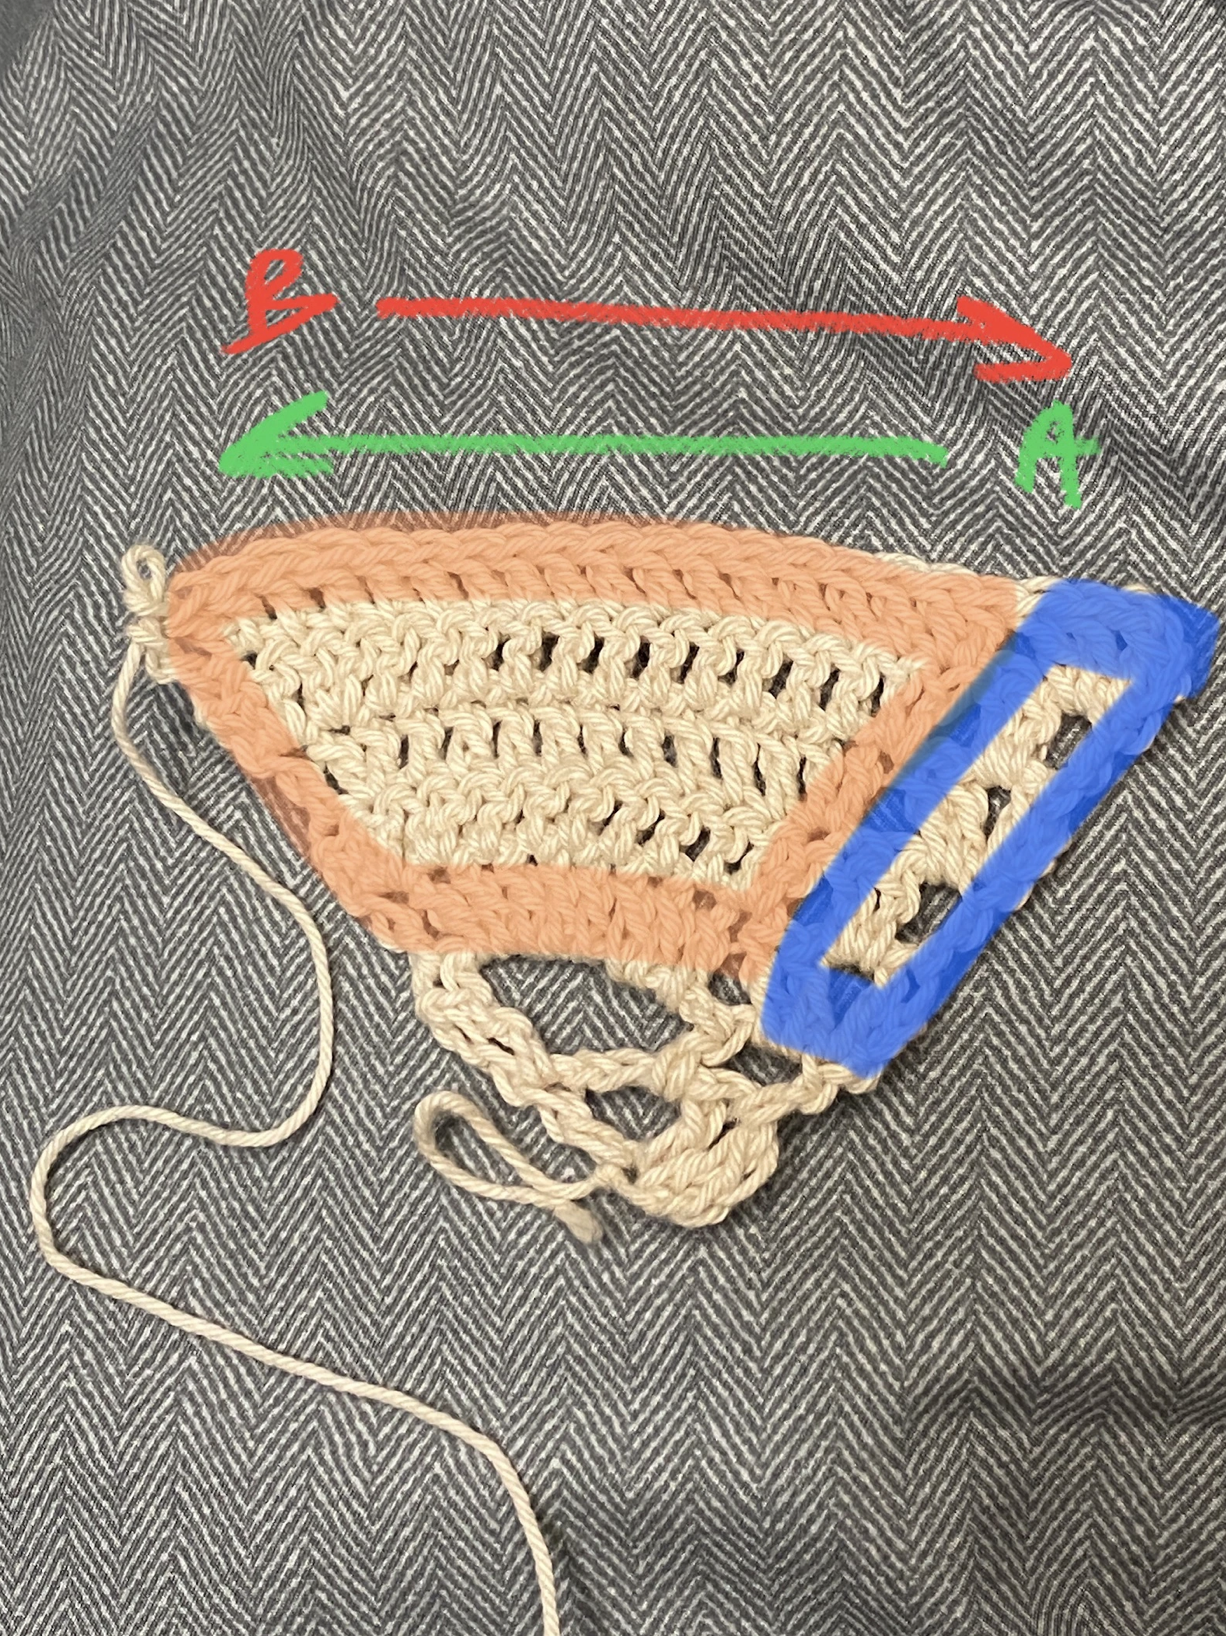
Body in orange; tail in blue.
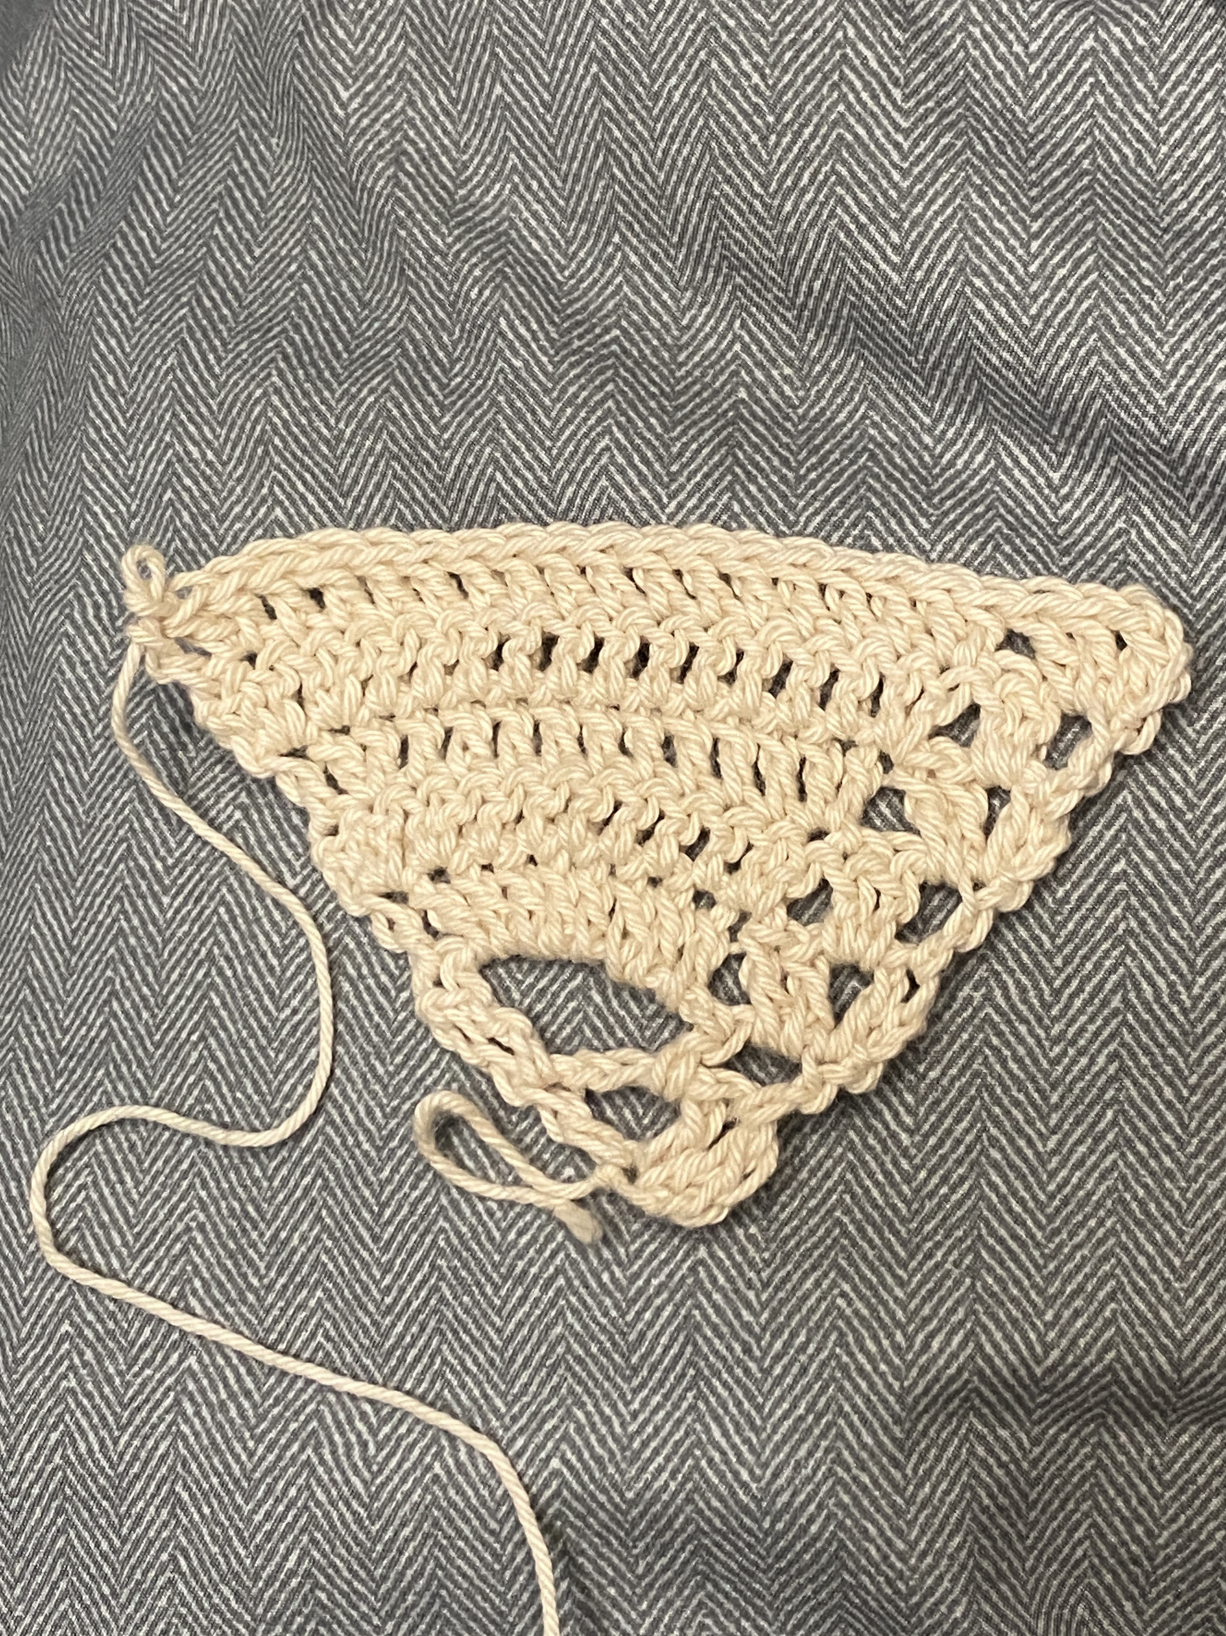
Stop when the triangle is 1-2 inches short of being big enough to cover one breast, or however much you'd like it to cover. Be mindful of the stretch, especially if you're working with cotton.
I ended up with a body of 20 rows with 56 stitches in the final row, including the chain stitch.
For the next section, you may be working with a different number of stitches, but I'm essentially finding a way to divide my number of stitches by 5. I'm going to turn my 56 stitches into 2 sections of 11 and 4 sections of 10.
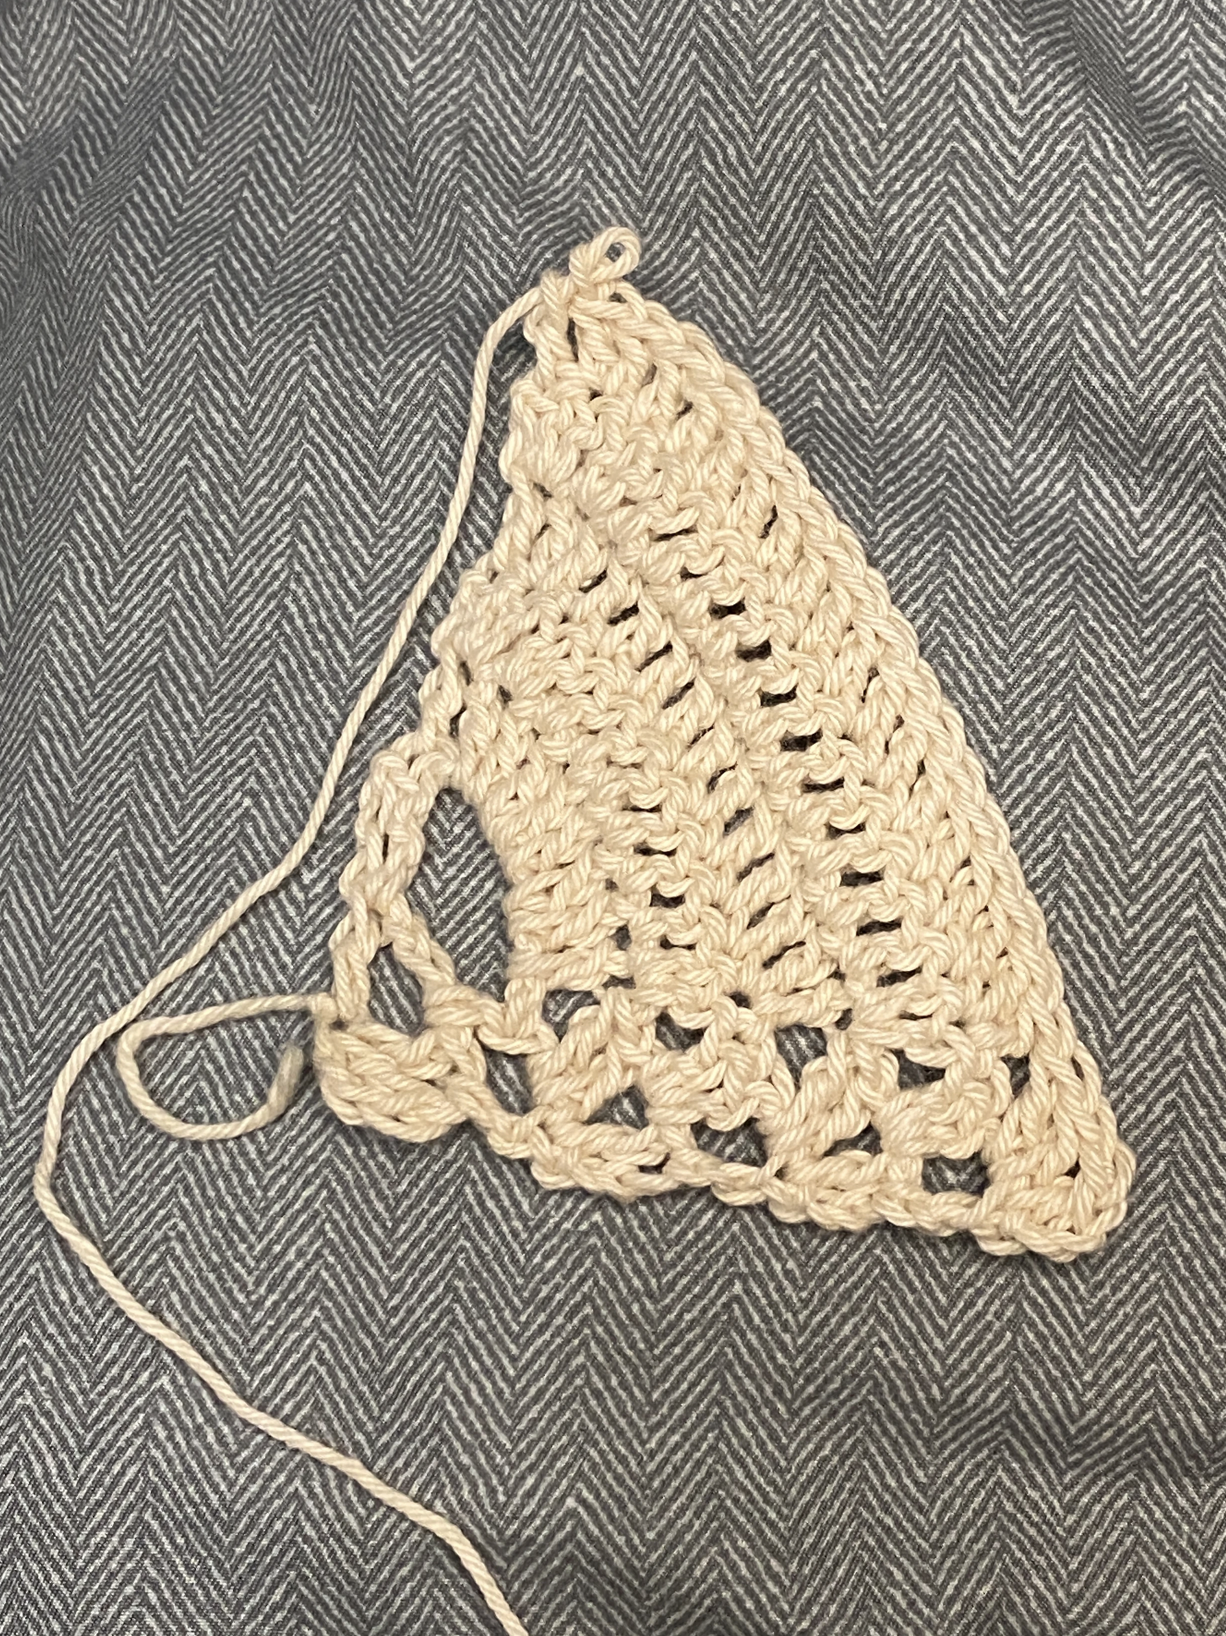
The Step
The steps are worked by making slip stitches until you're ready to make a step, then chain 2 and begin working double crochets. We're going to do this 5 times to create a total of 5 steps including the first level we're starting on.
After row 22 (20th body row), chain 1 and turn.
- Slip stitch into the first 10 stitches. Slip stitch into the next stitch and chain 2. Work dc stitches across, remembering to make your increase at the end. This row is an A row, so you should make a single increase at the end (47 stitches).
- Chain 2 & turn. Begin working a B row (increase by 2 at the start) across, excluding the last 10 stitches of the row (39 stitches).
- Chain 1 & turn. Slip stitch into the first 11 stitches. Slip stitch into the next stitch and chain 2. Work the rest of an A row across, remembering to make your increase at the end (29 stitches).
- Chain 2 and turn. Begin working a B row (increase by 2 at the start) across, excluding the last 10 stitches of the row (21 stitches).
- Chain 1 & turn. Slip stitch into the first 10 stitches. Slip stitch into the next stitch and chain 2. Work dc into each remaining stitch (11 stitches).
Final Touches
So you can fasten off and weave in your ends at this point, or make a chain and single crochet back to make a neck tie. You would then need to make a tie at the bottom right corner of the cup as well.
Repeat the steps to make a second cup or do the inverse, making your tail at the end of your A rows and the beginning of your B rows. Simply repeating the steps exactly for a second cup works beautifully, I just sometimes prefer to have an exact opposite for better symmetry.
Originally published on another domain 16 Jan, 2023.
This is a public note. It is not a pattern. This documentation of my process has been made public with little clarification in case there is anything to be learned.